
This page describes how to configure Okta SSO (Single Sign-on) using SAML 2.0 for PaperCut NG and PaperCut MF. For more information about SAML 2.0, see User authentication and SSO.
Before you start
Ensure you have administrator access to the Okta admin interface.
Step 1. Provide your organization’s basic configuration details to PaperCut NG or MF
To add and enable an Okta SSO configuration:
-
Log in to the PaperCut Admin web interface with SSL port (for example,
https://your-papercut-server-name:9192). -
Select Options > User/Group Sync tab.
-
Scroll down to the SSO Single Sign on section.
-
Click Add SAML2 configuration button. The SAML 2.0 SSO configuration page is displayed.
-
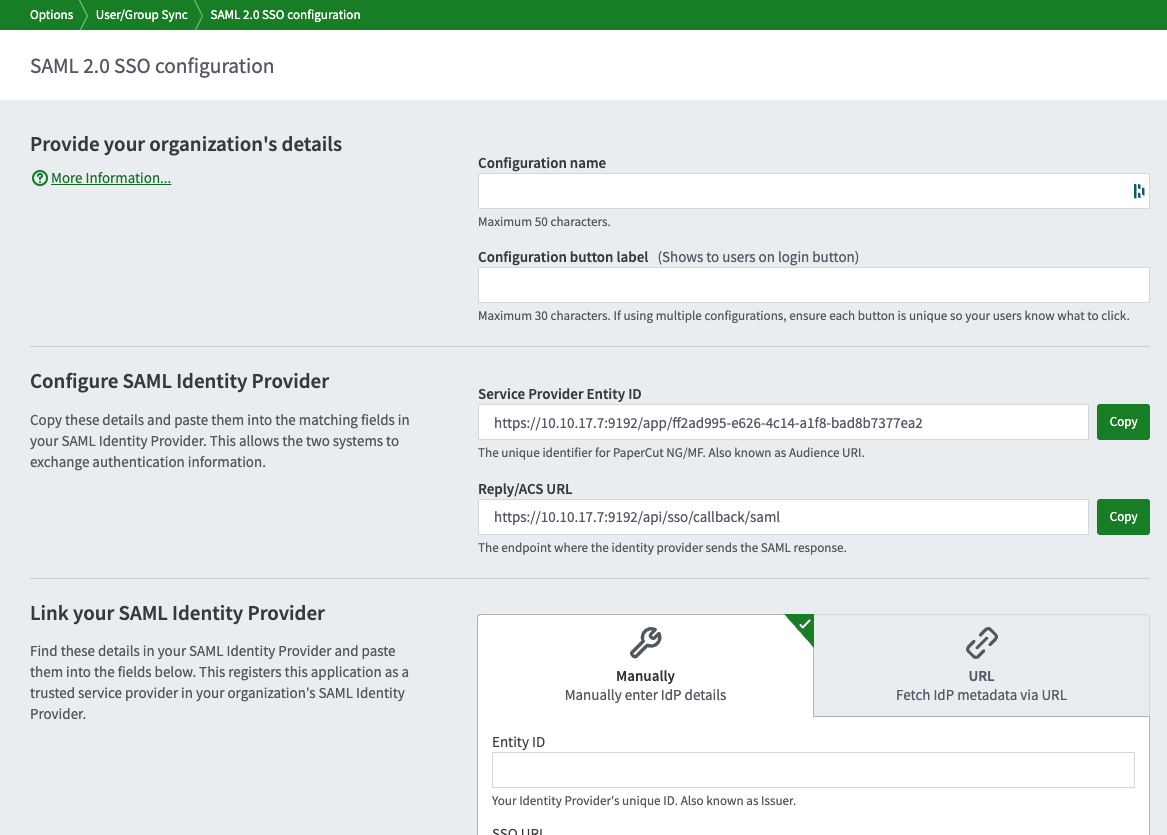
In the Configuration name field, enter a name for this configuration. This name helps you know which configuration you’re using or editing.
-
In the Configuration button label field, enter the button label your users will see on your organization’s PaperCut NG or MF login page. If your organization uses multiple SSO configurations simultaneously, ensure the button label helps users choose the correct login option.
Step 2. Configure Okta with PaperCut details
-
In a separate tab, log in to your Okta admin interface.
-
Go to Applications > Applications.

-
Select Create App Integration. The Create a new app integration screen is displayed.
-
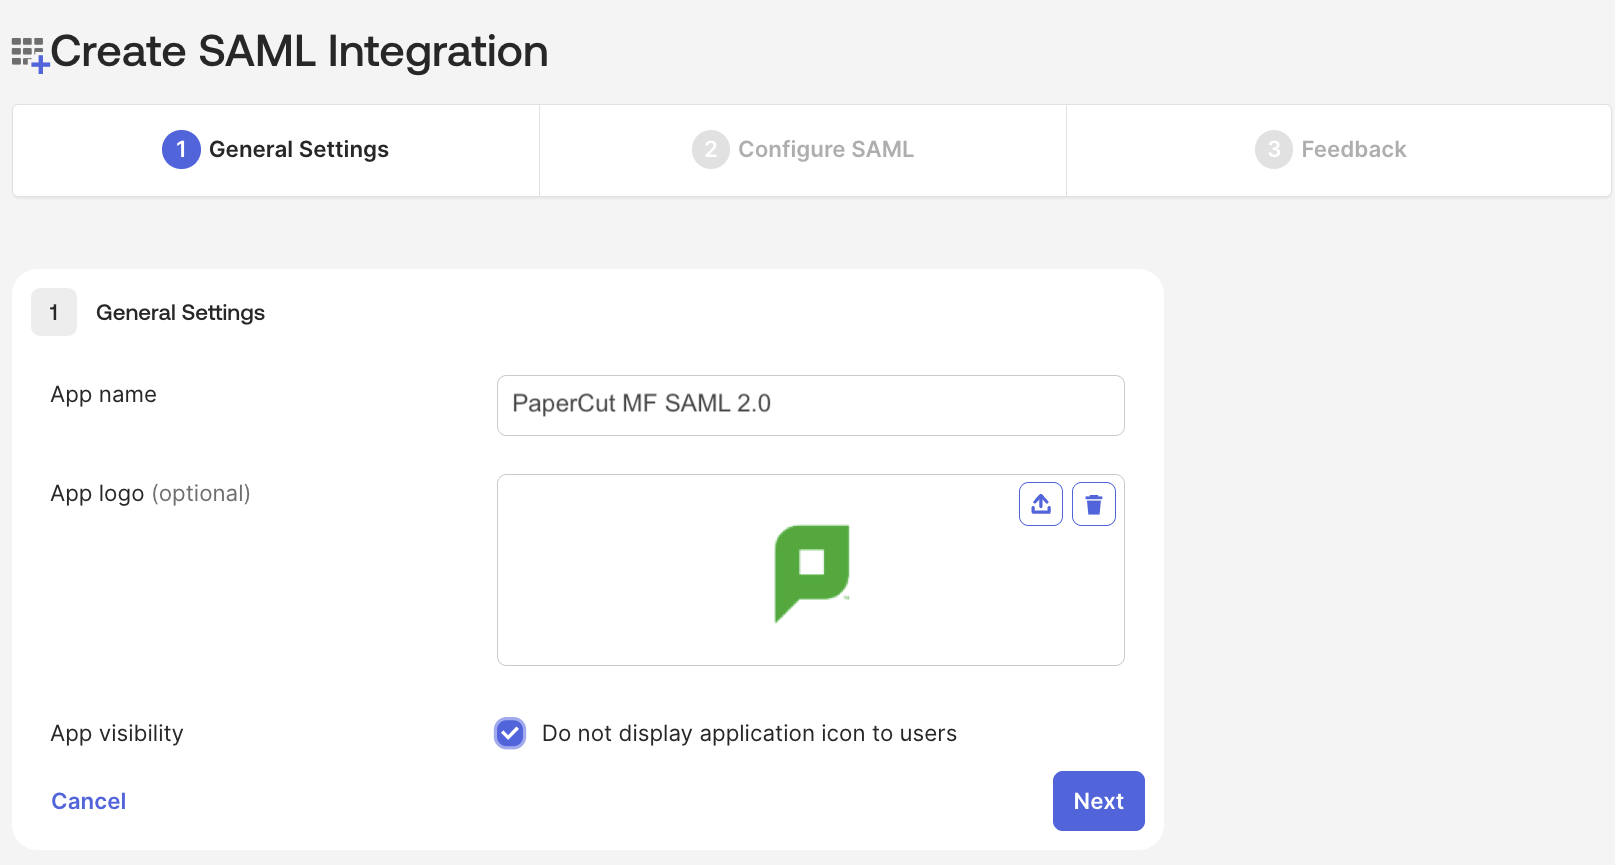
Select SAML 2.0. The Create SAML Integration screen is shown.

-
Enter an App name for the integration with PaperCut NG or MF and, optionally, upload an App logo.
-
Select the Do not display application icon to users checkbox.
-
Click Next. The SAML Settings screen is displayed.

-
Copy the PaperCut Service Provider Entity ID and paste it into Okta.
For example,https://10.10.17.7:9192/app/fd2ad995-e626-4c14-a1f8-bad8b2547ea2, where10.10.17.7:9192is your MF host and port details.- Go to the PaperCut MF SAML 2.0 SSO configuration page > Configure SAML Identity Provider section and copy the Service Provider Entity ID.
- Switch to Okta and copy the ID into the the Audience URI (SP Entity ID) box.
-
Copy the PaperCut Reply/ACS URL and paste it into Okta.
For example:https://10.10.17.7:9192/api/sso/callback/saml, where10.10.17.7:9192is replaced with your MF host and port details.- Go to the PaperCut MF SAML 2.0 SSO configuration page > Configure SAML Identity Provider section and copy the Reply/ACS URL.
- Switch to the Okta admin interface and paste this value into the sign-on URL field.
-
In the Okta configuration, set the Application username to Email.
-
Click Next. The Feedback screen is displayed.
-
Select Finish.
Step 3. Link Okta back to PaperCut
This step is for completing the Link your SAML Identity Provider section of the SAML 2.0 SSO configuration page.
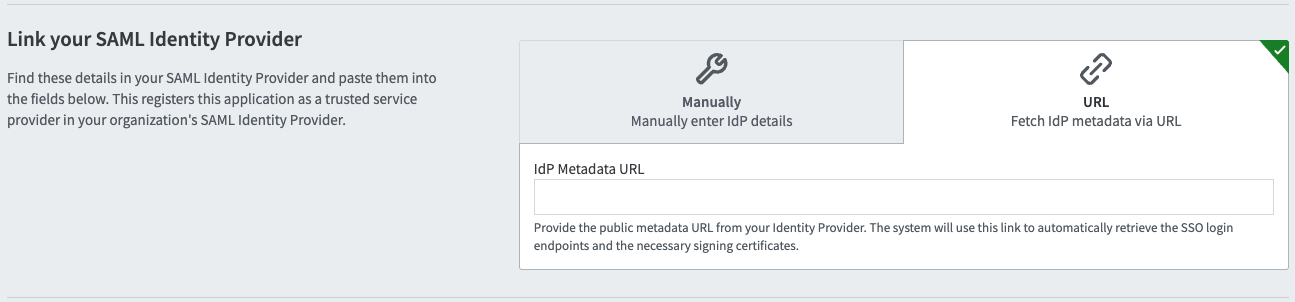
There are two ways to do this: automatically, by fetching the IdP details via the URL tab, or manually by entering the IdP details on the Manually tab.
Automatically entering IdP details using the metadata URL
Using this method means the certificate will automatically update whenever it changes in the future.
- In Okta, go to Applications > Applications.
- Select the app you just created.
- Select the Sign On tab.
- In the Metadata URL field copy the URL.

- In PaperCut, in the Link your SAML Identity Provider section, paste the URL into the IdP Metatdata URL field.
- Go to Step 4. Assign Authentication App to your end users in Okta.
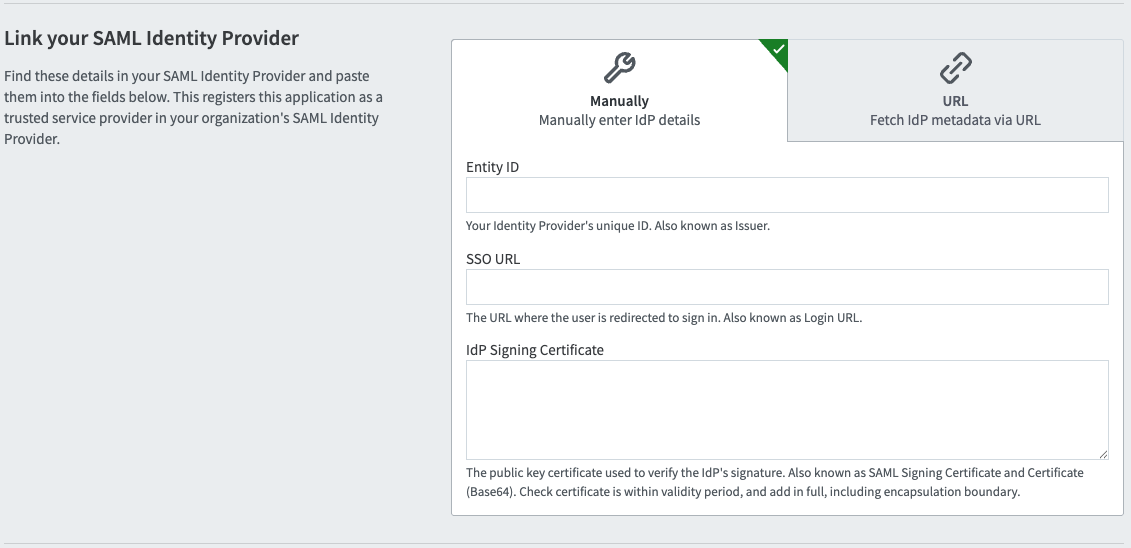
Manually entering IdP details
-
In Okta, go to Applications > Applications.
-
Select the app you just created.
-
Select the Sign On tab.
-
Select More details to expand the section.

-
Copy the Okta Issuer and paste it into PaperCut:
- In Okta, copy the Issuer URL.
- Switch to the PaperCut tab and paste the URL into the Entity ID box in the Manually tab.
-
Copy the Sign on URL and paste it into PaperCut:
- In Okta, locate the Sign on URL and click Copy.
- Switch to the PaperCut tab and paste the URL into the SSO URL box in the Manually tab.
-
Copy the certificate and paste it into PaperCut:
-
Switch back to Okta, locate the Signing Certificate, and click Copy.
-
Switch to the PaperCut tab and paste the details into the IdP Signing Certificate box in the Manually tab.
-
Step 4. Assign Authentication App to your end users in Okta
- In the Okta admin interface, for your newly created PaperCut NG or MF SAML Application, click the Assignments tab.
- Assign the SAML Application to the users and/or groups who you want to sign in to PaperCut NG or MF or Pocket using Okta.
Step 5. Test the configuration
Test that you can log in with an email address associated with the domain(s) you’re setting up for SSO.
- On the PaperCut NG or MF SAML 2.0 SSO configuration page, in the Test configuration section, select Test configuration.
- Log in to the IdP using an account with your SSO-related credentials from the domain you configured. A test user is always a good option!
- Wait until a test result is displayed.
- If the Test successful popup is displayed, select Return to SSO Configuration.
- If the Test failed popup is displayed, make a note of the error information, select Return to SSO Configuration, make the required changes, and test again.
- Select Return to SSO configuration to return to the configuration page.
Step 6. Enable the configuration
- On the PaperCut NG or MF SAML 2.0 SSO configuration page, in the Enable configuration section:
- If you’re ready to immediately allow SSO access to PaperCut NG or MF via this configuration, select Yes, enable now.
- If you’re not ready to start using this configuration, select No, enable later, and save the configuration. You can return to enable it at any time. Before enabling it, test the configuration again.
- Select Apply. The Authentication page is displayed.
- Check that your SSO configuration is enabled/disabled according to your previous “Enable configuration” selection. If enabled, use a test account to check that SSO is working.
Comments