
Remember the zeros next to each one of the client OS icons? This number represents the number of jobs your user clients print. Now it’s time to get them clocking over—put your gaming hat on and level up!
Your aim during setup and testing is to validate that printing works from all client types used on your network.
- From the Mobility Print Admin interface, copy and send the setup link to the client you want to test. There are two types of links to choose from:
-
The specific Client Setup link, which goes directly to the instructions for that OS.
-
The URL link at the bottom of the Mobility Print Admin interface, which, when opened in the client, automatically redirects to the specific setup steps for that type of client.
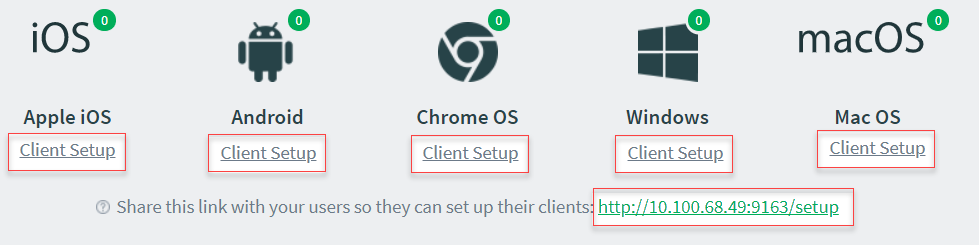
Links to steps on how to set up client devices with Mobility Print on each type of OS
-
- On the client, click the link you sent. The client-specific setup steps are displayed.
- Follow the instructions shown on the client and print a test page.
- Verify that the content printed correctly.
- Check the job counter in the Mobility Print Admin interface. It should have moved from 0 to 1.
- Repeat these steps for all of the client types your users will be printing from in your environment.
If you experience any issues or problems, check out the troubleshooting section.
Comments