
The video below summarizes how to set up Cloud Print on Chromebooks. The detailed steps are below.
BYOD Chromebooks
After you’ve created an invite link, as described in Step 1: Configure Cloud Print in the Mobility Print server, send the link to your users. This link will give users a few easy steps to follow (it’s really just one step!), to click a link to the Mobility Print extension in the Chrome Web Store to install it.
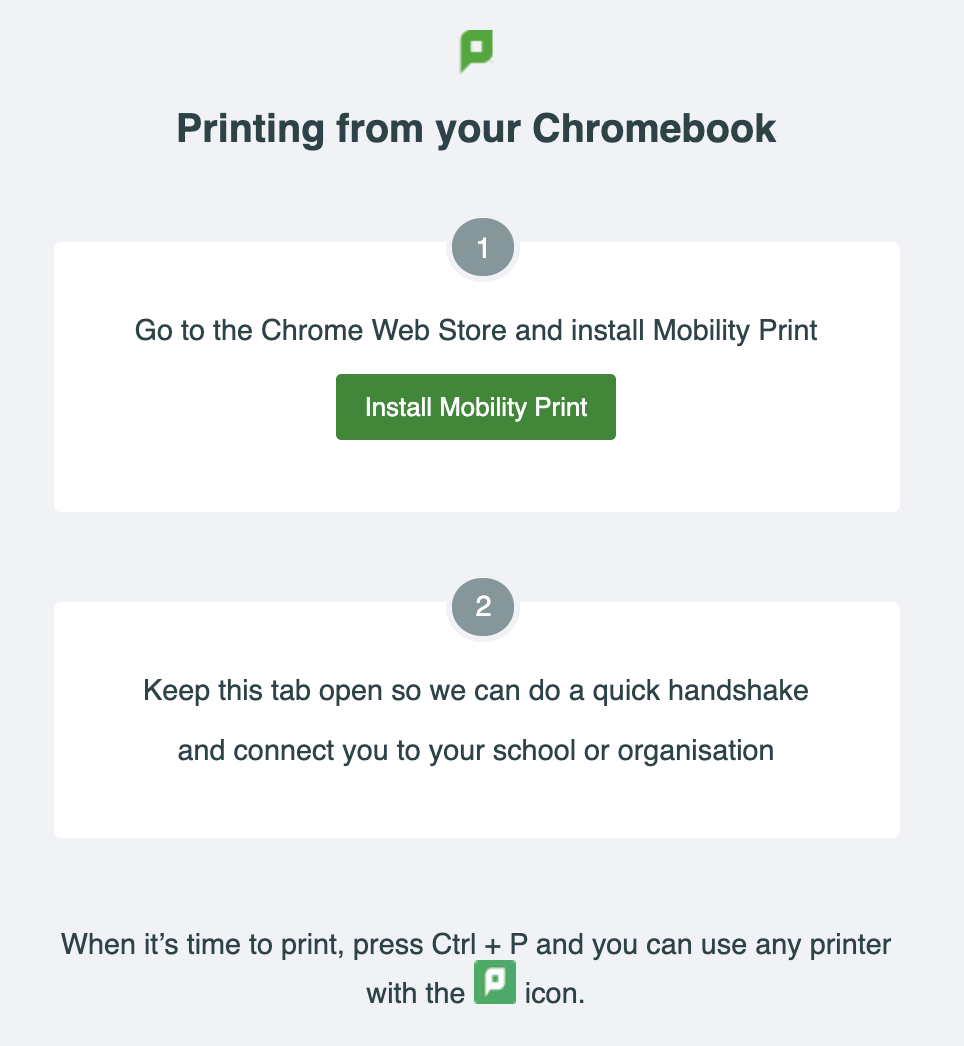
The setup screen presented to Mobility Print users on Chromebooks
The Mobility Print extension will then do a quick handshake with the invite page that is still open to get access to the printers at your organization. Once this handshake is finished, the user is notified that they are ready to print.
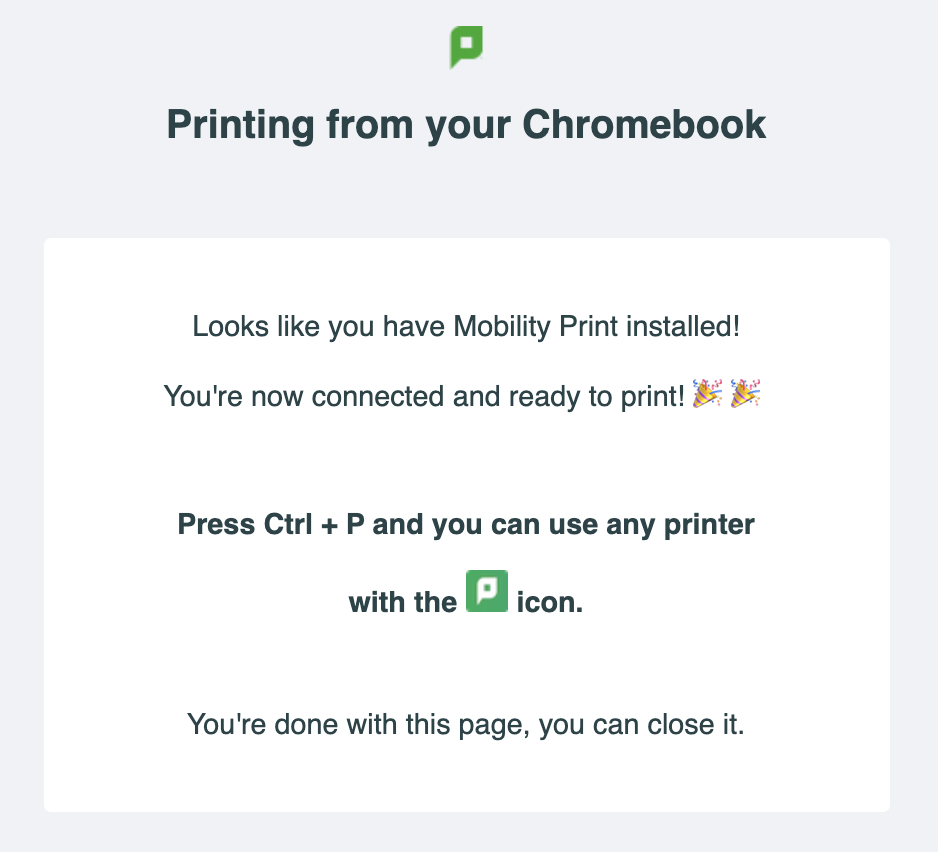
Successful installation of the Mobility Print extension.
Managed Chromebooks
-
Log into admin.google.com using your Google Workspace admin account.
-
From the Google Admin console, click Devices. The Device Management page is displayed.
-
In the left menu, click Chrome management. The Chrome Management page is displayed.
-
Click Apps & extensions. The Apps & Extensions page displays.
-
In the left menu, select the organizational unit you want to deploy the Mobility Print extension to.
- If you’re using your own test Google Workspace organization, feel free to just use the top level (whole organization unit).
- If you have actual users using Mobility Print on Chrome devices in this organization currently, it is recommended that you create a separate test organizational unit.
-
On the bottom right of the page, click the yellow + icon; then click Add from Chrome Web store. The Add app from Chrome Web Store pop-up is displayed.
-
Search for PaperCut Mobility Print.
-
Next to Mobility Print, click Select. The extension is displayed in the Apps & extensions page.
-
In the Installation policy column, change Allow install to Force install.
-
In the right panel, complete the Policy for extensions field by copying and pasting one of the sample texts below. Replace <your cloud print link> with your own Cloud Print setup link.</your>
For a single Cloud Printing link:
{ "CloudPrintInviteLinks": { "Value":[ "<your cloud print link>"] } }For multiple Cloud Printing links:
{ "CloudPrintInviteLinks": { "Value":[ "<your cloud print link 1>","<your cloud print link 2>","<your cloud print link 3>"] } } -
In the right panel, in the Policy for extensions field, paste the JSON object you just created.
-
Double-check the JSON object value you pasted is correct—with quotations and all.
Finally, at the top right of the screen, click SAVE.
What’s next?
Print.
Control + P
Seriously, that’s it.
Due to Chrome’s printing user interface, in the Print dialog you might need to click See more to load the full list of printers. The list will include the printers from the Mobility server corresponding to the Cloud Print link you configured in the Google Workspace organization. These printers have a green PaperCut icon next to them.
You can confirm that printing occurred using this link in the Test Printing section underneath your link.
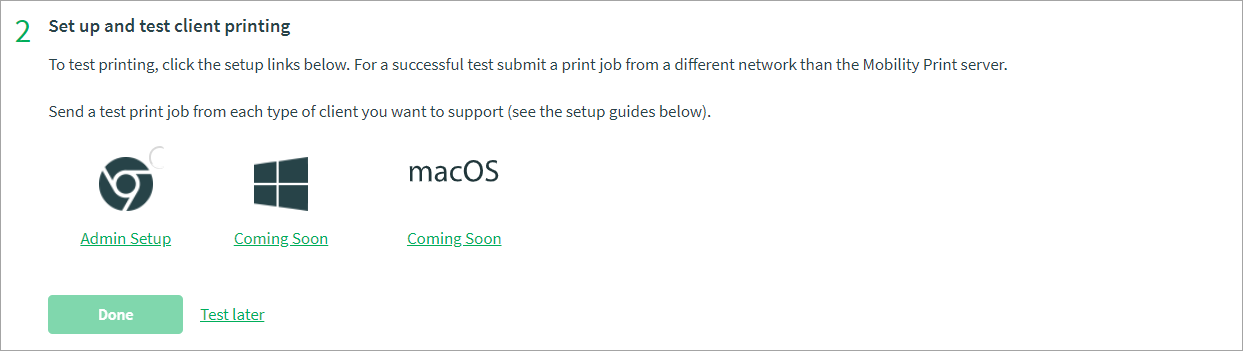
Testing client printing with Mobility Print
You will see the tick mark above the logo when a Cloud Print job is received - local print jobs do not trigger the tick to display.
Comments