
Personal user accounts are automatically created when users are first imported into the system. Shared accounts are created manually on an as-needed basis. Normally shared accounts are created manually in the Admin web interface, however, organizations with many accounts can automate the account creation process by importing accounts. Import options include via a file (for example, Excel, or an export from a 3rd party system) or by scanning an existing directory structure. For more information on automatic importing, see Batch import and update shared accounts.
To create a shared account:
-
Click the Accounts tab.
The Shared Account List page is displayed. -
In the Actions menu, click Create a new account.
The Account Details page is displayed. -
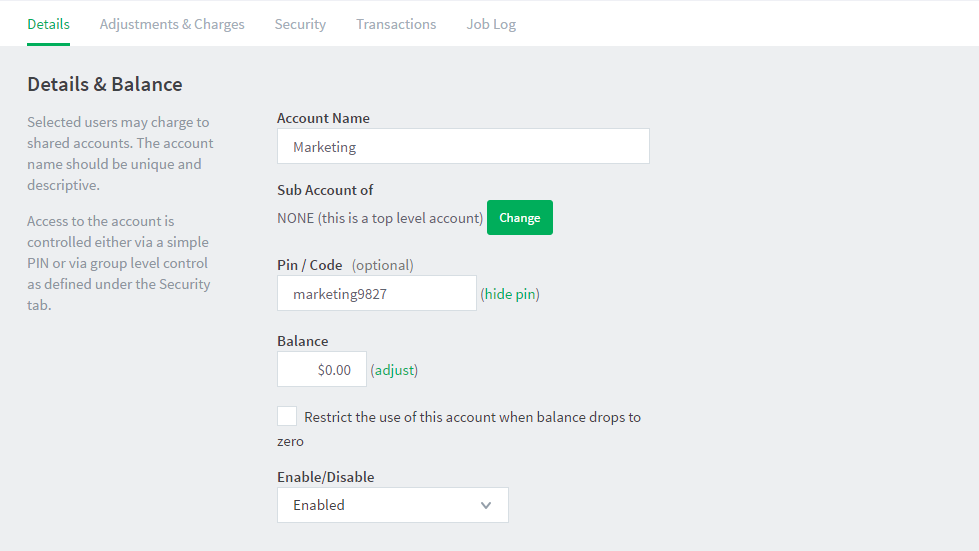
Enter an appropriate name for the account. Make the account names as descriptive as possible.
-
Complete other details such as starting balance, restrictions status and notes as appropriate.
-
Click OK.
Restricted/Unrestricted status
By default, shared accounts have an unrestricted status. This means that the account’s balance is allowed to drop below zero. Many organizations use shared accounts to track their printing expense. A common strategy is to start the account off at a zero balance and let it count down into the negative. By setting the account to restricted and allocating an initial starting balance, you can use shared accounts as a budget control system as printing to the account is denied once credit is exhausted.
Parent/child account structures
PaperCut NG/MF has support for advanced parent/child account structures. The subsequent account naming conventions section covers many of the common practices. See Shared account naming guidelines for more details.
PIN/Codes
Each account can also be assigned a PIN/Code that helps uniquely identify an account. Many users use the codes to represent cost-centers, clients, projects, etc. These codes are often also used in other systems (like the accounting system) to identify these accounts consistently across the organization. Once defined, you can use these codes in the User Client software to quickly search for accounts, and can also displayed in account-based reports.
The account PIN/code can be entered on both parent and sub-accounts. For example, it is common to use parent accounts to represent clients and sub-accounts to represent projects for those clients. In this scenario, the parent account code would represent a client code, and the sub-account code would represent the project code.
The template account
The [Template Account] is designed to save time by applying the most common settings to all newly created accounts. The [Template Account] is on the Shared Account List page of the Accounts tab.

Any settings applied to the template account are applied to new accounts when they are created.

Some examples of where the template account might prove useful include:
-
Applying common security settings. For example, if the
Staffgroup should have access to all accounts, adding the group to the template account ensures group members can also charge to future accounts. -
Applying a starting balance. The starting balance might represent the standard department print quota or the amount of ‘free printing’ a customer has before they are billed for the excess.
Comments