
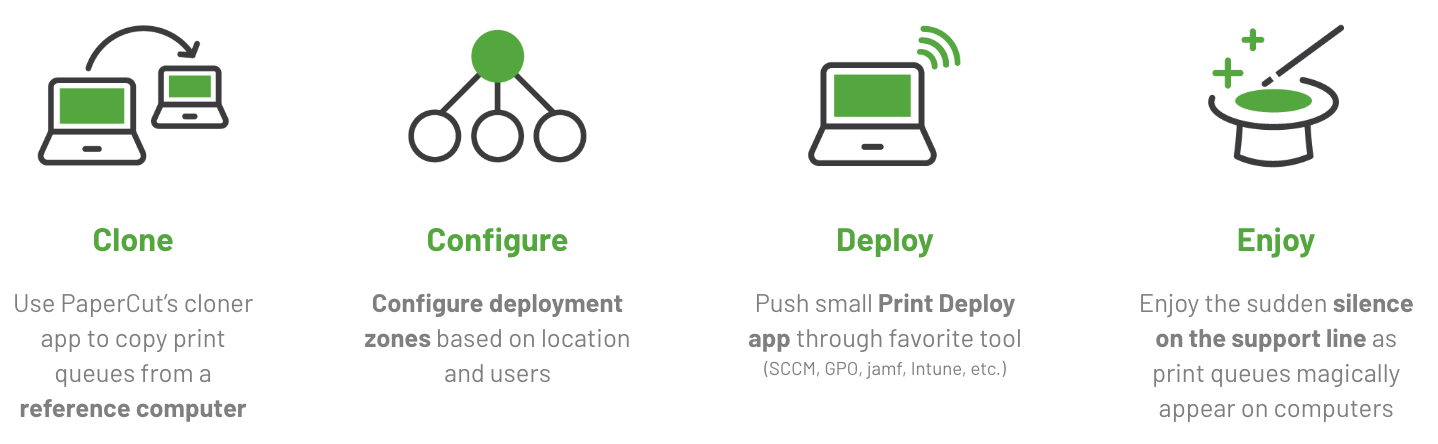
At a high level, here’s how Print Deploy works:
Clone
Print queues are created on a reference computer
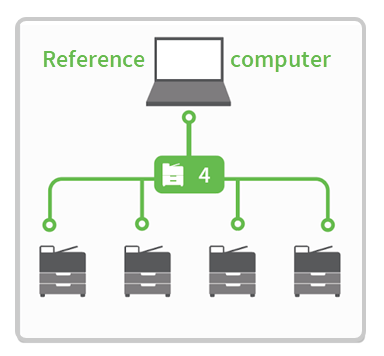
Deploying print queues all starts with creating and configuring them, which is done on a reference computer. You need a separate reference computer for each operating system in your environment.
- The print queues can be server, serverless, or Mobility Print print queues.
- The reference computer is where you set up default settings, like grayscale and duplex, and capabilities, like stapling and hole-punching.
After the print queues are set up they are ready to be cloned into Print Deploy.
The print queues are cloned into Print Deploy
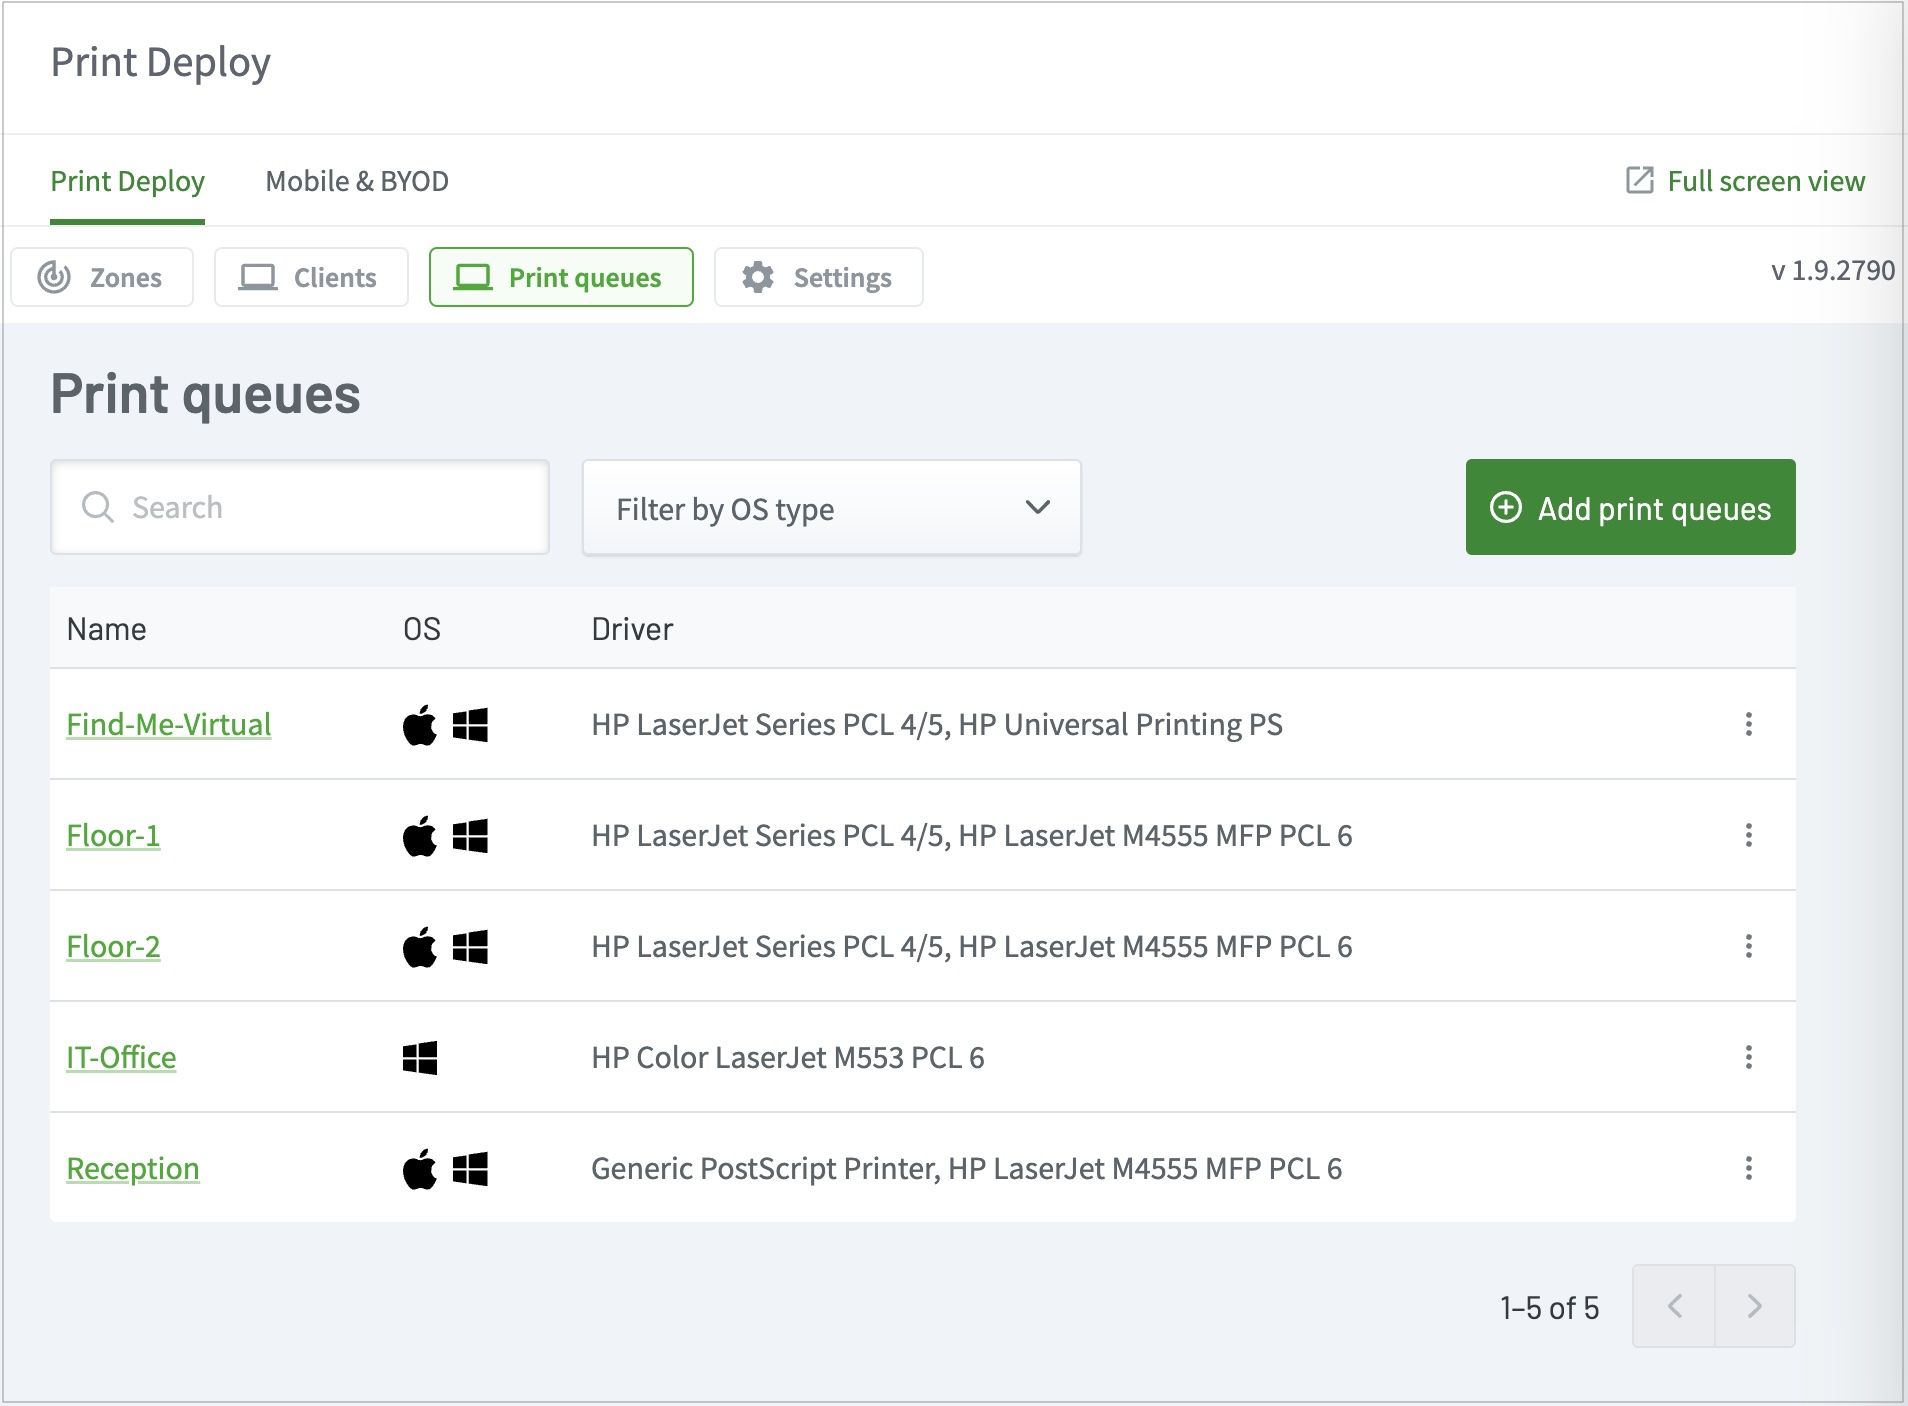
The first time you use Print Deploy you’ll see the Print queues list, which doesn’t contain any print queues. So your first task is to download and run the cloner tool on the reference computer (that’s been set up with all your print queues), to clone the print queues and add them into Print Deploy.
Now the print queues are ready to connect to zones or individual clients.
Configure
Print Deploy is set up so users will get the correct print queue(s)
You configure Print Deploy to send print queues to clients (computers/workstations) in two ways: by using zones or by sending them directly to specific individual clients.
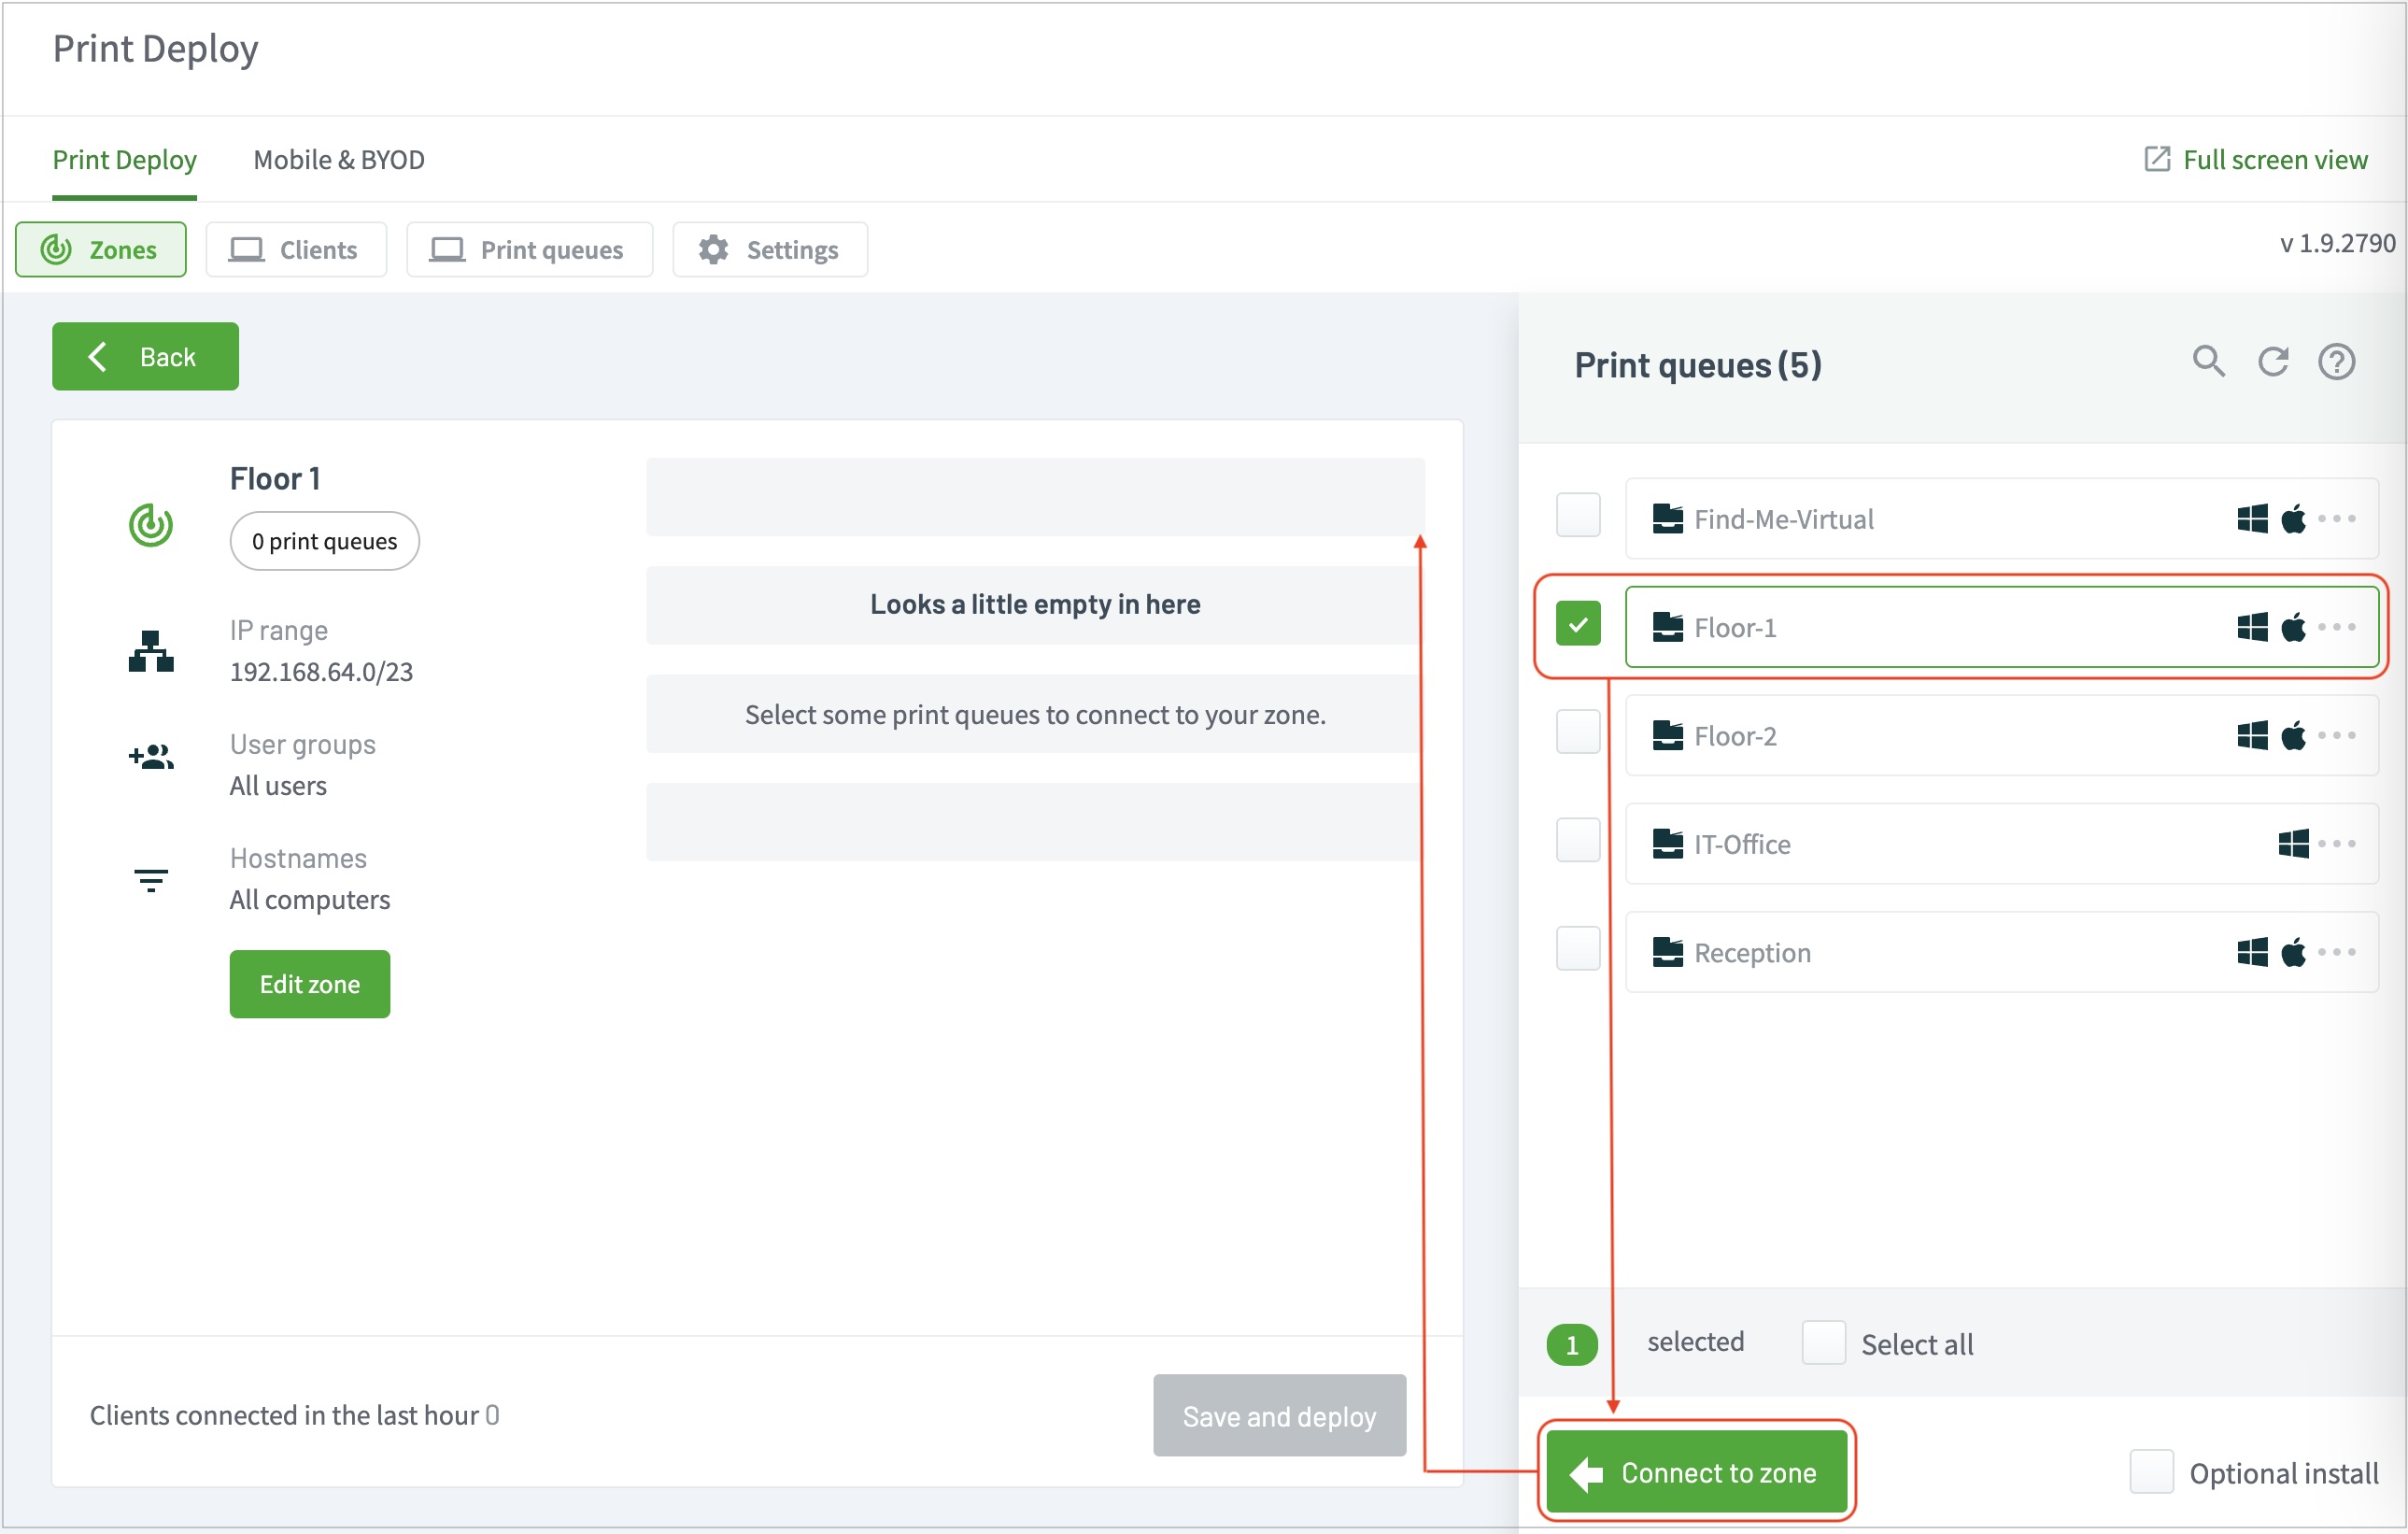
Zones
Introducing zones! Zones are used to deploy print queues to groups of users and/or to computers within an IP range.
- In the simplest deployment scenario, Print Deploy automatically puts all users into a single zone called Everyone.
- You can create multiple zones if you have a Zone Pack, for example, separate zones for Branch Office 1 and Branch Office 2. Users are added to zones depending on what printers they need to use. That way, users who move between both Branch Offices will have automatic access to the right printers at either location.
The print queues are then connected to the zones, so users in different zones will get to use the specific printers are connected to each zone. That’s how you control which users get to use which printers.
Now the print queues need to be made available to the users.
Client specific
To deploy print queues to specific clients, you need to enable client management and have a valid license. Then, any user who logs in to that client can see all the print queues that have been deployed to that individual client.
Deploy
The print queues are deployed
By clicking Save and deploy, the print queues are deployed, ready for the users to use. Deployment done!
A client is installed on users’ computers so they can access the print queues

As well as deploying the print queues, Print Deploy installs a client on the users’ computers. This client automatically picks up the deployed printer queue details and adds them to the list of printers that are either automatically installed on the users’ computers, or selected by the users to install themselves.
Comments