Either follow the video below or scroll down for the steps.
Enable Cloud Print
-
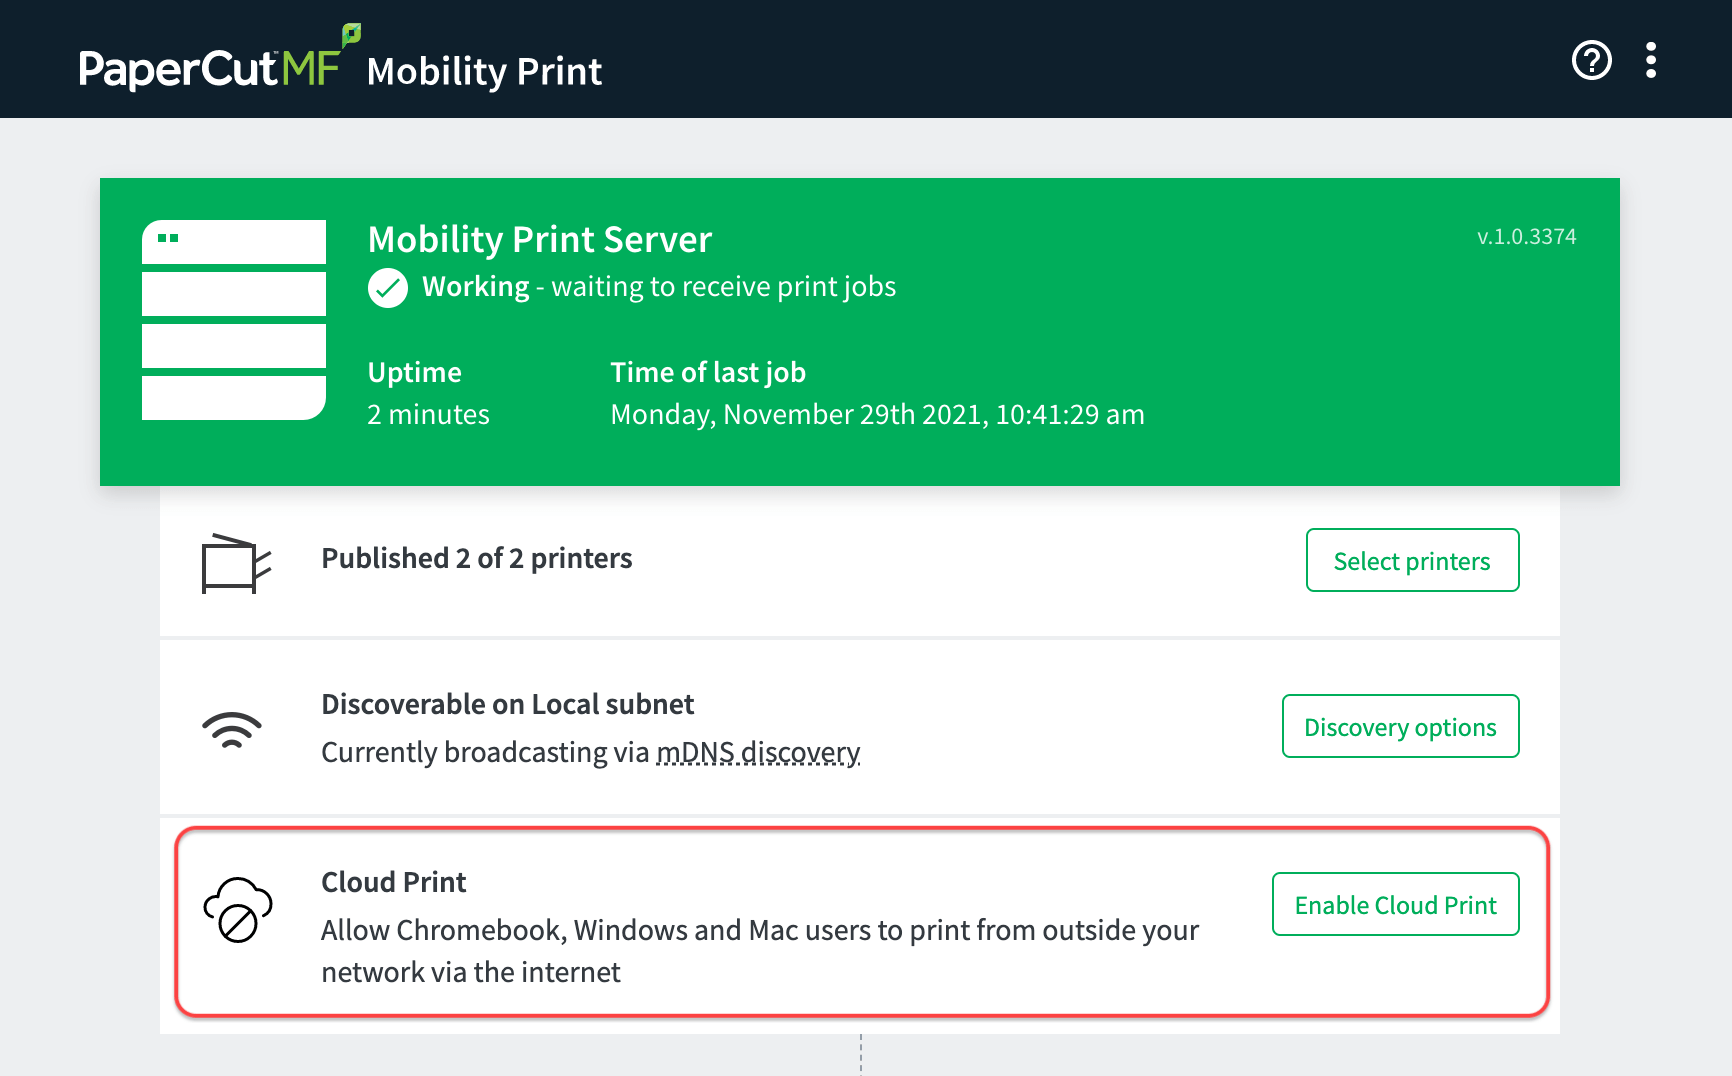
Open the Mobility Print Admin interface:
http://localhost:9163/adminYou’ll see the Cloud Print section in the central panel.

Configuration sections in the Mobility Print admin interface
-
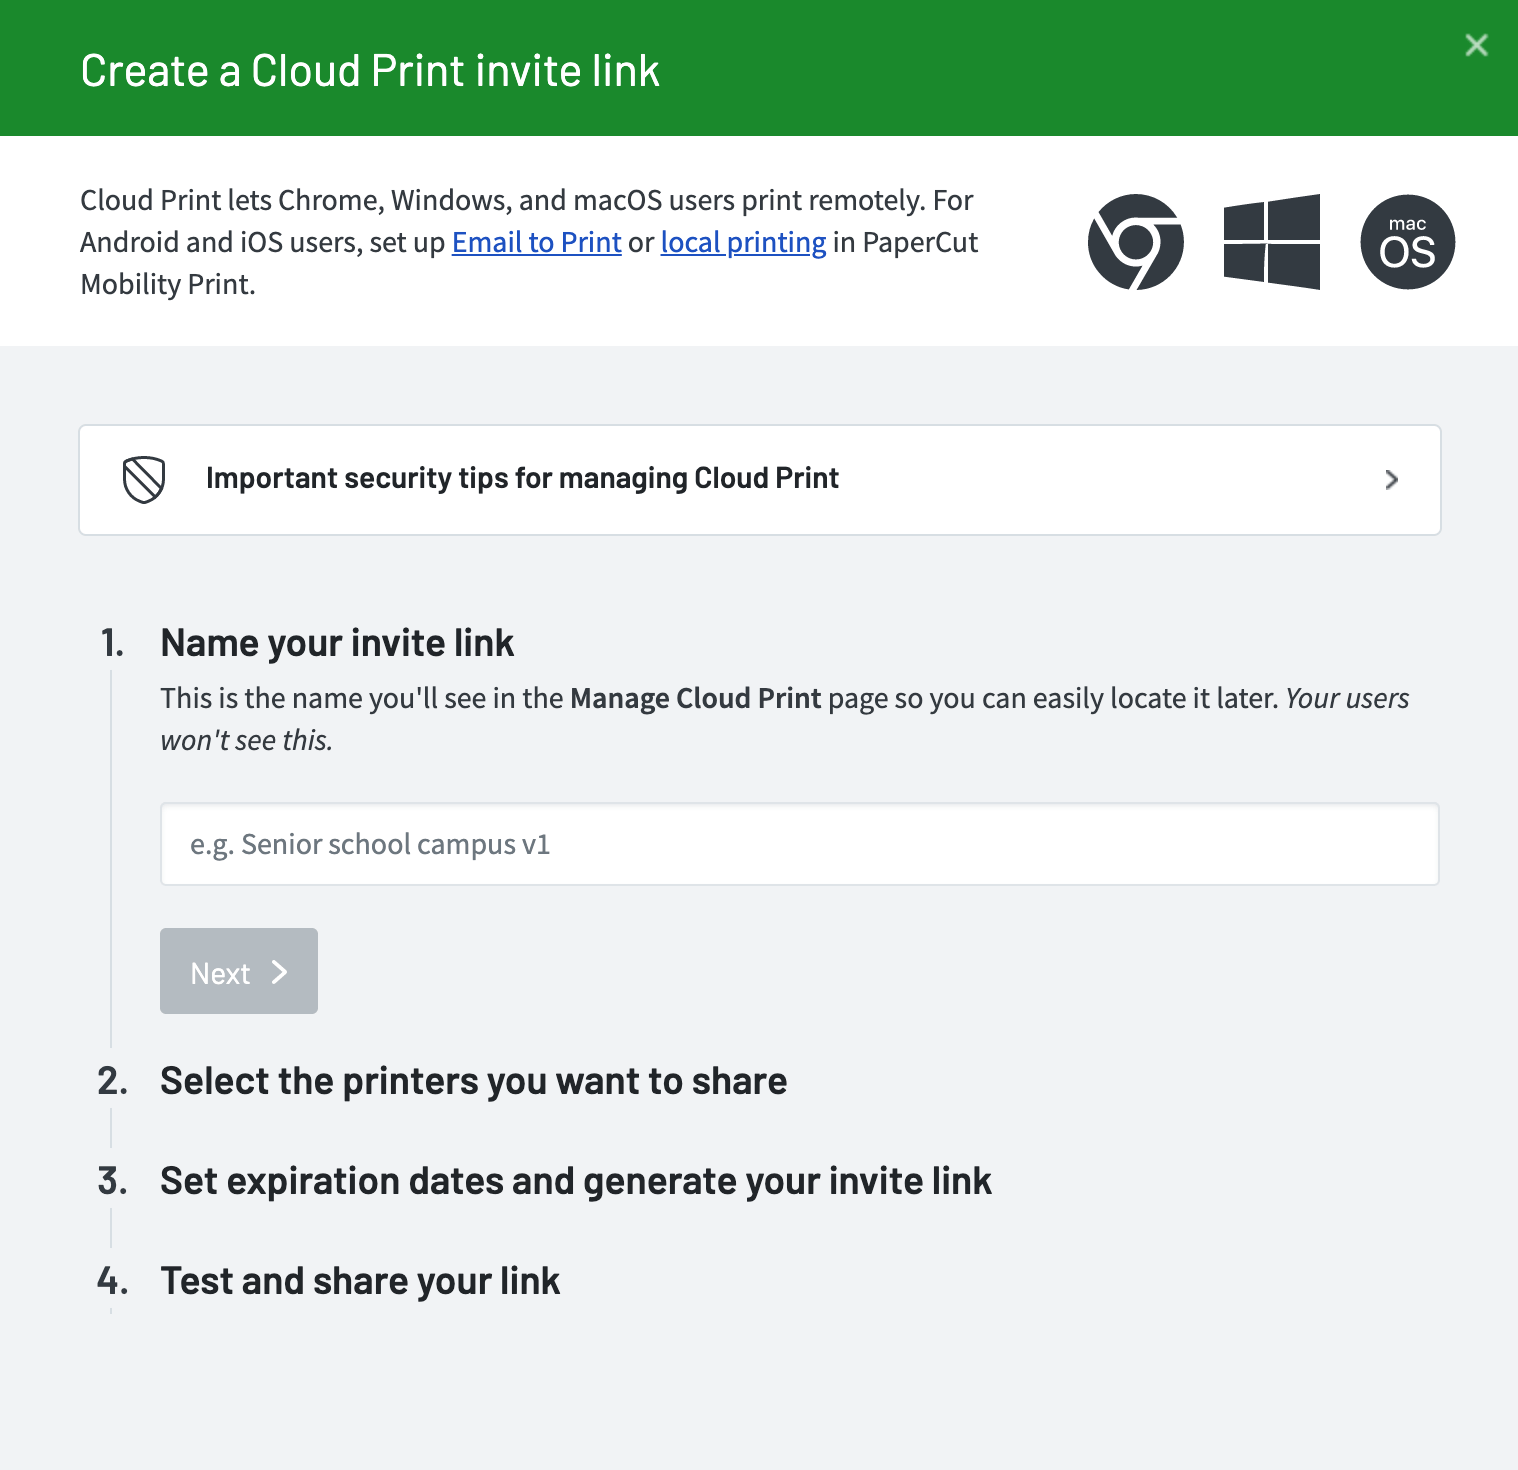
Click Enable Cloud Print. The Create a Cloud Print invite link panel opens.

Creating the Mobility Print Cloud Print invitation link
Create a Cloud Print invite link
You can configure multiple invite links, each with its own set of shared printers, invite link expiration date, and printing expiration date. After they’re set up, you’ll be able to see how many print jobs are printed via each, and manually deactivate any invite link at any time.
-
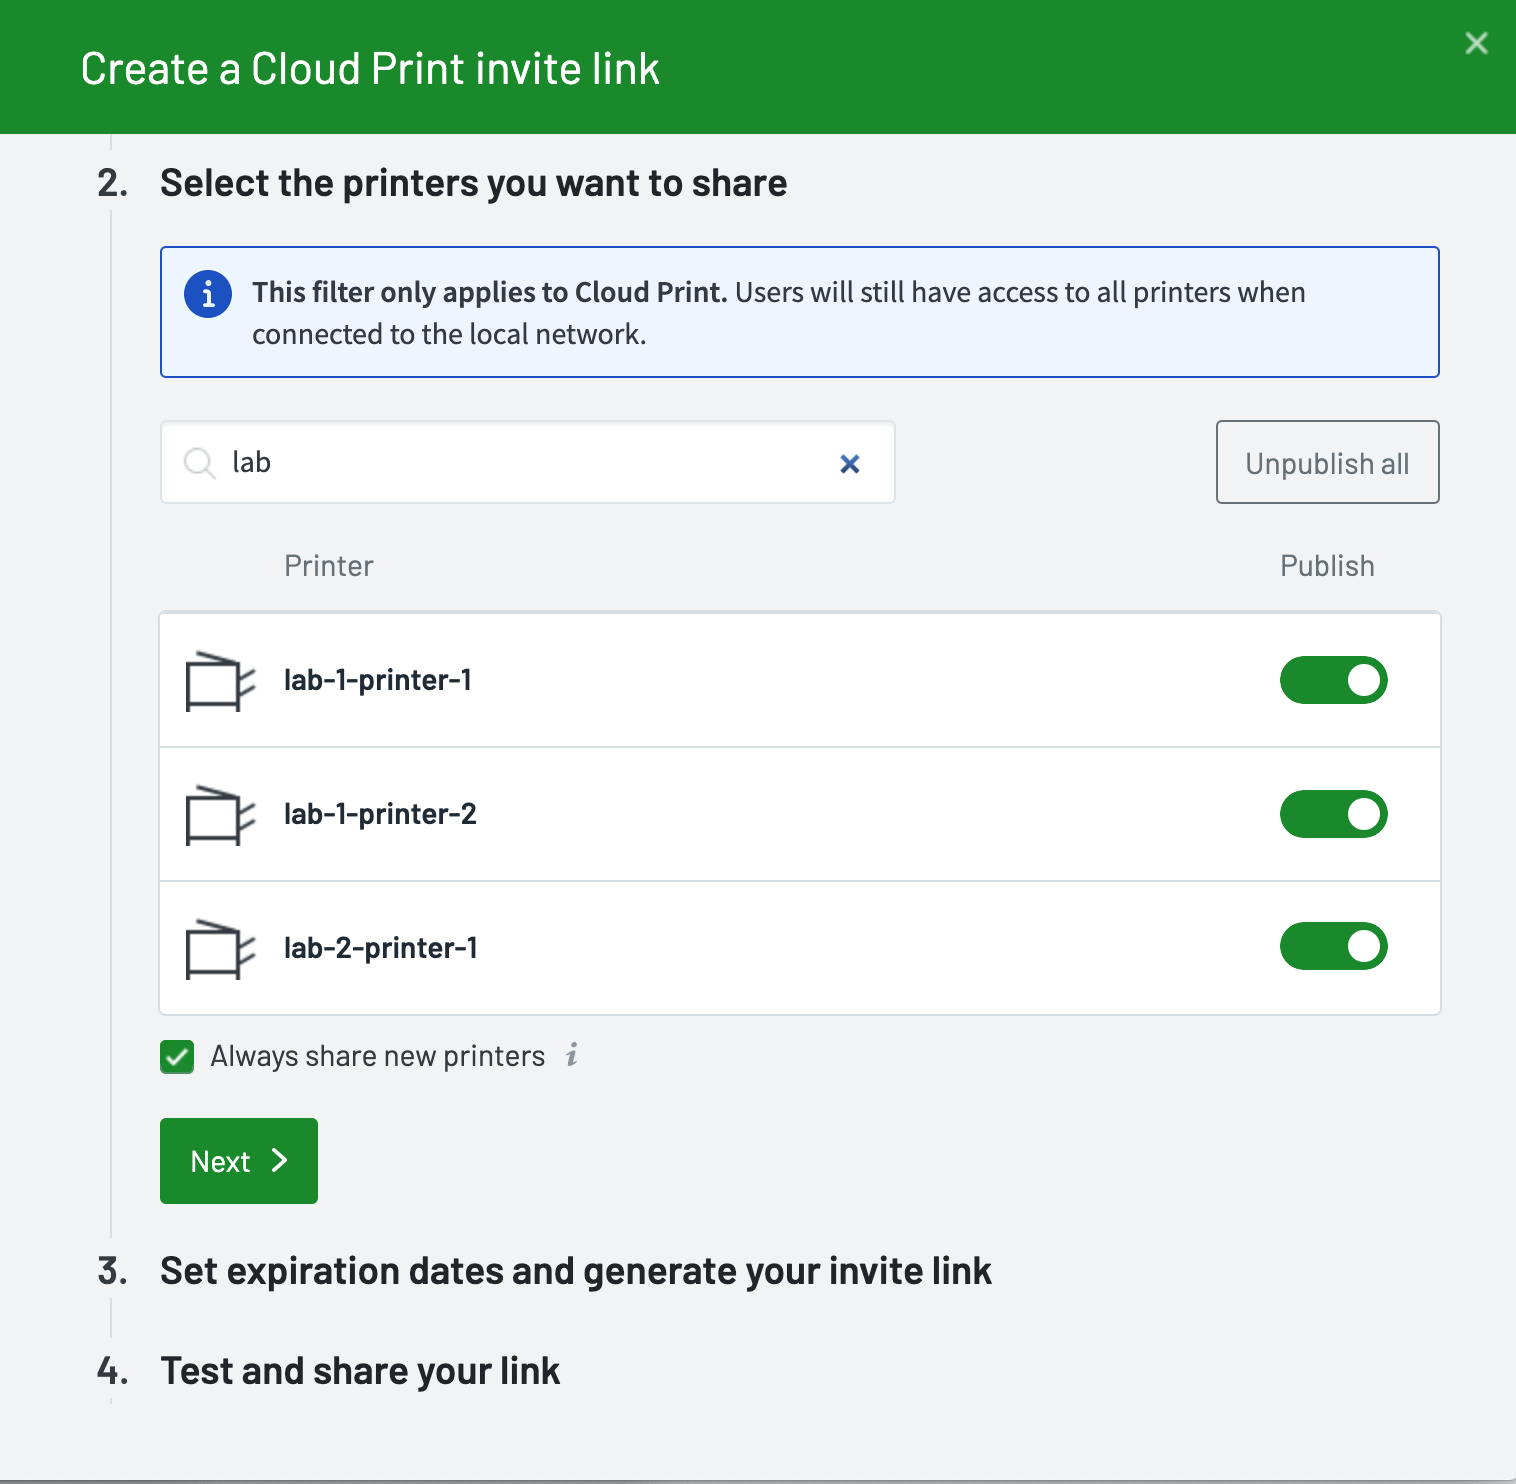
Name the invite link, and then select the printers you want to share.
For convenience, any printer you install on this server in the future will be automatically shared via this invite link. If you don’t want Mobility Print to sare new printers automatically, uncheck the Always share new printers checkbox.

Selecting printers to share via Mobility Print Cloud Print
-
Set the Invite link expiration date and Printing expiration date.
Expiration date Description Invite link expiration date Defines the period of time that users can use the link to set up their device with access to your server and its printers. This means users can’t keep re-using the same invite to set up printing forever and allows you to stop new users from setting up, without revoking printing for those that already have set up. Printing expiration date Lets you disable printing for all users who set up printing via that particular invite link. It also prevents new users being able to set up printing with that particular invite link. This doesn’t impact printing for users who set up printing using a different invite link. For example, Conference A is running from 1 to 5 June and Conference B is running from 8 to 12 June. Set up a separate invite link and print expiration date for each conference.
If you use PaperCut NG or MF, you can still control printing per user. This means you can be a bit less strict on your expiration date choices, or even decide to never expire the link.
If you don’t use PaperCut NG/MF, we recommend you set a suitable expiration date, so that after this date new users cannot set up access to printing to this server over the internet.
-
Test the invite link.
Before sending an invite link to users, it’s always a good idea to test it yourself first.
a. Copy your invite link from the Test your Cloud Print link section.
b. Open the link on a test Chromebook, Mac, or Windows device that is not currently on the same network. Mobility Print will automatically detect which operating system (Windows, macOS, ChromeOS) you are connecting from and present a few steps to configure printing on the device.
c. Print a test page and make sure it prints as expected.
-
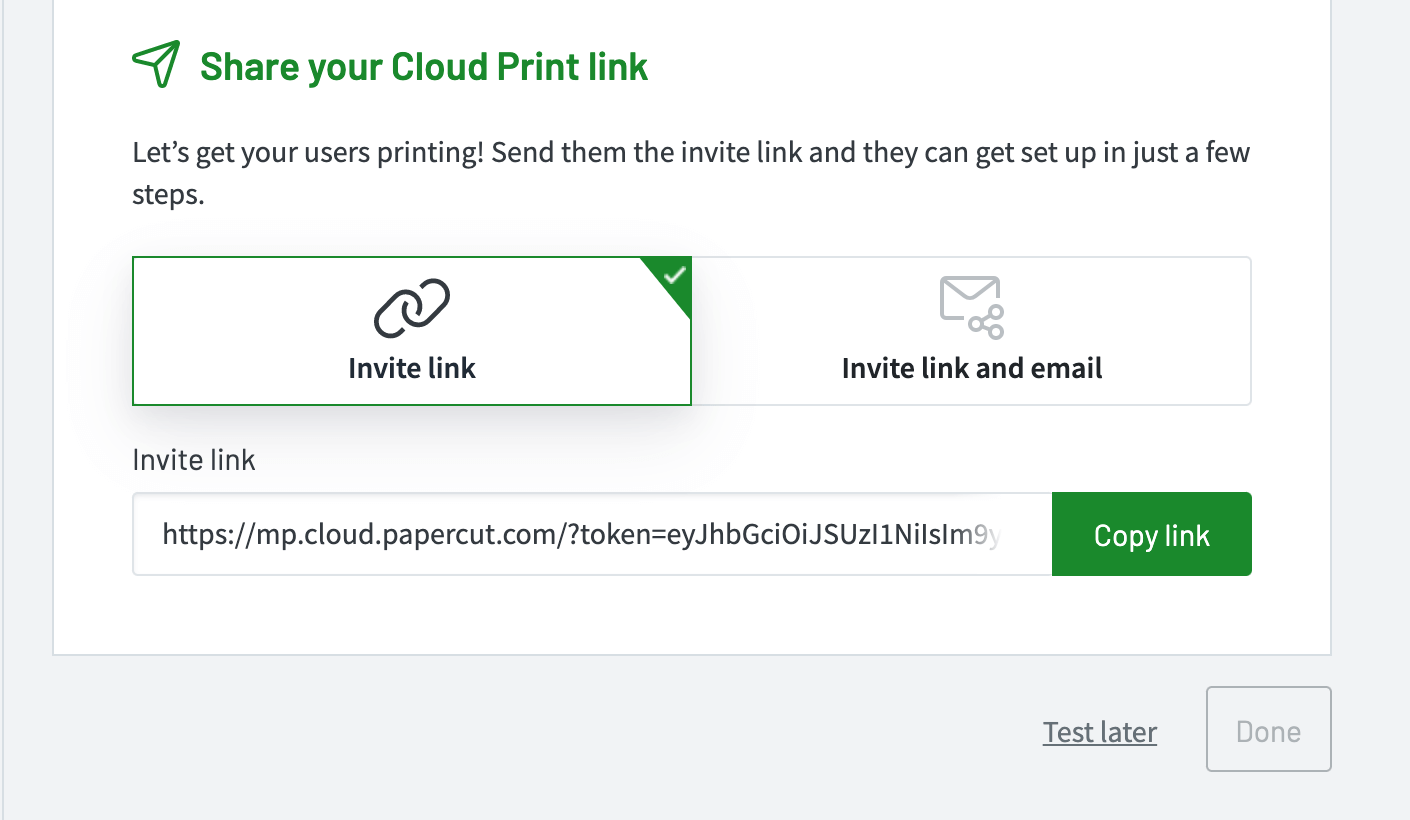
Share the invite link.
Now it’s time to send the invite link to your users.
- To deploy Cloud Print to managed Chromebooks, see Set up Cloud Print on managed Chromebooks .
- If you are going to email the link to someone, you can copy a pre-crafted email by clicking on Invite link and email.

Copy the template Cloud Print invite email
What’s next?
Take a look at Setting up Cloud Print on the clients


Comments