
The below video explains how to configure your delivery options:
The delivery options (available in the Delivery field on the New Order form) are defined in a JSON configuration file. Delivery options is a global setting that applies to all products in Job Ticketing.
- For more information about JSON, see using JSON
Delivery option attributes
Each delivery option is defined by the following attributes:
| Attribute | Description |
|---|---|
| name | The name of the option as it is displayed in the Delivery Options field. |
| description | The text that is displayed under the Delivery options field when an option is selected. |
| detailsLabel | The name of any additional text field that is displayed when the option is selected. For example, for Courier Delivery, the customer would need to enter a delivery address, so detailsLabel would be set to “Address”. If there are no additional fields that a customer needs to complete, set detailsLabel to null. |
| cost | The cost for the delivery option. This is required only if you want to provide cost estimates on the New Order form. For more information about cost estimates, see Configure costs. |
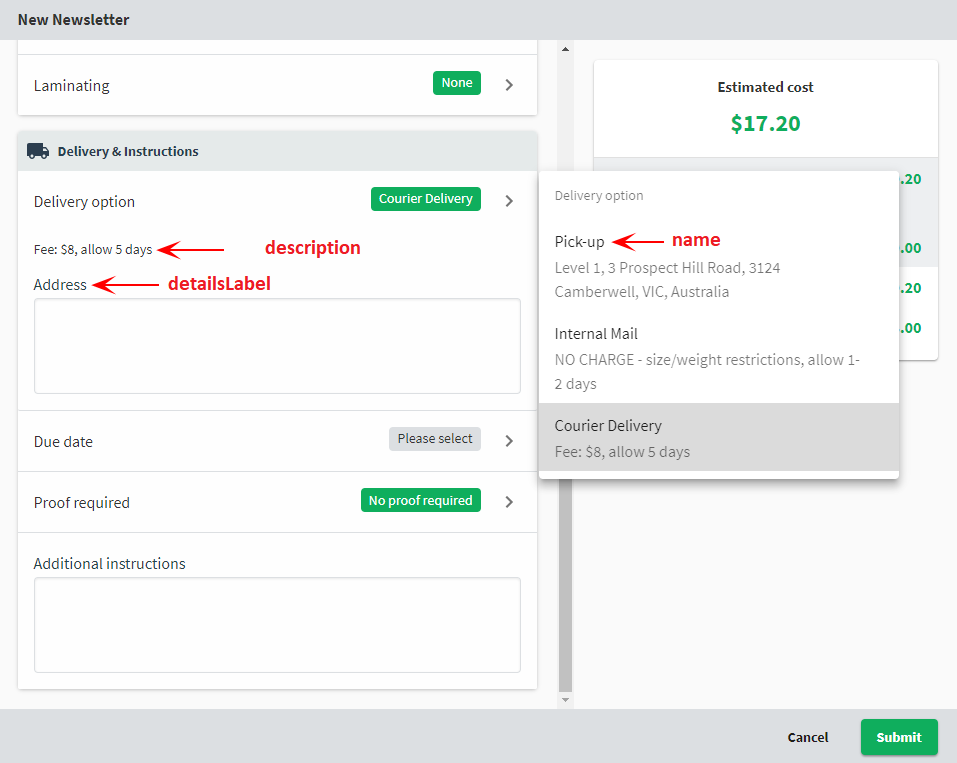
A delivery option showing a description, the detailsLabel, and a name.
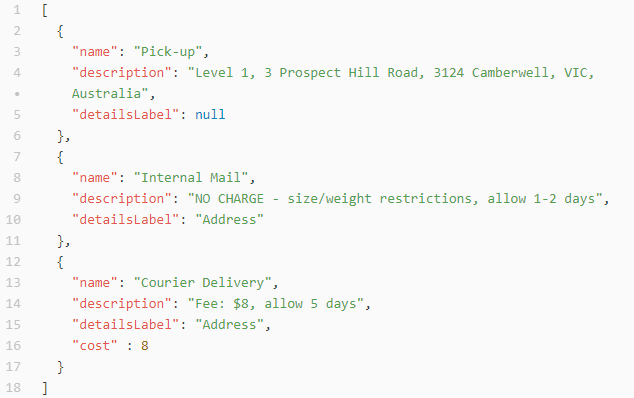
The above delivery options, shown in JSON.
To configure the delivery options
To configure the available delivery options:
-
In a text editor that supports syntax highlighting and JSON parsing (for example, ATOM), open the following file:
<Job Ticketing install path>/job-ticketing/config/rooms/room-01/delivery-options.json -
Modify the existing Delivery option attributes as required. If you want additional delivery options, copy an existing option and change the values as needed.
-
Save the file.
-
Validate the Job Ticketing configuration:
-
In the Operator interface, in the bottom left corner of the screen, click the Settings icon.
-
Click the General tab.
-
In the Room configuration area, click Refresh, and the configuration file will be validated.
-
If you have any errors, fix them; then click Refresh to check the files again.
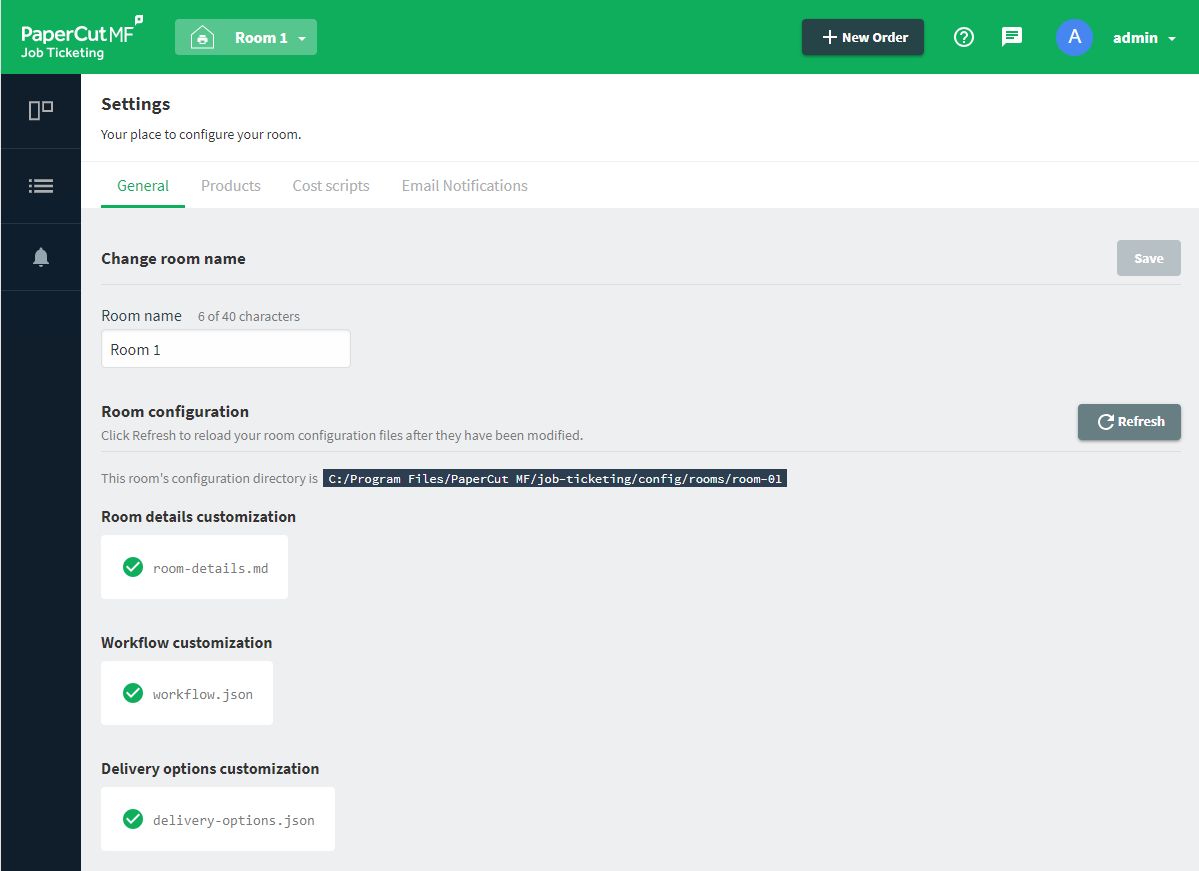
A print room showing validated print room configuration
-
-
Check that the delivery options are correctly displayed on the new order form:
- In the Operator interface, click the arrow next to your user name in the top right of the screen; then select Switch to customer view.
- Select a product; then click Start Order.
- Scroll to the Delivery Options section.
- To switch back to the Operator interface, click the arrow next to your user name in the top right of the screen; then select Switch to operator view.
Next Step: Define the Workflow
Comments