
This page explains advanced Find-Me Printing and load balancing options, including overriding cost and filter settings, handling mixed color and grayscale printers, and redirecting jobs across servers.
Overriding cost and filter settings
When a user prints to a Find-Me Printer, PaperCut NG and MF apply the cost and filter settings of the Find-Me queue, not the target queue where the job is released. This is the default option, and what we recommend but can be adjusted in the settings of the Find-Me queue under Job Redirection Settings. 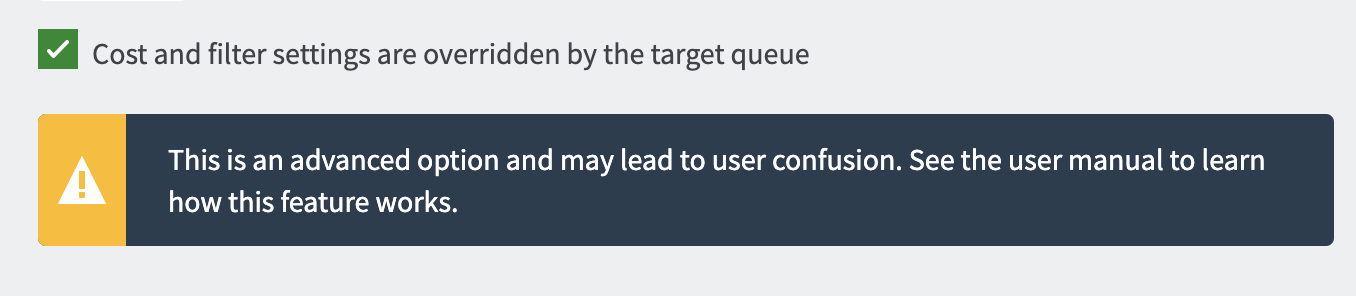
There are some special cases where it makes sense to apply cost and filter settings at the target queue instead. See the table for details:
Use the cost and filter settings of the Find-Me queue | Use the cost and filter settings of the target queue |
|---|---|
Leave the box unchecked if...
| Check the box if...
|
To enable cost and filter settings from the target queue:
- In the Admin web interface, go to Printers > Printer List.
- Select the Find-Me Printer.
- Scroll to Job Redirection Settings (this section only appears if the Queue type is set to This is a virtual queue…).
- Select Cost and filter settings are overridden by the target queue.
- Click Apply.
Mixed color and grayscale printers
When the organization has a mix of grayscale and color printers it is important to configure Find-Me Printing carefully. Often the simplest approach is to configure 2 virtual queues: one configured as a color queue and the other as a grayscale queue. This makes it simpler for users to understand where to print and what they’ll be charged if they need color or grayscale printing. Configure the queues as follows:
- Grayscale virtual queue - configured to default to grayscale printing, the color mode detection set to This is a grayscale printer, and can release on all printers (including color printers).
- Color virtual queue - configured to default to color printing, and can only release to color printers.
Using a single virtual queue is also a valid option. There are no technical problems with this approach, however, it is a little more complicated for users to understand.
Cross-server job redirection
PaperCut NG/MF supports redirecting print jobs across print servers, but due to technical limitations the print servers must be running the same operating system (e.g. Windows to Windows, Mac to Mac, etc.).
Cross-server job redirection on Windows
To enable redirection of print jobs from one Windows print server to another some additional configuration is required. This section covers the steps necessary to set it up.
The PaperCut Print Provider service is the Windows service responsible for interaction with print queues. For security reasons this service, as for most other Windows services, runs as the SYSTEM account. This account does not have the privileges required to access another system and place a print job in one of its queues. Therefore to enable this functionality the privileges of the PaperCut Print Provider service must be escalated.
The recommended way to escalate the privileges of the PaperCut Print Provider service to the required level is as follows. First a service account is created with permission to create new print jobs:
- Create a new domain user called
papercut_service(or something suitably descriptive). This account has permission to print on both/all print servers.
If there are multiple domains involved it might be easier to create local users on each print server that all have the same username and password. - Ensure that the Password never expires option is selected.
- Grant this user local administrator rights on the print server where it is installed. This gives the
papercut_servicethe same privileges as the WindowsSYSTEMaccount. - Ensure this user has the rights to print on all remote printers.
Next the PaperCut Print Provider service on each print server is configured to run as the new service account (changed from default SYSTEM to papercut_service):
- Open the Windows Services list.
- Stop the service PaperCut Print Provider.
- Right-click the PaperCut Print Provider service; then select Properties.
- Select the Log On tab.
- Select This account.
- Enter the username and password of the newly created service account.
- Click OK.
- Start the PaperCut Print Provider service.
Now PaperCut NG/MF has the ability to redirect jobs to the remote print queues to which it has access. Test by setting up a simple job redirection scenario, such as that described in Example 1: Simple load balancing.
Comments