
Plan and prepare for your installation
Before you install Mobility Print, follow these steps:
-
Decide which host you want to install Mobility Print on.
If you already have an existing print server… bonus! Just use the same host as that print server. You can jump to Download and install Mobility Print on your print server.
Mobility Print needs to be installed on a system that is permanently connected to your network. For more information, see Mobility Print system requirements. The server can be:
- an existing print server
- a new system (even a desktop system) that’s permanently left on
- a virtual machine. This machine must have its own IP address so it cannot be behind a NAT (Network Address Translation).
-
Determine the printer discovery method to use that best suits your environment.
-
Configure the necessary firewall rules according to the printer discovery method you’re using.
Set up a print server (if one does not exist)
-
Ensure the host system is connected to the same network that your end users will be printing from.
-
Set up all your printers on the system using the manufacturer’s provided print drivers.
-
Perform a test print on each printer to make sure it works.
-
If you are :
-
running PaperCut NG/MF and you are setting up an additional print server, install the PaperCut secondary server (a print server with a Print Provider installed).
-
not using PaperCut NG/MF at your organization and want to be able to authorize users, follow the PaperCut NG/MF Installation instructions to install the Application Server.
-
-
Check that PaperCut NG/MF tracks print jobs.
Download and install Mobility Print on your print server
Select your OS below and follow the steps to install Mobility Print on a Windows, macOS, or Linux server.
Windows
Like all good install packages, just download the file, run it, and click Next a few times… done! The Mobility Print Admin Interface is displayed. See… that was easy.
During the installation, Mobility Print will automatically detect all available printers and you’ll be prompted to select which printers to make available to your users.
You'll also be given the option to install GhostTrap. This is strongly recommended because it will help you support the widest range of Windows versions. GhostTrap is open source software used to securely convert PostScript to PDF.
Mac
Like all good install packages, just download the file, run it, and click Next a few times… done! The Mobility Print Admin Interface is displayed. See… that was easy.
During the installation you'll also be given the option to install GhostTrap. This is strongly recommended because it will help you support the widest range of Windows versions. GhostTrap is open source software used to securely convert PostScript to PDF.
Linux
NOTE: If you already have PaperCut NG/MF installed, go straight to Step 3. Install Mobility Print on Linux below.
Step 1: Check the system requirements
Before you start the installation, take a few moments to verify the system requirements.
- Is the operating system version supported and are patches up to date? (For details, see the Mobility Print Server Requirements section in PaperCut NG System Requirements or PaperCut MF System Requirements).
- Are the printer(s) installed and hosted on this system and are they exposed to the network either via CUPS or Samba? Ensure that the print queues are set up and working as expected before attempting to install Mobility Print.
- In a multi-user environment, printers are often shared with other network users. Other workstations should connect to these printers as 'Network Printers'. Ensure workstations are configured to print to the shared print queues. For example, a Windows workstation can connect to a samba exposed printer via
\\[samba_server]\[printer]. Other Linux or Mac workstations use IPP via CUPS. - Ensure that printers are configured correctly and work.
Step 2: Create the host user account and firewall settings
Mobility Print runs and installs under a non-privileged user account called "papercut". The installation location for the application is the papercut user's home directory. Create a user account on this system called papercut. This is usually done by logging in as root and using a user management GUI tool or at the command prompt entering:
shell> useradd -m -d /home/papercut papercut
The syntax for useradd and groupadd can differ slightly on different versions of Linux. They can also be called adduser and addgroup.
The user's home directory (the -d option) denotes the install location. /home/papercut is the recommended location. Administrators can, however, also consider alternate install locations depending on personal preference. Alternatives include:
/usr/local/papercut/opt/papercut
Some Linux distributions impose strict resource usage limits on user accounts (ulimit). The papercut account is a special account used for hosting an application and needs to be granted sufficient resource limits, such as the ability to open many files. On systemd Linux distributions, this limit is automatically configured so you do not need to do anything. For other distributions, the methods of setting user-level ulimit levels vary, however, the common solution is to add the following line to /etc/security/limits.conf:
papercut - nofile 65535
Many Linux distributions have strict default firewall policies. Mobility Print uses TCP Ports 9163 (for HTTP), 9164 (for HTTPS/ SSL) and these ports must be open. Take some time now to ensure these ports are open. Consult your distribution documentation for details on how to open firewall TCP ports.
Step 3: Install Mobility Print on Linux
-
Log on to the server as the non-privileged "papercut" user, then download the installer.
NOTE: If you are installing Mobility Print on a Linux secondary server, you need to create the "papercut" user.
-
Run the file from any directory.
shell> su - papercut shell> wget https://www.papercut.com/products/ng/mobility-print/download/server/linux/ shell> sh /mobility-print/pc-mobility-print-\*.sh -
Follow the installation instructions and enter the root password when requested.
NOTE: Temporary root access is required for part of the install. Make sure the root password or sudo password is handy. For more detail about the install process including installing to a different location, see PaperCut MF/NG on Linux.
During the installation you’ll be prompted to optionally install GhostTrap. This is strongly recommended. GhostTrap is open source software used to securely convert PostScript to PDF.
Follow the point below that matches your environment:
-
If you’re using Mobility Print with PaperCut NG/MF, the Mobility Print Admin interface page is displayed. You’re ready to configure Mobility Print.

Mobility Print Admin interface
-
If you’re using Mobility Print on its own, the Create an account page is displayed. Complete the fields and click Create account.
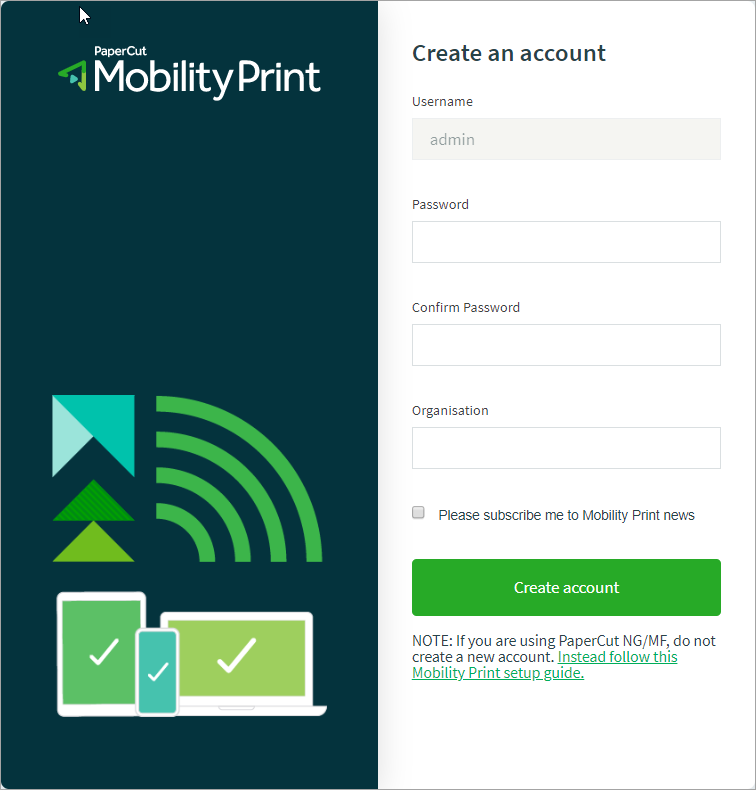
Create an account page
The Mobility Print Admin interface page is displayed ready for you to configure Mobility Print.
Mobility Print Admin interface
Comments