
If you’re a visual learner, feel free to watch this video:
The Customer interface displays the name and contact details for your print room. You set this information in a markdown configuration file. You can add any content you want displayed in this area of the screen.
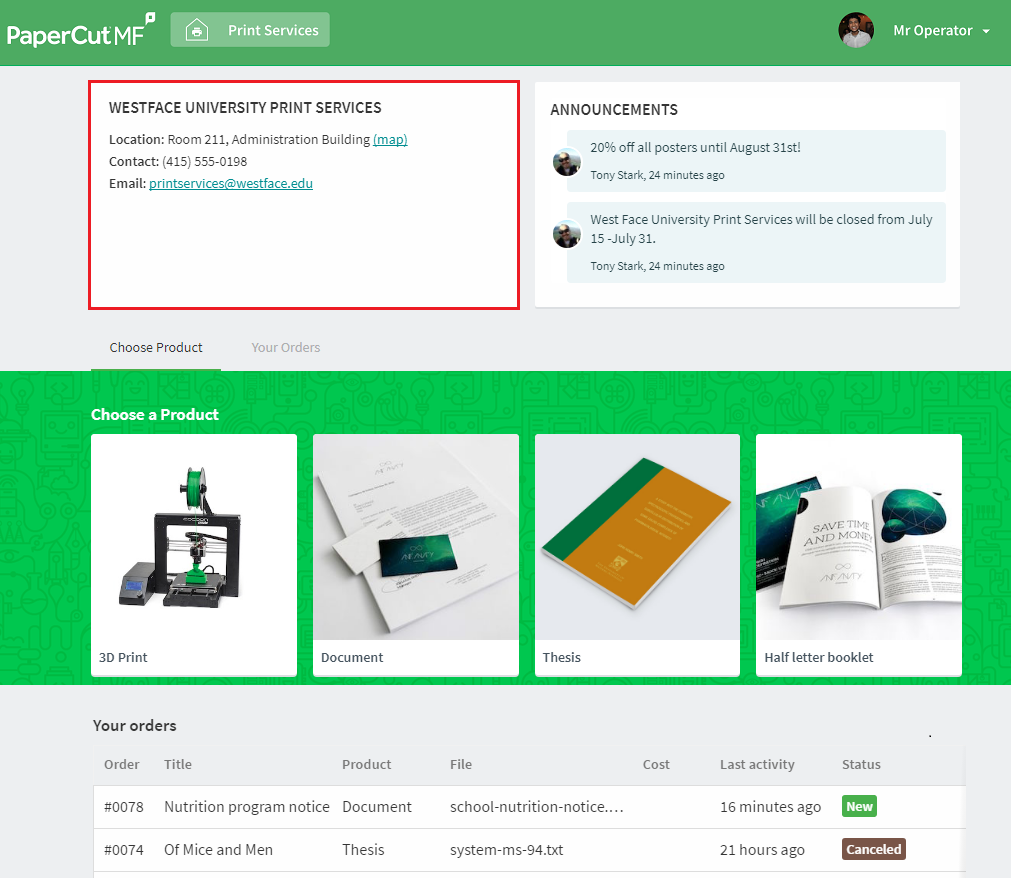
Here is an example of a print rooms contact details visible to your end users
Configuring print room contact details
-
In a text editor that supports syntax highlighting and markdown (for example, ATOM), open the following file:
<job-ticketing-install-path>/job-ticketing/config/rooms/room-01/room-details.md -
Enter the details for your print room. For more information about markdown, see Using markdown.
-
Save the file.
-
Validate the Job Ticketing configuration:
-
In the Operator interface, in the bottom left corner of the screen, click Settings.
-
Click the General tab.
-
In the Room configuration area, click Refresh, and the configuration file will be validated.
-
If you have any errors, fix them; then click Refresh to check the files again.
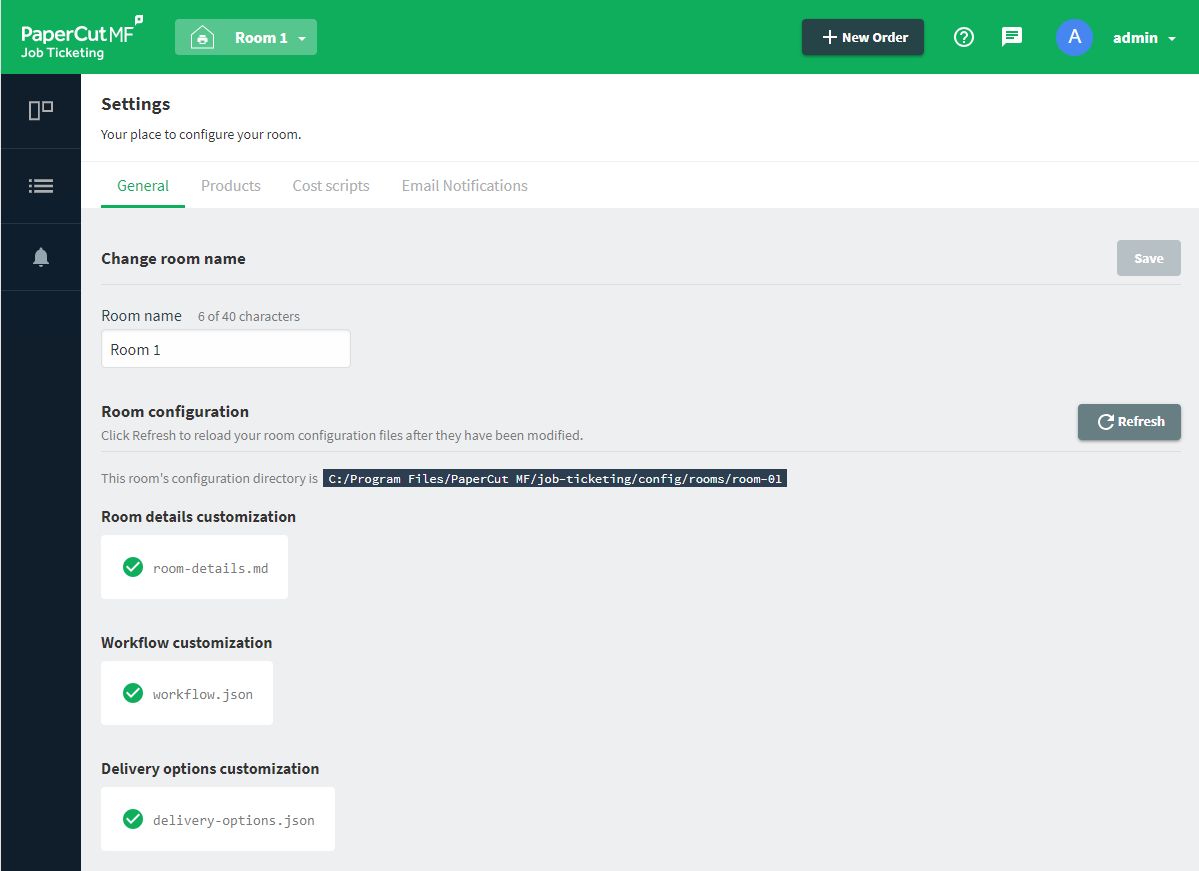
A print room showing validated print room configuration
-
-
Then, check that the contact details are correctly displayed:
- In the Operator interface, click the arrow next to your user name in the top right of the screen; then select Switch to customer view.
- Check the contact details at the top of the page.
- To switch back to the Operator interface, click the arrow next to your user name in the top right of the screen; then select Switch to operator view.
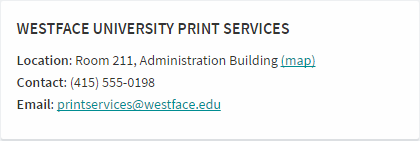
Example print room contact
Westface University Print Services would like to enhance the default contact details by including a link to a map of their location as shown below.
The room-details.md file is configured as follows:

Next Step: Configure delivery options
Comments