
If your organization’s intranet is served by Internet Information Server (Windows), Apache (Linux), or another web server, you might be able to use the trusted IIS certificate for PaperCut NG/MF.
You can use an existing trusted IIS certificate if either:
- your intranet server and PaperCut NG/MF Application server run on the same server, that is, they have the same server name and address
- you have a wild-card certificate that allows arbitrary subdomains under the domain name (for example,
myschool.edu) for which it was issued.
To use an existing trusted IIS certificate:
- Export the existing trusted IIS certificate.
- Import the existing trusted IIS certificate into the PaperCut NG/MF keystore.
- Configure the PaperCut NG/MF keystore.
Step 1: Export the existing trusted IIS certificate
To export your trusted certificate:
-
Open the Windows management console.
-
Select your IIS server.
-
Navigate to the Windows Start menu.
-
Right-click the Command Prompt.
-
Select Run as administrator.
-
Run the following command:
MMC -
Verify that the Console Root screen is displayed:
-
On the Console Root screen, press the keyboard shortcut Ctrl+M.
-
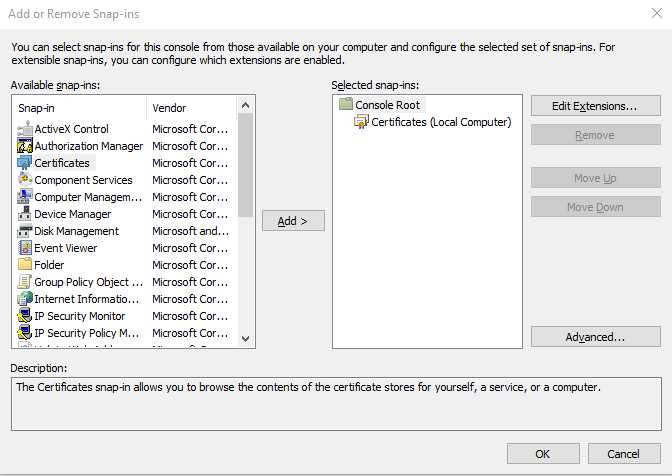
Verify that the Add or Remove Snap-ins screen is displayed:
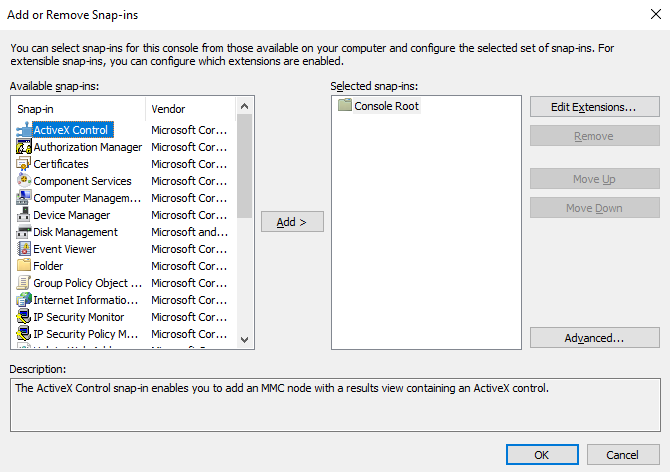
-
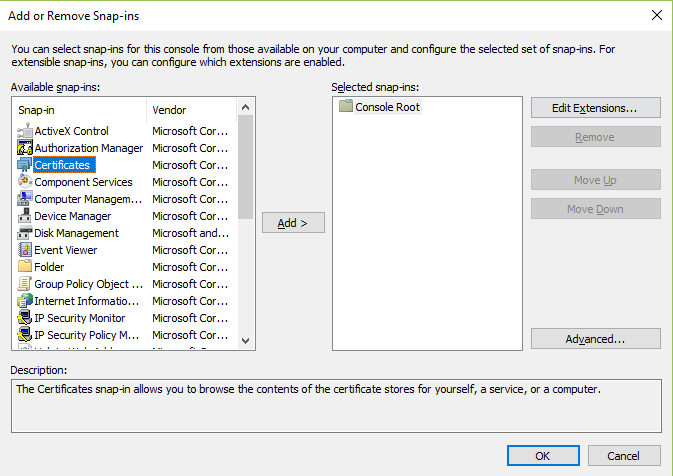
On the Add or Remove Snap-ins screen’s Available snap-ins list, select Certificates; then click Add:
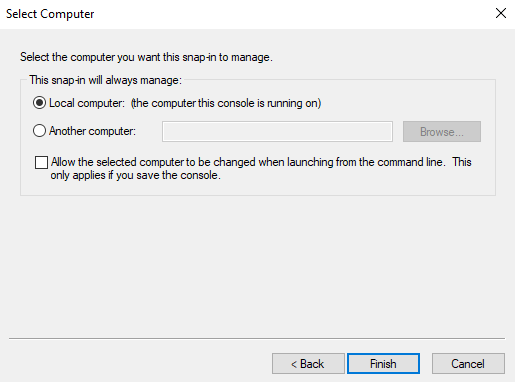
- From the Certificates snap-in screen, select Computer account; then click Next >:

- Click Finish:
- Verify that on the Add or Remove Snap-ins screen’s Selected snap-ins list, Console Root > Certificates is displayed:
- Click OK.
- On the Console Root screen, navigate to: Console Root > Certificates > Personal > Certificates:
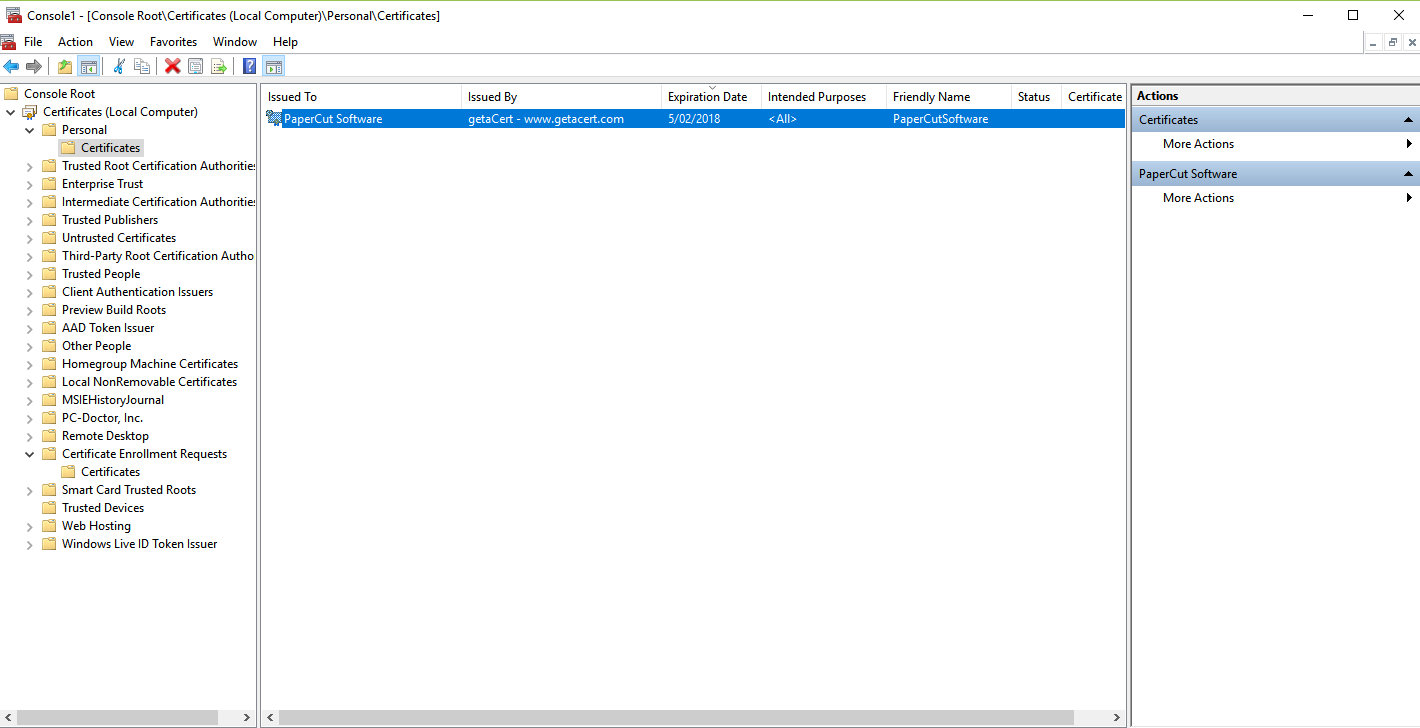
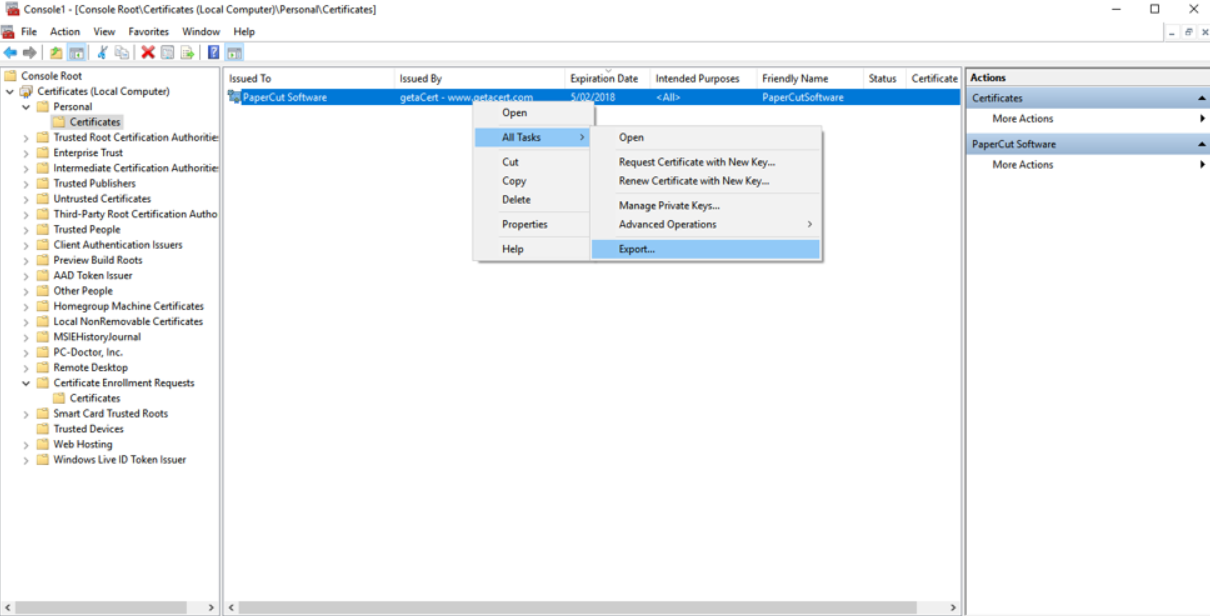
- Right-click the certificate and navigate to: All Tasks > Export…:
- Follow the Certificate Export Wizard’s prompts:
-
Click Next:
-
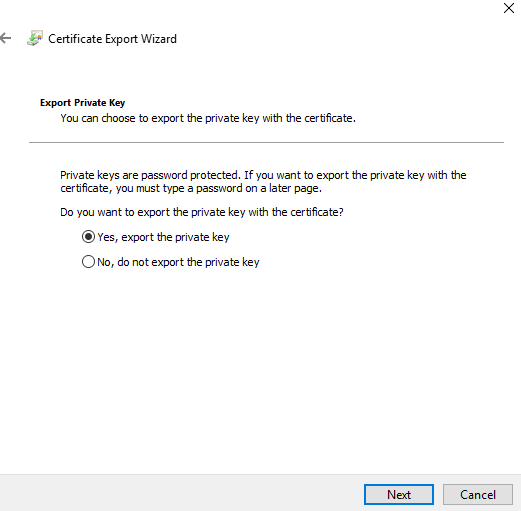
 2. Select Yes, export the private key; then click Next:
 -
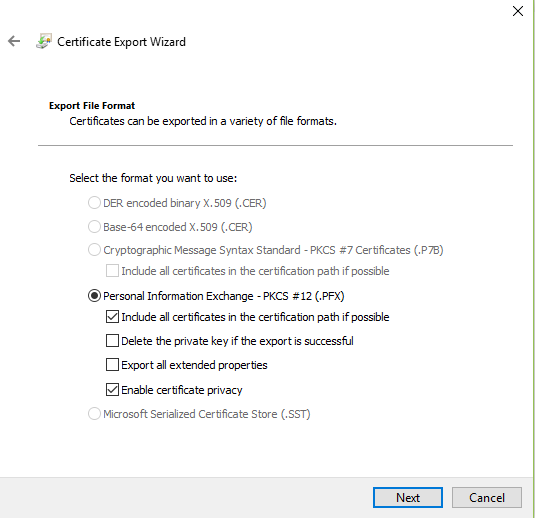
 3. Select Personal Information Exchange, Include all certificates in the certification path if possible and Enable certificate privacy; then click Next:
 -
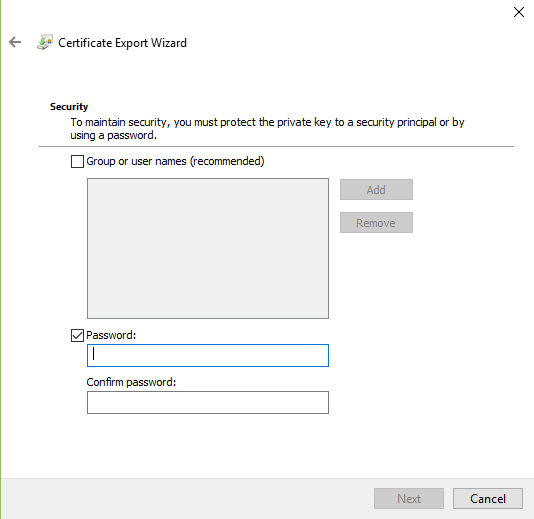
 4. Select Password; then enter the export password; then click Next.
-
- Click Browse:
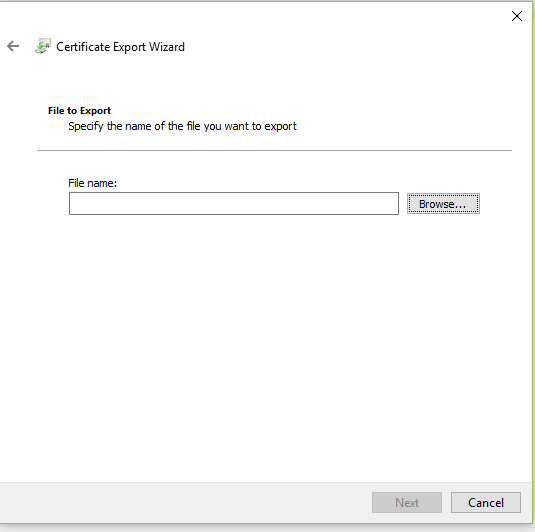
- Select the directory in which the certificate will be exported to:
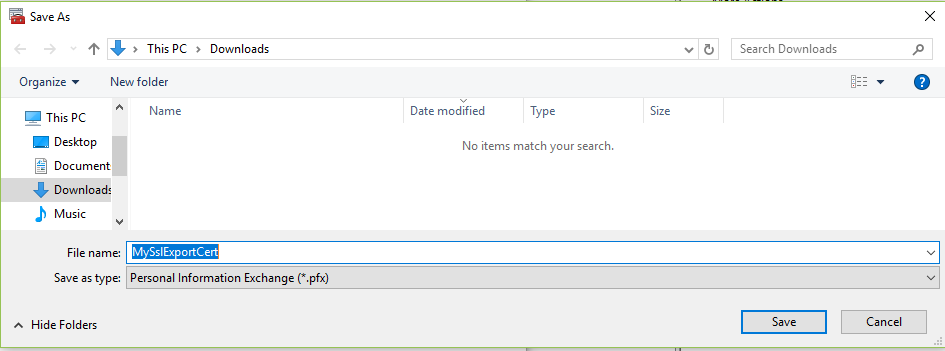
- Enter the File name that the certificate will be exported as, in the directory you selected; then click Save:

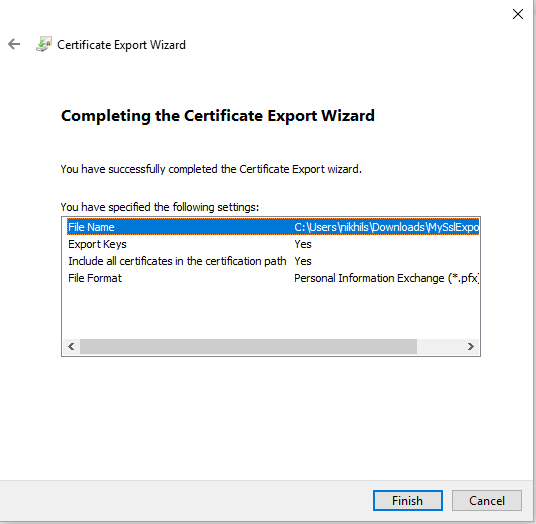
- Verify that the File name displays the path of directory you selected and the file name of the certificate that you specified; then click Next:

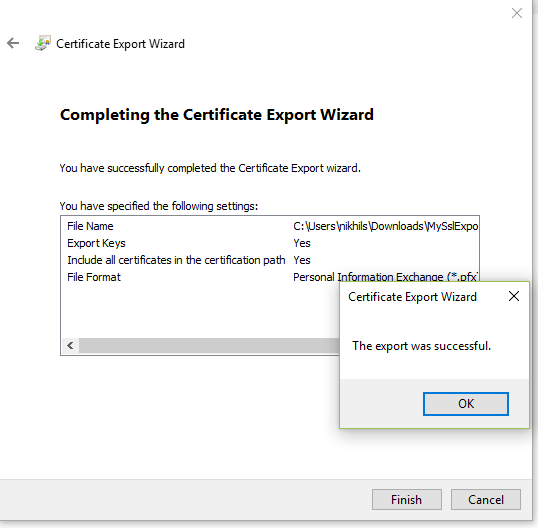
- Click Finish:
- Click OK:
- Close the Find Certificates screen.
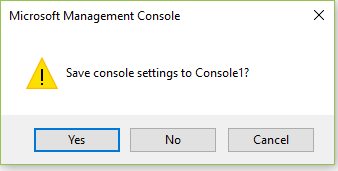
- Close the Console Root screen.
- Click No:
Step 2: Import the existing trusted IIS certificate into the PaperCut NG/MF keystore
To import your trusted certificate into the PaperCut NG/MF keystore:
-
Navigate to the directory where your exported certificate is saved and copy the certificate.
-
Navigate to the following path on your PaperCut NG/MF Application Server and paste the certificate in this path:
[app-path]\server\custom\ -
From the Start menu, type Command Prompt and right-click to select Run as administrator.
-
Navigate to the directory
[app-path]/runtime/jre/bin. On a 64-bit Windows server running PaperCut MF, this command might look likeCD "C:\Program Files\PaperCut MF\runtime\bin". -
In the directory, delete any existing files with the following name:
my-ssl-keystore -
In the Command Prompt, run the following command:
keytool -importkeystore -srckeystore "[app-path]\server\custom\MySslExportCert.pfx" -srcstoretype pkcs12 -destkeystore "[app-path]\server\custom\my-ssl-keystore" -
Enter the following responses to the SSL key:
Enter destination keystore password:Enter keystore password.Re-enter new password:Re-enter the same keystore password.Enter source keystore password:Enter the same password as entered while exporting the certificate on the Certificate Export Password screen.For example:
keytool -importkeystore -srckeystore "c:\Program Files\PaperCut NG/MF\server\custom\MySslExportCert.pfx" -srcstoretype pkcs12 -destkeystore "c:\Program Files\PaperCut NG/MF\server\custom\my-ssl-keystore"
Step 3: Configure the PaperCut NG/MF keystore
To configure the PaperCut Application Server to use the new key/certificate:
-
Copy your signed keystore onto the server running the PaperCut NG/MF Application Server. The suggested location is
[app-path]/server/custom/my-ssl-keystore -
Open the file
[app-path]/server/server.propertieswith a text editor (for example, Notepad). -
Locate the section titled
SSL Key/Certificate. -
Remove the
#(hash) comment marker from all lines starting with:server.ssl.keystore=server.ssl.keystore-password=server.ssl.key-password= -
Define the following:
-
Save the file.
-
Restart the PaperCut NG/MF Application Server.
Comments