
If your SMTP server is not listed in the preconfigured SMTP server list, you can manually input your SMTP server details following these steps.
-
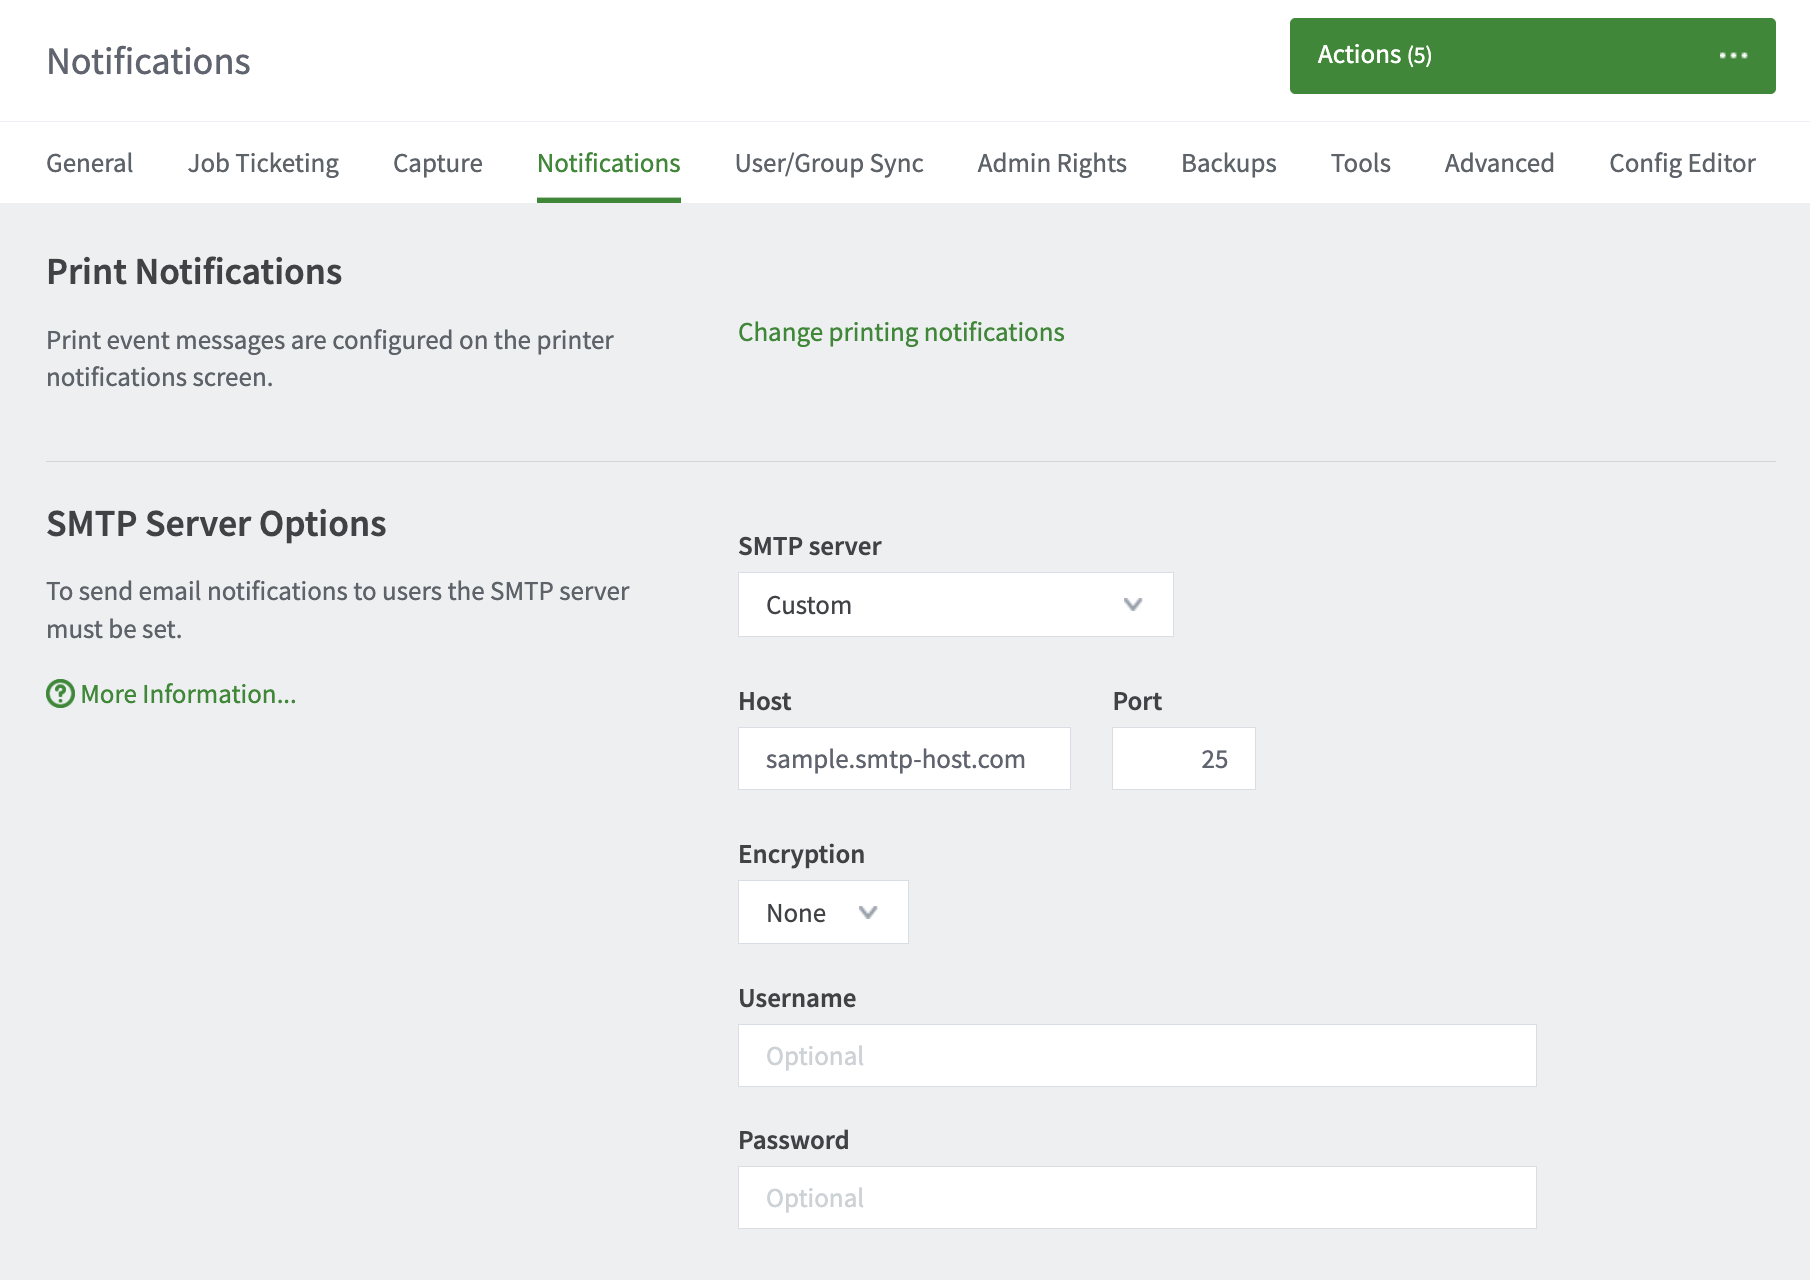
Select Options > Notifications.
The Notifications page is displayed.
-
In the SMTP Server Options area under the SMTP server dropdown select Custom.
-
Complete the following fields:
Field Name
Description
Host
Your SMTP server hostname.
Port
The port to connect to on the SMTP server. Common ports include 25 or 587 for TLS, and 465 for SMTPS(SSL).
Encryption
Choose between None, SSL, and TLS.
Reject untrusted certificates
Click this checkbox when using an external email services like Gmail, or if you run your own email server with a trusted certificate. This prevents man-in-the-middle attacks by blocking the connection when the mail server presents a certificate that has not been signed by a trusted certificate authority.Do not click the checkbox if you run your own mail server with a self-signed certificate.
Username
Username for SMTP authentication. Typically an email address.
Password
Password for SMTP authentication.
-
Click Apply.
-
Lastly, at the bottom of the Notifications tab find the Test Notifications area to test functionality.
Comments