
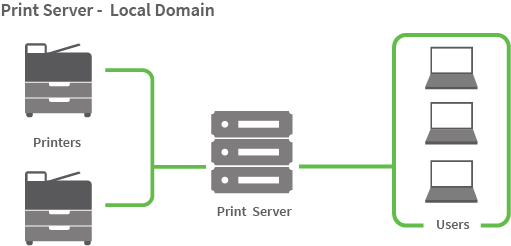
This topic describes how to use Print Deploy to clone classic server-hosted print server queues. Some benefits of using a print server are centralized driver management and PaperCut features like Print Archiving and Find-Me Printing.
One drawback is that this assumes you already have a domain environment with a print server, and that users’ computers are authenticated and already able to add print queues using the server.
Step 1: Set up the print queues on the reference computer
A reference computer is a Windows and/or Mac computer where you set up and test the print queues before deploying them to the users. It’s also where you set the default settings for print queues (for example, grayscale, 2-sided) and capabilities (for example, finishing options like stapling and hole punching). It should not be a print server.
Windows drivers often support multiple versions of Windows, for example, Windows 10 and Windows 8. PaperCut NG/MF automatically detects which versions of Windows the driver supports and displays them in its Admin web interface.
- On the designated reference computer, install the network printers that you want to deploy to your users. In other words, pretend that you are setting up this computer for a user.
- Configure the printer defaults for each queue.
- Windows: Printer Properties > Advanced > Printing Defaults
- Mac: via the CUPS Web Interface, available via:
http://localhost:631/orhttp://servername:631/
- For advanced finishing options, configure the capabilities under:
- Printer Properties > General > Preferences
- Printer Properties > Advanced > Printing Defaults
Note: Some vendor-specific printer drivers may have settings available in the following tabs:- Printer Properties > Device Settings (example: hp)
- Printer Properties > Configuration (example: Fujifilm)
- Printer Properties > Optional Settings (example: epson)
- Test that printing works on each print queue.
Step 2: Run the Cloner to import printers
-
On the reference computer, log in to PaperCut NG/MF (which is installed and running elsewhere on the network).
-
Select Enable Printing > Print Deploy. The Print Deploy page is displayed.
-
In the right panel, do one of the following to download the cloner tool (.exe, .dmg) with the Print Deploy server address embedded into its filename:
- If this is the first time you’re using Print Deploy, click the Download cloner tool button for your operating system.
- If you already have print queues installed, click Add or update; then click the download button for your operating system.
-
On the Reference computer, run the cloner tool.
The cloner tool bundles all of the print queues, printer drivers, default settings (for example, grayscale, 2-sided) and capabilities (for example, finishing options like stapling and hole punching) and uploads the bundle automatically to the Application Server.
All of the print queues are displayed in the Print queues list at the right of the Print Deploy page.
Comments