
To uniquely identify a print queue PaperCut NG/MF uses a combination of the hostname the print queue is hosted on and the printer’s queue name. If either of these change, for example, because if the print queue is renamed, or because the print queue was migrated to a new print server, then a new entry is created for the Printer List. Future print logs are tracked against the new printer name, and the old printer name is still available along with all its logs.
In some cases this is the desired behavior. In other cases, you might prefer to rename the “old” printer to its new name so that logs and settings are maintained.
Renaming a printer
To rename a printer, log in to the Admin web interface and:
-
Click the Printers tab.
The Printer List page is displayed. -
Select a printer.
The Printer Details page is displayed showing the Summary tab contents. -
In the Actions menu, click Rename this printer.
-
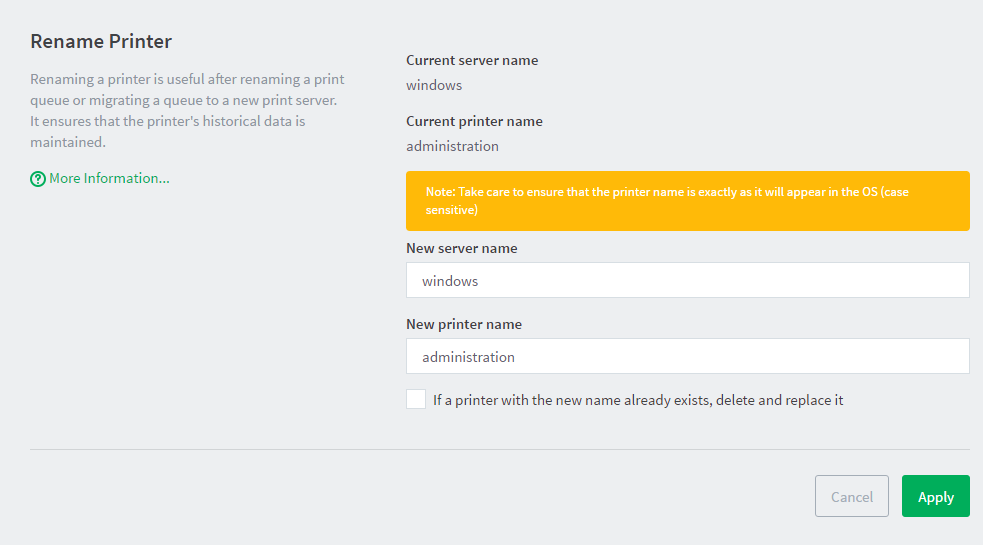
Enter the new server and print queue name.
-
If there is already a printer with the chosen name, for example, because the print queue has already been renamed in the OS and was automatically added to PaperCut NG/MF, select the If a printer with the new name already exists, delete and replace it check box.
-
Click Apply.
-
Perform a test print to ensure that printing is logged under the new name.
Other scenarios
If you’re looking for information about renaming printers because of changes in your network or servers, check out our Removing duplicate printers after a server name change article. This article also details how to rename multiple printers at once, using server commands or PowerShell.
Merging printers
If you’re looking for information on how to merge printers, check out our article on How do I merge Printers/Users/Databases in PaperCut?
Comments