Mobility Print simplifies the printing process for bring your own devices (BYOD) and other end-user managed devices, such as smartphones, tablets, laptops or Chromebooks. End users can quickly discover and set up printers on their own, regardless of their operating system or the brand of printer.
Mobility Print delivers secure network print services for iOS, Windows, macOS, Android, and Chrome devices. Mobility Print is easy to set up so users can print from their own devices without the need to reach out to a SysAdmin for help.
Mobility Print can scale from a small single subnet to the most complex enterprise network serving tens of thousands of users.
Set up Mobility Print
The Mobility Print Server is a separate application that can be launched from the PaperCut NG/MF Admin web interface. It is a separate installer because you can install Mobility Print on multiple servers. For more information see, Set up multiple Mobility Print Servers .
-
Select Enable Printing > Mobile & BYOD.
The Mobile & BYOD page is displayed. -
Scroll to the Print Mobility area.
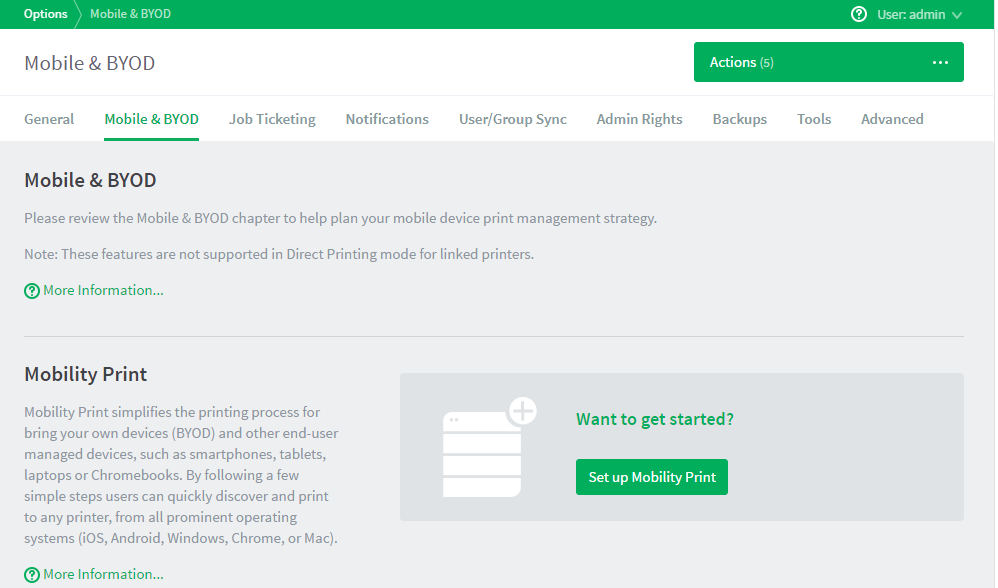
Before a Mobility Print server is set up, this area does not display any information, just a Set up Mobility Print button.
After you have set up a Mobility Print server, this area is where you can see information about each server. For more information, see View the Mobility Print server status . -
Click Set up Mobility Print.
The Mobility Print Help Center is displayed. -
Click Set up Mobility Print to see detailed instructions on how to set up a Mobility Print server. During the installation, all available printers will automatically detected and you’ll be prompted to select which printers to make available to your users.
When you have finished setting up your Mobility Print server, it is listed in the PaperCut NG/MF Admin web interface, on the Mobile & BYOD page.
-
If your users have a Google email account configured as their primary email address, select the Allow users to sign-in with their Google account.
Set up multiple Mobility Print servers
You can set up multiple Mobility Print servers. To set up additional Mobility Print servers:
-
Copy the Mobility Print Server installer to the print server on which you want to install it.
-
Set up Mobility Print as described in The Mobility Print Help Center .
All Mobility Print servers are listed in the PaperCut Admin web interface, on the Mobile & BYOD page.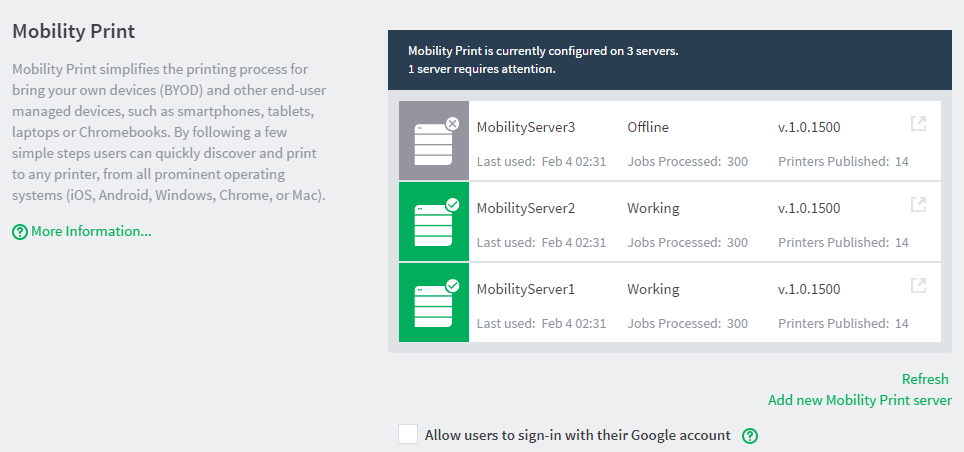
Set up Mobility Print with Site Servers
If you have sites with Site Servers, you need to install Mobility Print on each print server at each site, including both the Application Server and the Site Servers. All of the printers at a site are published to devices at that site. For more information about how Mobility Print works when the Application Server is offline, see Offline operations .
View the Mobility Print server status
The PaperCut NG/MF Admin web interface displays the status of the Mobility Print servers. To view the status of the Mobility Print servers:
-
Select Enable Printing > Mobile & BYOD.
The Mobile & BYOD page is displayed. -
Scroll to the Print Mobility area.
The status of each Mobility Print server is listed. The following details are displayed:
-
server name and status
-
Mobility Print server version (make sure the version is the same for all servers)
-
number of minutes since the server was last used
-
number of jobs that have been processed by the server
-
number of printers published by the server
If you have more than one Mobility Print server, only the first 10 are displayed on the page. To see the rest of the servers, scroll down the list. Servers that are in error are displayed first, followed by those that have a warning.
If a server is in error, click it in the list to open the Mobility Print Admin interface for more information about how to resolve the issue.
Comments