
You can restrict access to the Application Server by the following components:
- Restrict access to the Application Server by SysAdmins
- Restrict access to the Application Server by MFDs
- Restrict access to the Application Server by Site Servers
- Restrict access to the Application Server by print servers
- Restrict access to the XML Web Services
- Set up trusted proxy servers
- Restrict access to the Application Server by Release Stations

Restrict access to the Application Server by SysAdmins
After initial installation only the admin user, defined during the setup process, is permitted to administer the system. To allow additional users to administer PaperCut NG/MF, follow the instructions in Assigning administrator level access.
You can also lock down access to the Admin web interface so that admins can log in only from a subset of network addresses.
- Select Options > Advanced. The Advanced page is displayed.
- In the Security area, in Allowed admin IP addresses, enter the list of IP addresses or subnet masks to allow. The list of addresses is comma separated. The format of the subnet is
X.X.X.X/Y.Y.Y.Y(where X represents the address and Y the subnet mask). - Click Apply.
- Test that admins can access the Application Server Admin interface from the allowed network addresses.
Note: This admin interface setting automatically adjusts the config key auth.admin.allowed-addresses. For brand new installations, this configuration is set to * by default.
Restrict access to the Application Server by MFDs
You can restrict the devices that can communicate with the Application Server.
- Select Options > Advanced. The Advanced page is displayed.
- In the Security area, in Allowed device IP addresses, enter the list of IP addresses or subnet masks to allow. The list of addresses is comma separated. The format of the subnet is
X.X.X.X/Y.Y.Y.Y(where X represents the address and Y the subnet mask). - Click Apply.
- Perform a test login or print job release from each MFD to ensure they can still communicate with the Application Server.
Note: This admin interface setting automatically adjusts the config key auth.devices.allowed-addresses. For brand new installations, this configuration is set to ALL_PRIVATE_IP_RANGES by default.
Restrict access to the Application Server by Site Servers
The PaperCut NG/MF architecture (see Architecture Overview and Print monitoring architecture) involves having a central Application Server and possibly multiple Site Servers sending data back to the Application Server to process.
PaperCut NG/MF supports an unlimited number of Site Servers and they can be located anywhere on the network. By default, PaperCut NG/MF allows these Site Servers to connect from any machine on the network. You can restrict this to a reduced set of machines by specifying a list of IP addresses or subnets that are allowed to submit information to the Application Server.
- Select Options > Advanced. The Advanced page is displayed.
- In the Security area, in Allowed site server IP addresses (eg. secondary print servers), enter the list of IP addresses or subnet masks to allow. The list of addresses is comma separated. The format of the subnet is
X.X.X.X/Y.Y.Y.Y(where X represents the address and Y the subnet mask). - Click Apply.
- Test all Site Servers to ensure that they can still submit information to the Application Server. To test the Site Server, perform a test print job to the Site Server that the provider is running on.
Note: This admin interface setting automatically adjusts the config key auth.site.allowed-addresses. For brand new installations, this configuration is set to * by default.
Restrict access to the Application Server by remote providers (e.g. secondary print servers and secondary print server on Site Server)
The PaperCut NG/MF architecture (see Architecture Overview and Print monitoring architecture) involves having a central Application Server and possibly multiple print servers sending data back to the Application Server to process. The PaperCut NG/MF components on the print server that are responsible for sending this data back to the Application Server include Print Providers and Mobility Print.
If a device outside of the specified range attempts connect, a message like this will be recorded in the PaperCut Application server log: “The application server denied access to provider XMLRPC request from IP x.x.x.x”.
PaperCut NG/MF supports an unlimited number of information providers (secondary server installations this includes secondary server installed on Site Server) and they can be located anywhere on the network. By default, PaperCut NG/MF allows these providers to connect from any machine on the network. You can restrict this to a reduced set of machines by specifying a list of IP addresses or subnets that are allowed to submit information to the Application Server.
- Select Options > Advanced. The Advanced page is displayed.
- In the Security area, in Allowed remote provider IP addresses (e.g. secondary print servers and secondary print servers on Site Server), enter the list of IP addresses or subnet masks to allow. The list of addresses is comma separated. The format of the subnet is
X.X.X.X/Y.Y.Y.Y(where X represents the address and Y the subnet mask). - Click Apply.
- Test all providers to ensure that they can still submit information to the Application Server. To test the Print Provider, perform a test print job to the server that the provider is running on.
Note: This admin interface setting automatically adjusts the config key auth.providers.allowed-addresses. For brand new installations, this configuration is set to ALL_PRIVATE_IP_RANGES by default.
Restrict access to the XML Web Services
You can lock down access so that only a subset of network addresses can call the XML Web Services API.
- Select Options > Advanced. The Advanced page is displayed.
- In the Security area, in Allowed XML Web Services callers, enter the list of IP addresses or subnet masks to allow access to the XML Web Services API. The list of addresses is comma separated. The format of the subnet is
X.X.X.X/Y.Y.Y.Y(where X represents the address and Y the subnet mask). - Click Apply.
- Perform a test XML Web Services call from the allowed network addresses.
Note: This admin interface setting automatically adjusts the config key auth.webservices.allowed-addresses. For brand new installations, this configuration is set to 127.0.0.1 by default.
Set up trusted proxy servers
PaperCut NG/MF uses the originating IP address to help identify the calling device in some situations. If you are accessing the PaperCut NG/MF Application Server via a proxy server or load balancer, the originating IP address might be obscured. This might cause situations such as no jobs being displayed in the Mobile web client for iPhone/iPad users, or problems using some features of secondary print servers.
Most proxy servers do retain the originating source address in an X-Forwarded-For HTTP header. This header lists the originating source address plus the address of each proxy server forwarding the message.
For security reasons, PaperCut NG/MF by default does not trust the X-Forwarded-For header. To make use of this header and get your clients to work via a proxy server, you must first add your proxy servers to PaperCut NG/MF’s list of trusted proxy servers. If a request arrives from a trusted proxy server, PaperCut will look at the X-Forwarded-For header and work backwards through the “hops” (if there are multiple values) to find the IP that made the request to the first trusted proxy server.
You can set up trusted proxy servers for Mobile Client access.
- Select Options > Advanced. The Advanced page is displayed.
- In the Security area, in Trusted Proxy Servers, enter the list of IP addresses or subnet masks to allow access to the server via a proxy. The list of addresses is comma separated. The format of the subnet is
X.X.X.X/Y.Y.Y.Y(where X represents the address and Y the subnet mask). - Click Apply.
- Test remote access via your proxy server.
Note: This admin interface setting automatically adjusts the config key auth.trusted-proxy-addresses. For brand new installations, this configuration is set to (blank) by default.
Restrict access to the Application Server by Release Stations
You can restrict the address ranges from which standard Release Stations (see Standard Release Station) access the Application Server. This measure only applies to standard Release Stations and does not affect print release at an embedded device or from a web browser.
Note that this option does not have an interface setting under the Security section like those above - so this setting has to be configured using the advanced config editor.
-
Click the Options tab. The General page is displayed.
-
In the Actions menu, click Config editor (advanced).
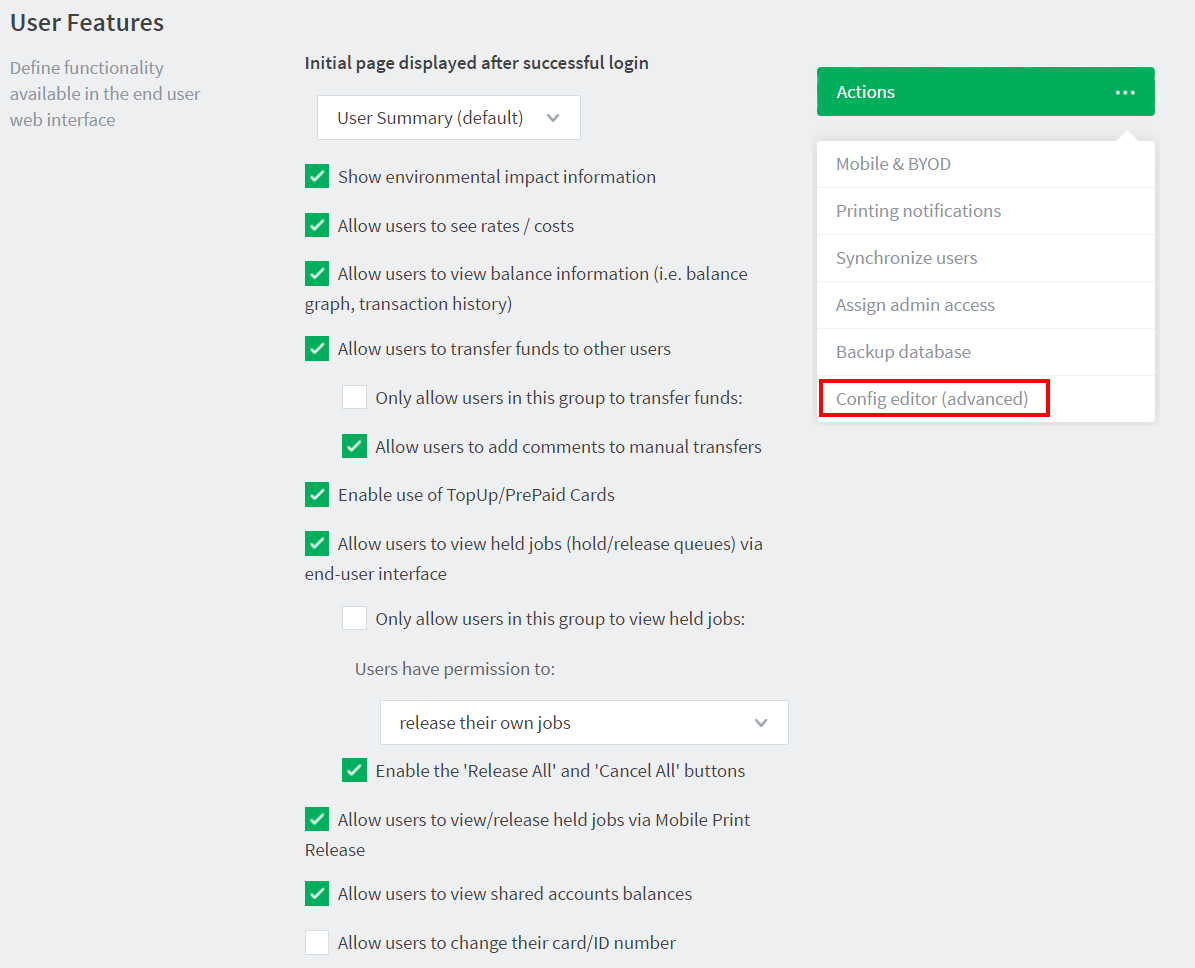
The Config Editor page is displayed.
-
Search for the config key:
auth.release-station.allowed-addresses -
Enter the list of IP addresses or subnet masks to allow. The list of addresses is comma separated. The format of the subnet is
X.X.X.X/Y.Y.Y.Y(where X represents the address and Y the subnet mask). -
Click Update.
-
Test all standard Release Stations to ensure they can still successfully start-up and connect to the Application Server.
Note: For brand new installations, this configuration is set to * by default.
Comments