
Printer load balancing means distributing the printing load between two or more printers. While this can be implemented quite effectively by relying on users to pick a printer that is free, thereby distributing the load, the term generally refers to automatically managed load balancing.
You can implement load balancing in PaperCut MF as part of Find-Me Printing as discussed in the preceding section, or separately without the need for Release Stations in a direct printing environment. This section discusses load balancing in general including how it works, as well as how to set it up in a direct printing environment (without Release Stations).
You can implement load balancing at several different layers (none of which are usually mutually exclusive), including:
-
the hardware/network layer, otherwise known as clustering (see Clustering and high availability).
-
the operating system layer, known as printer pooling in Windows and Novell environments, and CUPS classes in Mac and Linux.
-
within PaperCut MF itself, which is the topic of this section.
PaperCut MF adds value to the load balancing available in clusters and operating systems by ensuring equal load between printers. For comparison the primary objective of Windows printer pools is to provide fault tolerance while load balancing is secondary and to a large extent non-existent. Printer pooling on Windows often picks the first available printer in a predefined order. The result is that wear and tear of printers is not even; the first printer in the group has the heaviest usage and the others might be mostly idle. Sysadmins often mitigate this by rotating printers periodically. With load balancing in PaperCut MF none of this is necessary: jobs are distributed evenly between queues based on intelligent algorithms taking into account several factors:
-
An estimate of the current print load (i.e. pages remaining to print) by inspecting past print history. The estimate is done by using a Pages Per Minute (PPM) for an average printer, however, pap improves on the PPM value by “watching” the printer and learning over time.
-
The printer that is likely to get the job done quickest is selected.
-
If all printers are currently equal (e.g. all idle), then a random printer is selected. This ensures that over time, load is distributed evenly.
-
Printers currently in an error condition are avoided if possible. PaperCut MF determines if a printer is in error by using SNMPv1.
-
(Optionally) Printers a user has recently printed to.
Find-Me Printing also makes use of printer load balancing while giving users the option of where to send their print job. For more information about Find-Me Printing see Find-Me printing.
Implementing load balancing in pap is best described by way of example. The following section covers a common scenario for implementing printer load balancing.
Example 1: Simple load balancing
Scenario
The science department at East Beach High School has a computer lab with a high volume of printing. Students send their print jobs to the nearby print lab, which hosts two high volume laser printers of the same model.
The current print queues are named sci_laser_1 and sci_laser_2, and are hosted on the print server called science-lab. Both queues use the same printer driver and settings.
In this scenario there is some natural form of load balancing, as students can select a queue at random or perhaps know which queue is available. Ideally this load balancing would be automatic, and students do not need to worry about which queue to select.
Implementation
The first step is to create a new print queue on the print server. This queue will be a virtual queue. Students will print to this virtual queue, and PaperCut NG/MF handles the load balancing to the target (“real”) queues.
A new queue called sci_laser is created by the administrator on the science_lab print server using the normal methods for the operating system in use. The queue is created using the same driver that sci_laser_1 and sci_laser_2 use. The queue points to the same physical printer that sci_laser_1 points to. This last point is not strictly necessary but some printer drivers complain if they do not point to a real printer.
The administrator ensures that the print queue has registered itself with PaperCut NG/MF by checking the Printers tab of the Admin web interface. For more information about adding printers, see Add and remove/delete/ignore printers.
Following creation of the new queue the administrator performs the following:
-
Click the Printers tab.
The Printer List page is displayed. -
Select the sci_laser printer.
-
In the Configuration area, change the Queue type to This is a virtual queue (jobs will be forwarded to a different queue).
The Job Redirection Settings area is displayed.
Jobs may be redirected to these destination queues determines which queuessci_laseris capable of redirecting to. -
Select science-lab/sci_laser_1 and science-lab/sci_laser_2.
-
Click OK.
Now when students print from a lab computer to the virtual sci_laser queue PaperCut NG/MF intelligently redirects the job to either sci_laser_1 or sci_laser_2, as illustrated by the image below (Simple Load Balancing).
The administrator can now optionally un-share the sci_laser_1 and sci_laser_2 queues. Doing so ensures that all printing is via sci_laser and therefore, load balanced.

Figure 20: Simple load balancing
Configuring user’s auto release jobs upon device login
Administrators can override the device setting, by selecting the Always release user’s jobs upon device login check box for a user or group.
By doing so, a user can log in to a device and bypass the held print jobs dialog, releasing the print jobs automatically. This functionality is available for a device set up as a Release Station, and supporting print release.
Bypassing load balancing for recent print jobs
Students printing multiple documents might not want their print jobs distributed between multiple printers - especially when they’re at opposite ends of the lab! PaperCut provides the capability to bypass Load Balancing for multiple recent print jobs.
By default, this feature is enabled and is set to a window of 20 seconds, that is, a print job is not considered for Load Balancing if a user has printed up to 20 seconds ago, and is sent to the previous job’s destination instead.
To configure this setting:
-
Click the Options tab. The General page is displayed.
-
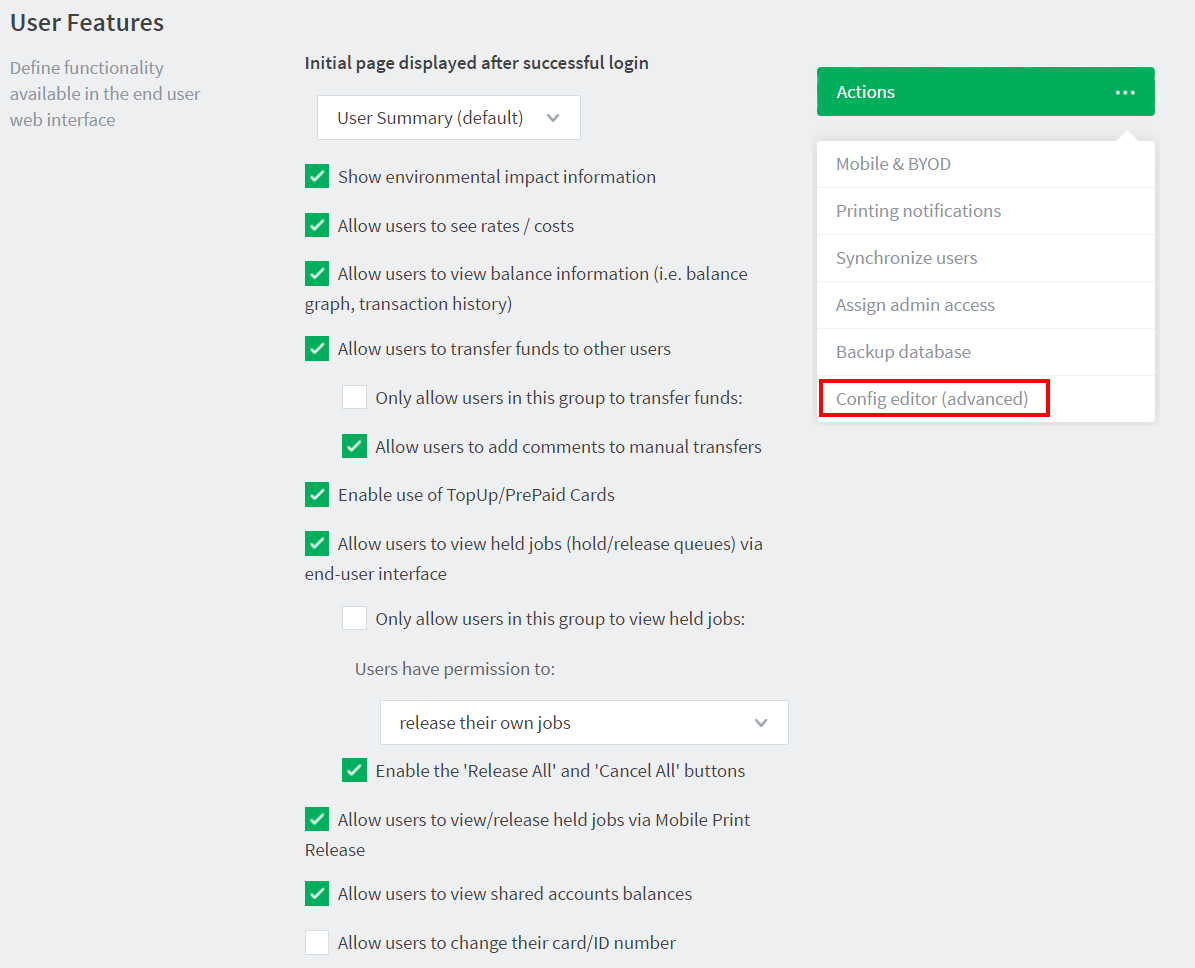
In the Actions menu, click Config editor (advanced).
The Config Editor page is displayed.
-
Modify the config setting
print.load-balancer.default.reuse-printer-window-seconds. Set this value to0to disable this feature.
Comments