
Print Deploy allows you to deploy print queues with print drivers on Windows operating systems managed by Active Directory & Group Policy.
Before you start
You need the following minimum versions:
- Windows Server 2012
- Active Directory Functional Level 2012
- PaperCut NG/MF: 19.1.0
- Supported operating systems for Print Deploy
You need to be an Active Directory & Group Policy administrator (or have relevant permissions), and should have already:
- configured the Windows clients to be managed by Active Directory & Group Policy
- existing, and appropriate groups and Organizational Units (OU) in Active Directory
You’re also a PaperCut NG/MF administrator (or have relevant permissions), and should have already:
- made sure that the PaperCut NG/MF Application Server is accessible via TCP 9191, 9192, 9195, 9174 from the targeted client machines—preferably by a FQDN (Fully Qualified Domain Name) rather than an IP address
- set up your PaperCut Print Deploy Reference computer
- deployed and manually tested at least one print queue.
You have an existing file share appropriate for distribution of MSI packages
Steps
To deploy the Print Deploy client using GPO:
- (Optional) Customize the user login popup
- Download the PaperCut Print Deploy Client
- Add your “.msi” to Active Directory
- Deploy the PaperCut Print Deploy client
Step 1: (Optional) Customize the user login popup
Depending on the method you’ve chosen to determine the user’s identity, users might be presented with a one-off user login popup for authentication. For details on how to customize the branding and text on the popup, go to Customize the Print Deploy user login popup branding and text.
Step 2: Download the PaperCut Print Deploy Client
-
Create a
print-deployfolder in your MSI distribution share. For example:\\file-server.company.lan\msi\print-deploy\ -
Log in to the PaperCut NG/MF Application Server.
-
Click Enable Printing.
-
At the bottom of the page, next to Download clients click the Windows button.
-
Make a note of the filename. Later, you will add this file to Active Directory.
-
Save the
.msifile to theprint-deployfolder you created in your MSI distribution share.
Step 3: Add your “.msi” to Active Directory
-
Open the Group Policy Management snap-in; then navigate to an appropriate OU.
-
Right-click the OU; then select Create a GPO in this domain, and Link it here.
-
In Name, enter a name for the group policy (for example,
PaperCut Print Deploy Client).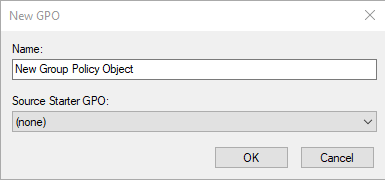
-
Click OK.
-
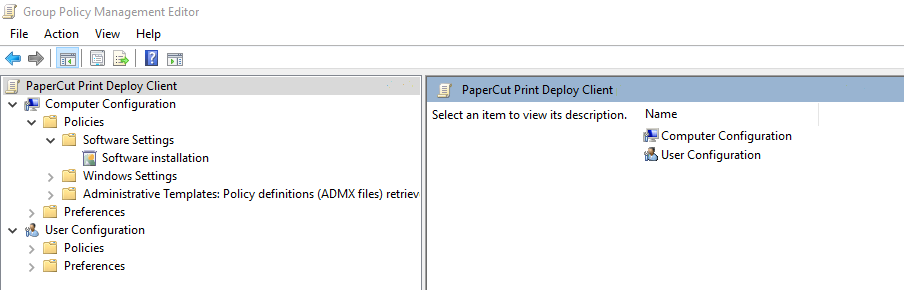
Right-click the new PaperCutPrint Deploy Client GPO; then select Edit.
-
Navigate to Computer Configuration > Policies > Software Settings > Software installation.
-
Right-click Software installation; then select New > Package.
-
Navigate to your MSI distribution share. For example:
\\file-server.company.lan\msi\print-deploy\ -
Select the MSI installer. For example:
pc-print-deploy-client[print-server.company.lan].msi -
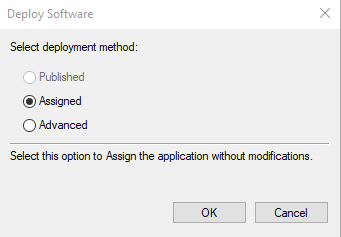
Click Open. The Deploy Software popup is displayed.
-
Select Assigned.
-
Click OK.
-
Close the Group Policy Management Editor.
-
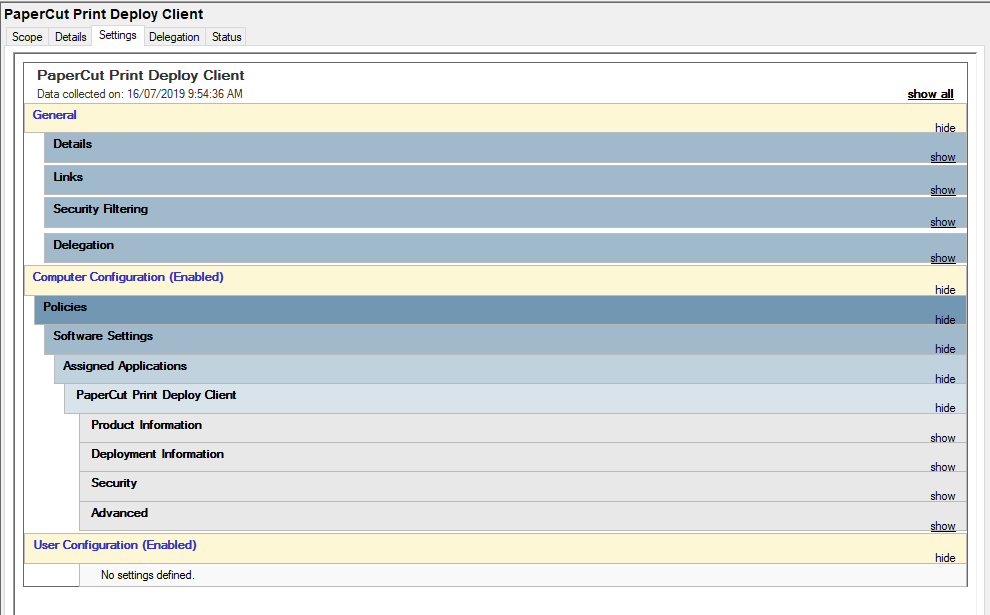
In Group Policy Management, click the Settings tab. Computer Configuration > Policies > Software Settings > Assigned Applications > PaperCut Print Deploy Client is updated with the relevant information.
-
Click the Delegation tab.
-
Confirm that the Groups and Users are configured as appropriate for your organization.
Step 4: Deploy the PaperCut Print Deploy client
If all of your configuration has been successful, trigger the deployment of the PaperCut Print Deploy client.
-
In an Administrative command prompt / PowerShell prompt, enter the following command:
gpupdate /force -
If prompted, reboot.
-
Verify that the newly configured print queues appear in the Control Panel or Print Management snap-in on the machines you deployed to.
Comments