Design an effective print room workflow
Determine a way of working that’ll make things easy to manage for print room staff. Trust us, you don’t want to overcomplicate this, but you also don’t want to miss any important steps along the way. In this section we’ll discuss the most important things to think about as you plan your workflow.
Getting started
Let’s look at the best way to get you up and running, accepting new jobs and working through a new workflow to make your print rooms and teams way more efficient.
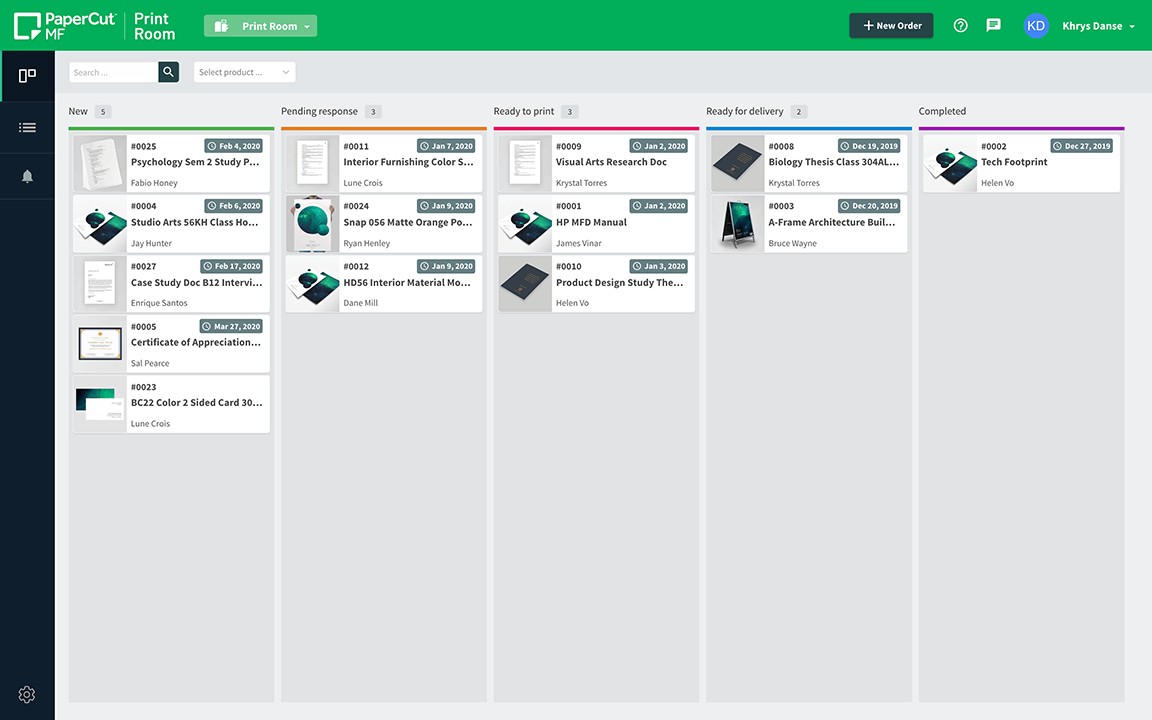
Based on a popular project management system (kanban), PaperCut lets you customize your print room’s workflow. We find using this system is a great way to manage and improve the flow of work, from start to finish, especially when there’s high levels of human interaction.
Your print room faces a similar mix of technology that can be automated. While many pieces can be automated (just like it can when building and testing software), there are certain steps that a print job needs to go through and you really need to be tracking the progress and ensuring important checks are not missed.
Considerations for the main steps in using this workflow are discussed here, focusing on important milestones in the print job’s lifecycle:
1. A new job arrives
Your first workflow column (the leftmost column) will be where any print job starts its life. Give it a good name (we usually go with something as simple as **New** , **New Orders** or **New Jobs** . As soon as you’ve picked up this job and started work on it, you’ll want to move it to the next step.
An additional step that you can consider including as part of new is **Reviewing** . Add this step if any manual checking needs to be done before work on the product officially starts. Basically it’s that in-between step where you’ve already seen the job, but more investigation is needed before moving ahead.

2. When you start working on a job
If you pick up a job and simply complete it on the spot, a single **In Progress** step will be more than enough for you. Moving a job to one of these states will send an email notification to the user telling them that work has started.
If you have additional steps that require a different “human processes” to start, you may want to add these to your workflow. Some examples that we have seen are:
| Step | Description |
|---|---|
| Finishing | If you didn’t do things like binding or laminating at the same time as printing, it may make sense to separate this into its own step. |
| Quality check | If there is a separate manual step to make sure the job has been done properly. |
| Packaging | If you complete steps like collating, wrapping and packaging before sending out jobs then add this step to track when it starts and finishes. |
| Placed order to vendor | If you don’t have your own equipment, you can use a column like this to indicate that you’ve sent the job over to a 3rd party print shop. |
| Received from vendor | The obvious next step from the previous one. This shows the job has made it back to you from the 3rd party print shop and is ready to process. |
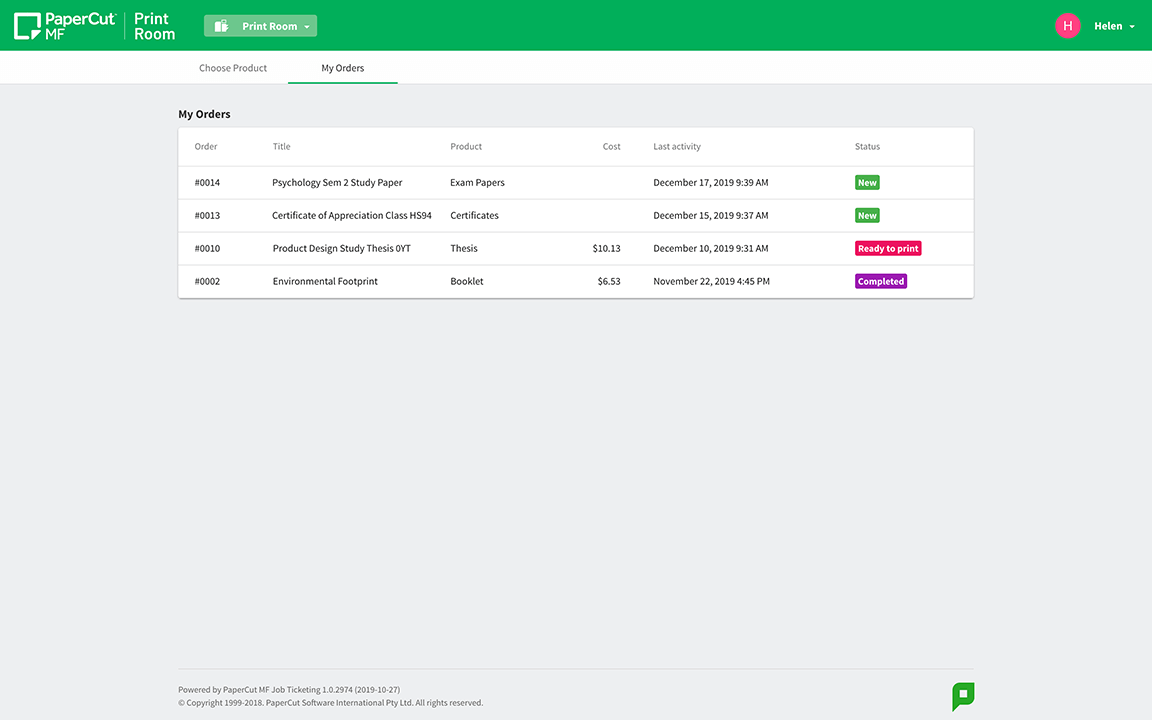
Sending progress updates to your students or users gives them visibility into the status of their print job and ensures that you capture any changes that occur. Depending on how you’ve set up the system you can offer users access to make changes to their print job at specific steps throughout the job’s lifecycle.

3. How you complete a job
In a simple workflow, it may be as easy as having a **Done** column, which means that the print job is completed, it will be added to your reporting, and you no longer need to think of it.
An additional step that you may require is **Arranging for delivery** which can be used if you need to tell someone to collect the print job or if you need to arrange delivery.
4. When do you charge for the job?
It will depend on your own internal policies. If you only offer services to your staff or internal department and you’re simply billing the work, we recommend charging right at the end when moving the print job to the **Done** column.
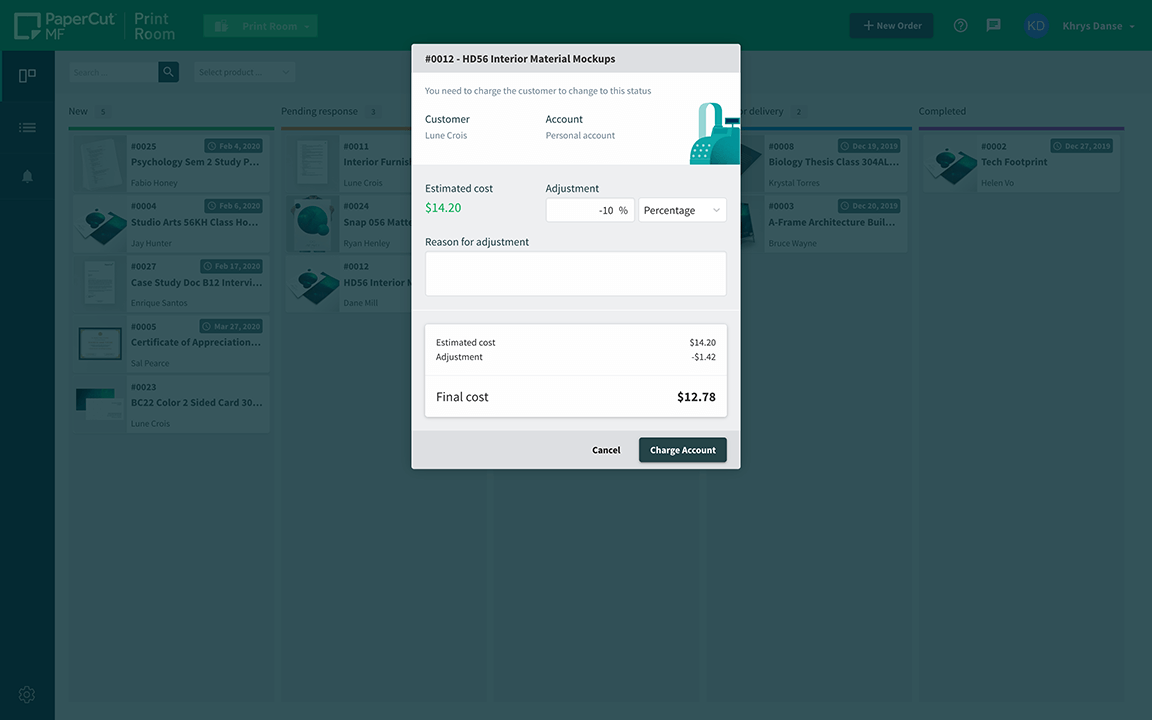
If, on the other hand, you’re billing students or users who may not show up to collect their jobs, and you need billing to happen before you spend time or material on it then go ahead and bill when starting the **In Progress** part of your workflow.
Billing and charging for print rooms can be complicated but PaperCut’s Print Room makes this a lot easier with fully automated charging, quoting and account reconciliation.

Want to know more…?
Check out these links for more information:
- See how to set up a print room workflow.
- The Job Ticketing FAQs covers all set up, order placement, and order management details.