
How to Collect Application Server Debug Logs
THE PAGE APPLIES TO:
Last updated September 30, 2025
Please also see Reporting Problems
If you’re experiencing issues with PaperCut NG or MF, collecting debug logs is an important step to help the support team troubleshoot the problem. The diagnostic bundle contains not just log files but an export of the server’s configuration, helping us diagnose the problem faster than just logs alone. This guide will walk you through the steps for enabling debug logging, reproducing the issue, and downloading the necessary logs for analysis. The PaperCut Support team or your Authorized PaperCut Partner might ask you to follow these steps as part of troubleshooting.
Any log files and other information you send to us will be treated with care in accordance with our Privacy Policy .
Step 1: Enable Debug Logging in the Admin Interface
- Log in to the PaperCut administrator web interface as an admin.
- Click Options, then click the Advanced tab.
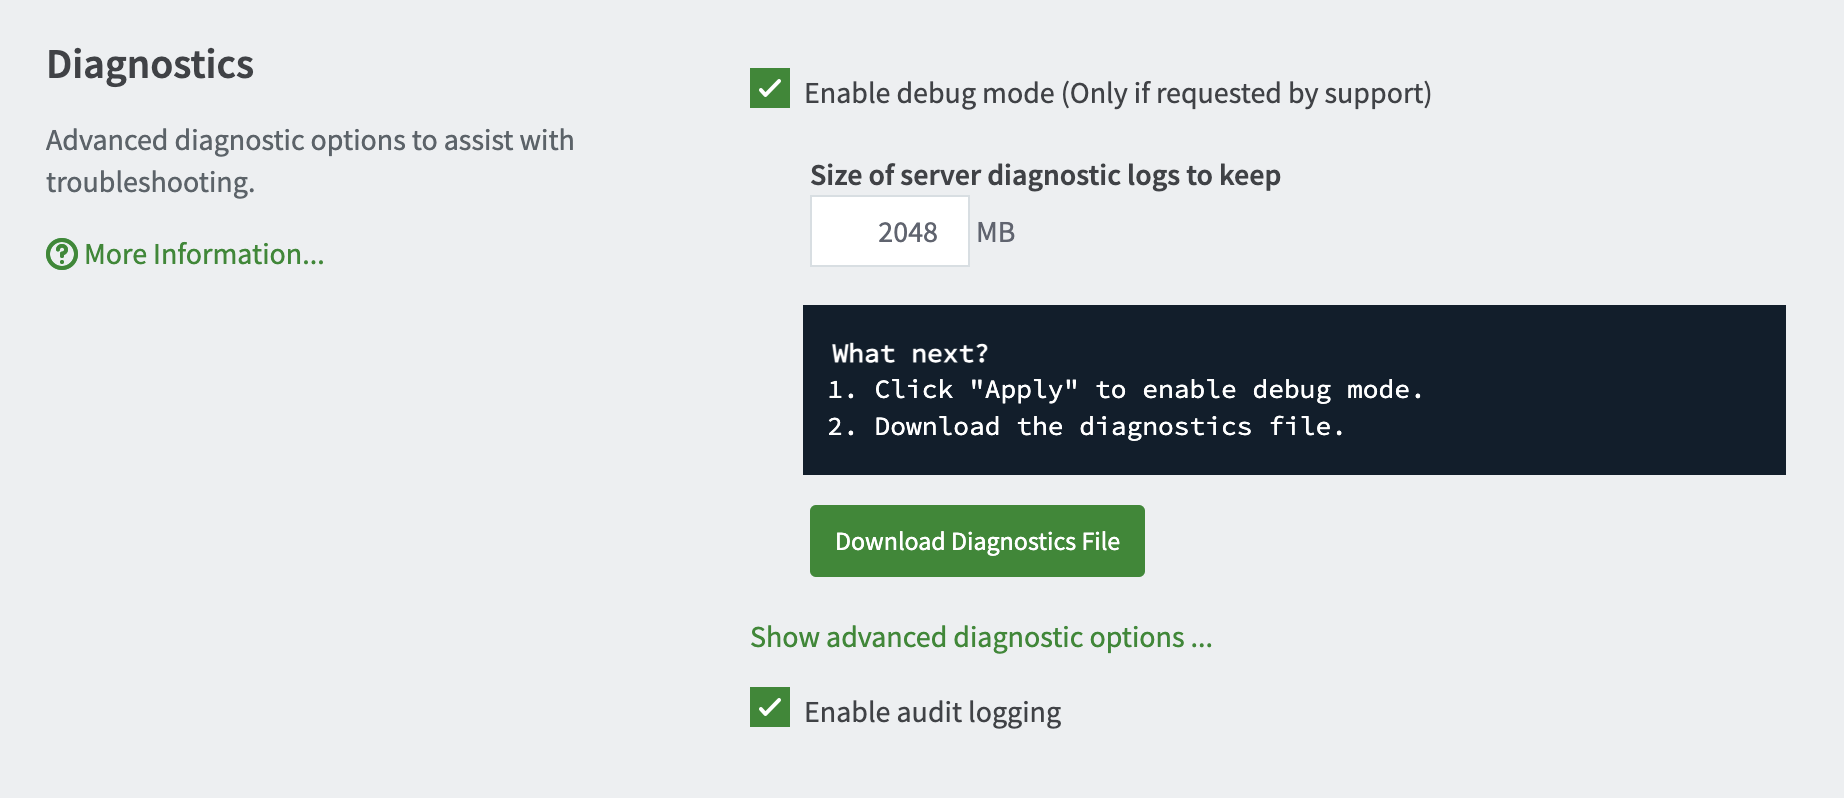
- Click the checkbox next to Enable debug mode.
- Scroll to the bottom and click Apply.
Step 2: Reproduce the Issue
- Perform the action that triggers the issue. For example, submit a print job, attempt to scan, or connect to a directory like LDAP.
- Record any relevant details to help us pinpoint the issue in the logs. Including:
- Date and time of the action.
- Username of the person involved.
- Document name (if applicable).
- IP address and hostname of the printer, copier, or workstation.
Step 3: Collect the Logs
- Return to the Options > Advanced tab in the admin interface.
- Under Enable debug mode click Download Diagnostic files. A ZIP file is containing the log files and other important troubleshooting configuration details is downloaded.
- Now share the diagnostic bundle with your PaperCut Authorized Partner or PaperCut Support following the steps they provide.
Manual log collection
If you can’t access the PaperCut admin interface (e.g., the server won’t start or you’re locked out), follow these steps to manually enable debug mode and collect the logs.
Windows
- Stop the PaperCut Application Server service, see Stop and start the Application Server
- Open a command prompt on your Application Server with admin rights.
- Use the cd command to navigate to the
db-tools.exe
directory. (On a 64-bit Windows server running PaperCut MF, this command might look like:
cd "C:\Program Files\PaperCut MF\server\bin\win\"). - Run the command:
db-tools.exe set-config system.enable-debug Y - Reproduce the issue, following the same steps described previously in this article.
- Copy the PaperCut server logs folder
[app-path]/server/logs/to a temporary location like the desktop. - Zip up the file and share it with a PaperCut technician.
macOS
- Stop the PaperCut Application Server service, by running the following command in Terminal:
sudo launchctl unload /Library/LaunchDaemons/papercut.plist - Change your working directory in Terminal by running:
cd /Applications/PaperCut\ MF/server/bin/mac - Run the following command to enable debug logging:
sudo -u papercut ./db-tools set-config system.enable-debug Y - Start the PaperCut Application Server service.
sudo launchctl load /Library/LaunchDaemons/papercut.plist - Reproduce the issue, following the same steps described previously in this article.
- Copy the PaperCut server logs folder
[app-path]/server/logs/to a temporary location like the desktop. - Zip up the file and share it with a PaperCut technician.
Category: How-to Articles
Subcategory: Logs
Keywords: debug logging, debug mode, app server, debugging, ng, mf
Comments