When deploying the PaperCut Pocket or Hive edge node and print client with ManageEngine Endpoint Central Device Management, we split the deployment into two parts: first the edge node, and then the print client.
The edge node
- The computer app is run with elevated privileges, so it doesn’t require the user to be logged in.
- The computer app creates the PaperCut Pocket or Hive edge node Windows service, and PaperCut Printer object.
- The edge node can be deployed without a print client. For example, you can install a super node on a Windows Server.
- The edge node must be deployed before installing the print client.
The print client
- The computer app creates the print client processes for print job submission.
- It installs files and processes in the Users Context.
- The install runs as “Install as: Target User”.
- After successful execution, it requires the user to perform the linking process via their email invite.
Prerequisites
- You have already rolled out the ManageEngine UEMS agent to your Windows computers.
Deploy the PaperCut Pocket or Hive software to end user devices
You need to create separate software deployment packages for the PaperCut Pocket or Hive edge node and print client.
1. Create a software deployment package for the edge node
-
Go to PaperCut Pocket or Hive Admin console > Manage > Edge Mesh and click Add edge nodes.
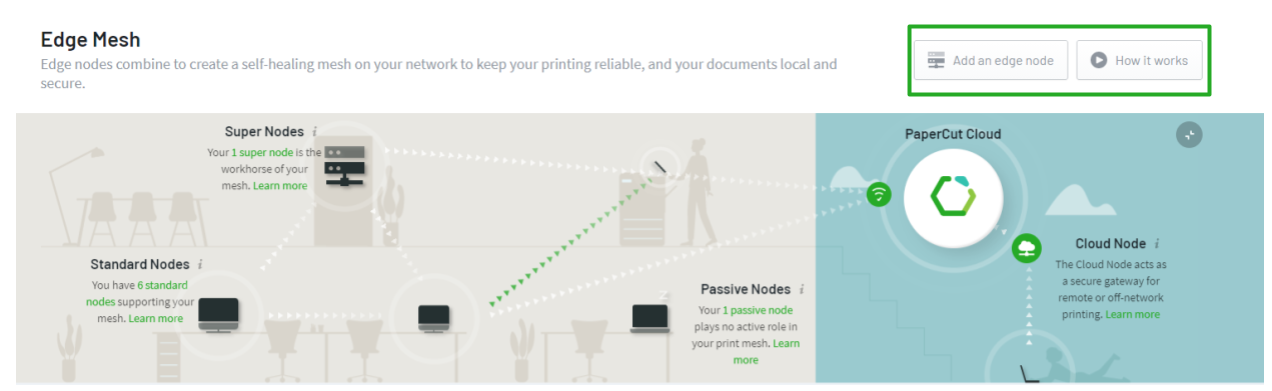
PaperCut Pocket/PaperCut Hive admin interface - Add an edge node
-
Select Manually deploy edge nodes.
-
Click Download for Windows to download the PaperCut Pocket or PaperCut Hive computer app (
papercut-pocket.exeorpapercut-hive.exe). This will be uploaded into Endpoint Central. -
Under Step 2, click the Copy button to copy the command line, and then paste it into a text editor. You’ll need the
/systemkeyvalue later.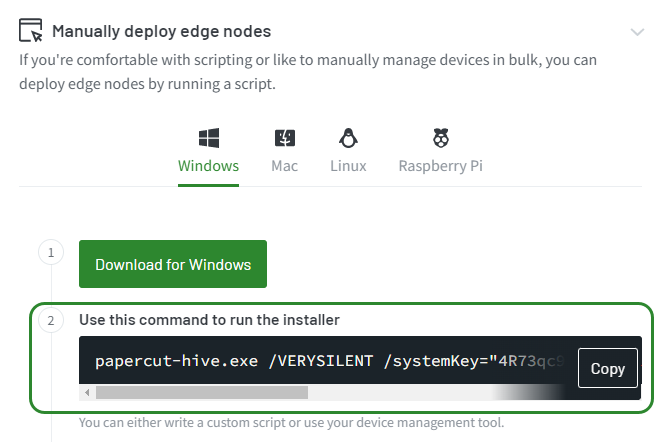
PaperCut Pocket/PaperCut Hive admin interface - Manually deploy edge nodes
-
Log in to the Endpoint Central admin portal and navigate to Software Deployment.
-
In the left-hand menu, under Package Creation, click on Packages and then select Add Package > Windows.
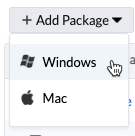
Endpoint Central - create new deployment package
-
Enter a package name, for example, PaperCut Hive edge node
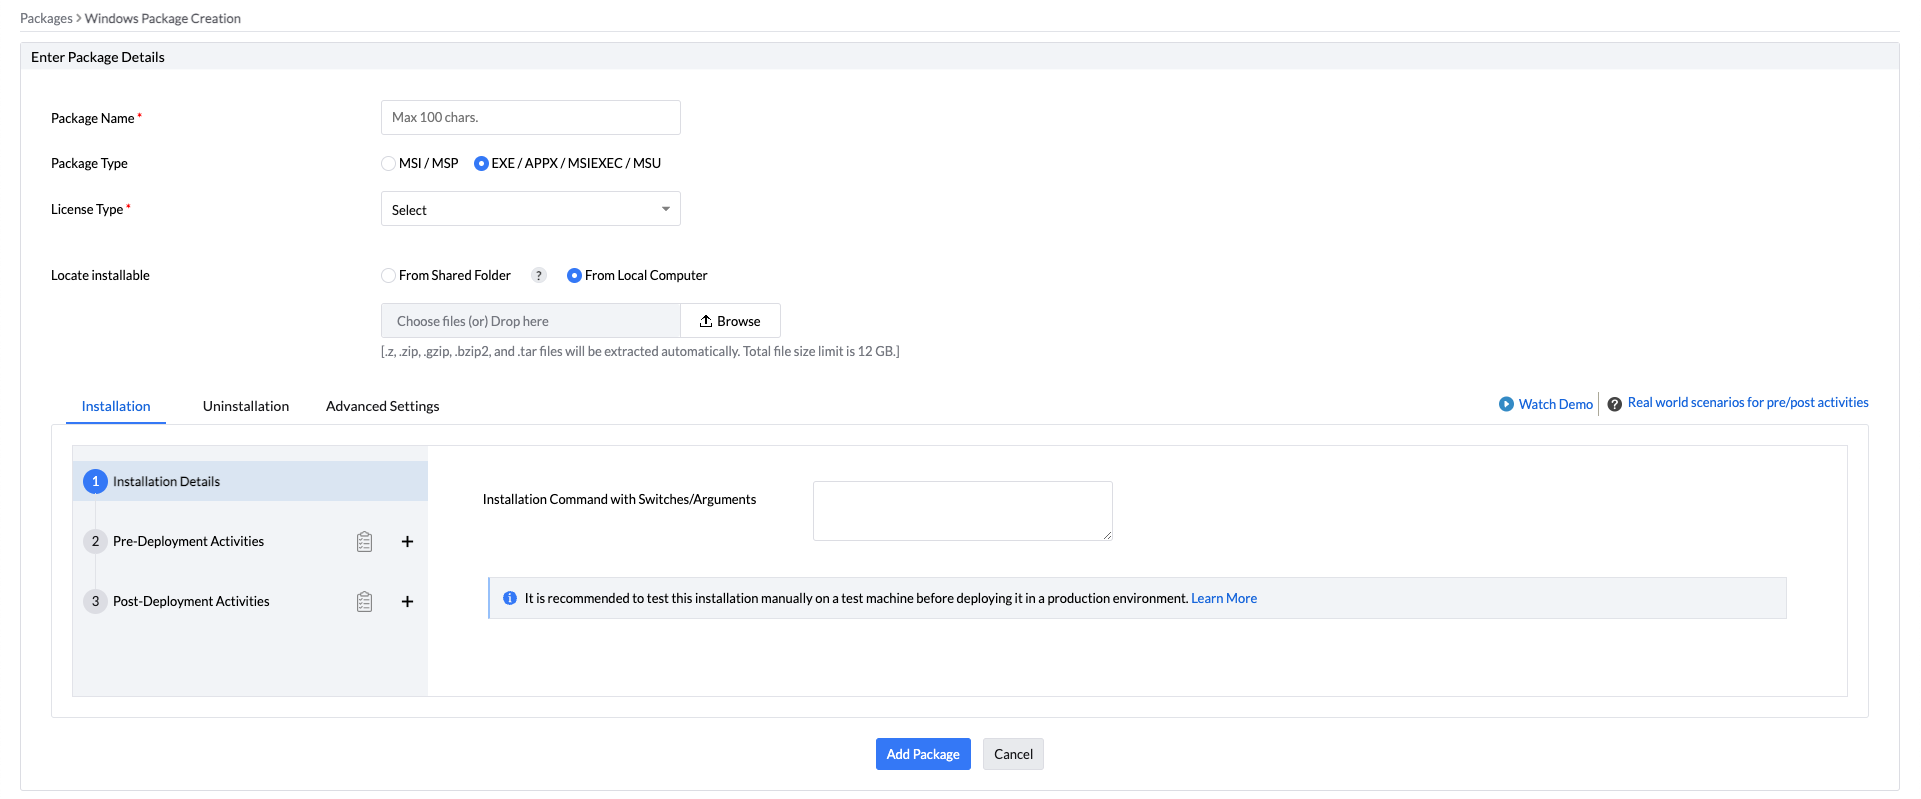
Endpoint Central - create new deployment package
-
Choose an EXE package type and choose Commercial as the license type.
-
Under Locate installable, select From Local Computer and upload the
papercut-hive.exeinstaller we downloaded earlier. -
On the Installation tab > Installation details > Installation Command with Switches/Arguments, paste the installation command we copied from the PaperCut Pocket or Hive admin interface.
-
Select Pre-Deployment Activities > Check File/Folder
-
Create a check for the file/folder path:
C:\Program Files\PaperCut Hive\pc-edgenode-service.exe -
Set the Define Action to Skip Installation.
-
Select Save & Continue.
-
Switch to the Uninstallation tab.
-
For the Uninstallation Command with Switches/Arguments enter:
"C:\Program Files\PaperCut Hive\unins000.exe" /VERYSILENT -
Select Add Package.
Once complete, you should have a new package listed similar to the below:
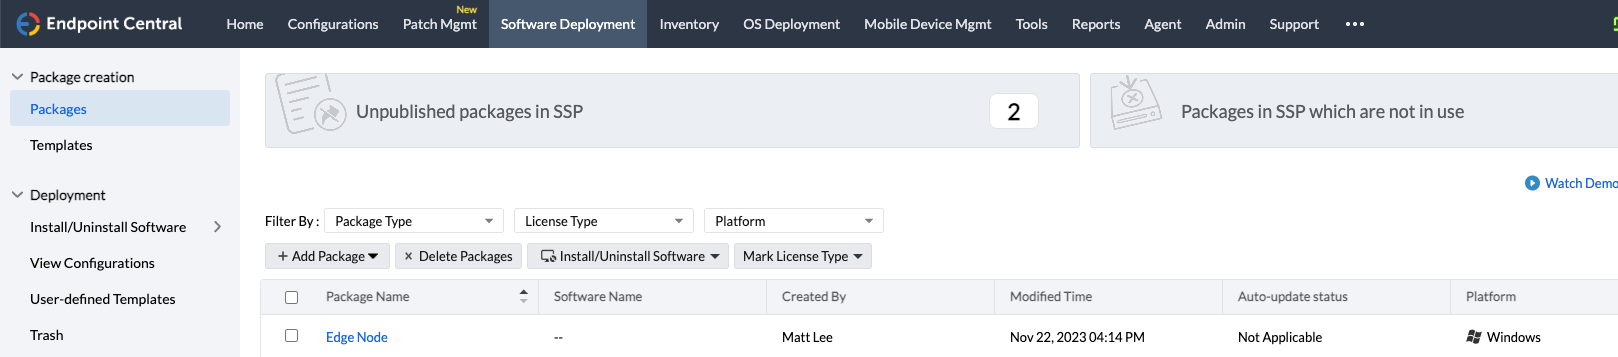
Endpoint Central - List of installation packages in Endpoint Central (edge node only).
2. Create a Computer Configuration deployment to install the edge node to target machines
Once the edge node installation package has been created, we can then set up the deployment to your end user devices.
- Log in to the Endpoint Central admin portal and navigate to Software Deployment.
- In the left-hand menu, under the Deployment sub-section, navigate to Install/Uninstall Software > Windows - Computer Configuration.
- Name your configuration, for example,
PaperCut Hive - edge node - Choose the package you configured in the previous step.
- Expand the Configured Install/Uninstall options section, ensure the Install as option is set to System User.
- Under Apply Deployment Policy, choose the Deploy at any anytime at the earliest option.
- Set the remaining options and target computers as desired.
- Once complete, select Deploy
The successful installation of the edge node can be validated by checking the following location on an end user computer.
..\Program Files\PaperCut Hive\ or confirming PaperCut Hive <release version> is listed in the Windows Programs & Features settings menu.
3. Create a software deployment package for the print client
For the PaperCut Pocket or PaperCut Hive print client, you need to copy the installation command syntax from the InTune Add-on instructions. This contains the /userkey switch that signals the papercut-pocket.exe or papercut-hive.exe to create the user directories and processes.
-
From the PaperCut Pocket or PaperCut Hive Admin console, under Manage select Add-ons > All Add-ons > Desktop App Deployment with Microsoft Intune.
-
Click Learn More and Add. The Intune Add-on is now part of your “Added” Add-ons.
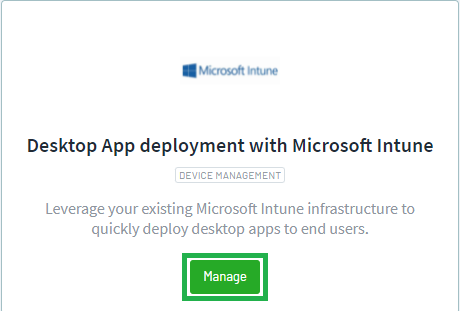
PaperCut Pocket/PaperCut Hive - InTune Add-on
-
On the Intune Add-on, select Manage and Follow these instructions.
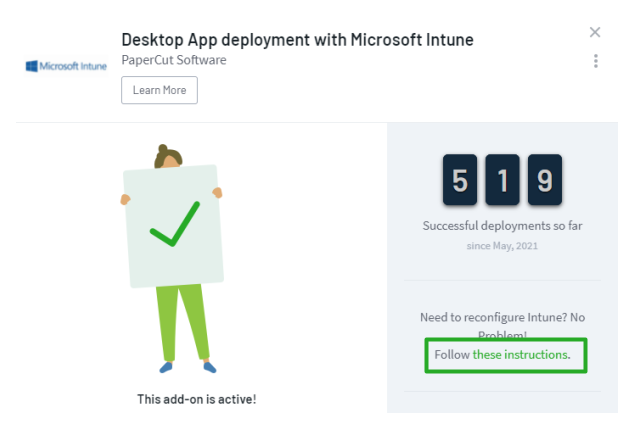
PaperCut Pocket/PaperCut Hive - InTune Add-on
-
Select View set up process and scroll down to Install the user component.
-
Go to step 7, copy the Install command string, and paste it into a text editor.

PaperCut Pocket/PaperCut Hive - print client /userkey
-
Log in to the Endpoint Central admin portal and navigate to Software Deployment.
-
Select Add Package > Windows.
Endpoint Central - create new deployment package
-
Enter a package name, for example, PaperCut Hive print client
Endpoint Central - create new deployment package
-
Choose an EXE package type.
-
Under Locate installable, select From Local Computer and upload the
papercut-hive.exeinstaller we downloaded earlier. -
On the Installation tab > Installation details > Installation Command with Switches/Arguments, paste the installation command we copied from the Intune add-on instructions.
-
Select Pre-Deployment Activities > Check File/Folder
-
Create a check for the file/folder path:
%localappdata%\Programs\PaperCut Hive\pc-print-client-service.exe -
Set the Define Action to Skip Installation.
-
Select Save & Continue.
-
Switch to the Uninstallation tab.
-
For the Uninstallation Command with Switches/Arguments enter:
"%localappdata%\Programs\PaperCut Hive\unins000.exe" /VERYSILENT -
Select Add Package.
Once complete, you should have a new package listed similar to the below:

Endpoint Central - List of both installation packages in Endpoint Central.
4. Create a User Configuration deployment to install the print client to target machines
Once the print client installation package has been created, we can then set up the deployment to your end user profiles.
- Log in to the Endpoint Central admin portal and navigate to Software Deployment.
- In the left-hand menu, under the Deployment sub-section, navigate to Install/Uninstall Software > Windows - User Configuration.
- Name your configuration, for example,
PaperCut Hive - print client - Choose the package you configured in the previous step.
- Under the Configured Install/Uninstall options section, ensure the Install as option is set to Target User.
- Under Execution Settings check the option Apply this configuration at every Logon.
- Ensure the retry option is enabled and configured for a minimum of 2 retries.
- Set the remaining options and target computers as desired.
- Once complete, select Deploy.
The successful installation of the edge node can be validated by checking the following location on an end user computer.
%localappdata%\Programs\PaperCut Hive\ or confirming PaperCut Pocket/Hive Print Client <release version> is listed in the Windows Programs & Features settings menu.
Post-deployment
After both components are deployed, spot-check your test computer to ensure the following:
- In Task Manager, check the
pc-edgenode-serviceis running.
The Windows PC requires this service to perform Edge Mesh activities such as receiving, replicating, or printing jobs if the PaperCut Cloud Service calls upon it. - In Task Manager, check that
pc-print-client-service.exeis running.
This is the print client needed to link the end-user to PaperCut Pocket or PaperCut Hive and submit jobs via the PaperCut Printer. This process must be running in memory. It provides the functions the user needs to print jobs via the PaperCut Printer.
If either of these are not running, please contact your PaperCut reseller and provide copies of the logs.
Locations of logs
- Edge node service and setup logs:
C:\Program Files\PaperCut Hive\data\logsorC:\Program Files\PaperCut Pocket\data\logs - User print client logs:
%AppData%\Local\Programs\PaperCut Hive\data\logsor%AppData%\Local\Programs\PaperCut Pocket\data\logs - User client set up logs:
%AppData%\Local\Programs\PaperCut Hive\data\logsor%AppData%\Local\Programs\PaperCut Pocket\data\logs%AppData%\Local\Temp
Comments