Having trouble with the Chrome extension?
Once the Mobility Print Chrome extension is set up you should see printers with an unmistakable PaperCut logo when selecting a printer. In the example below the Chrome device sees 3 printers being published from a Mobility Print server with the hostname DESKTOP-1TQJB6L.

Below we’ve collected our best troubleshooting advice for when Chromebooks are having trouble printing through Mobility Print.
Problems discovering printers
Make sure the Chrome extension is installed. On one of the affected Chromebooks, go to chrome://extensions in the browser. Confirm that the Mobility Print Chrome extension appears listed in the list of Chrome extensions.
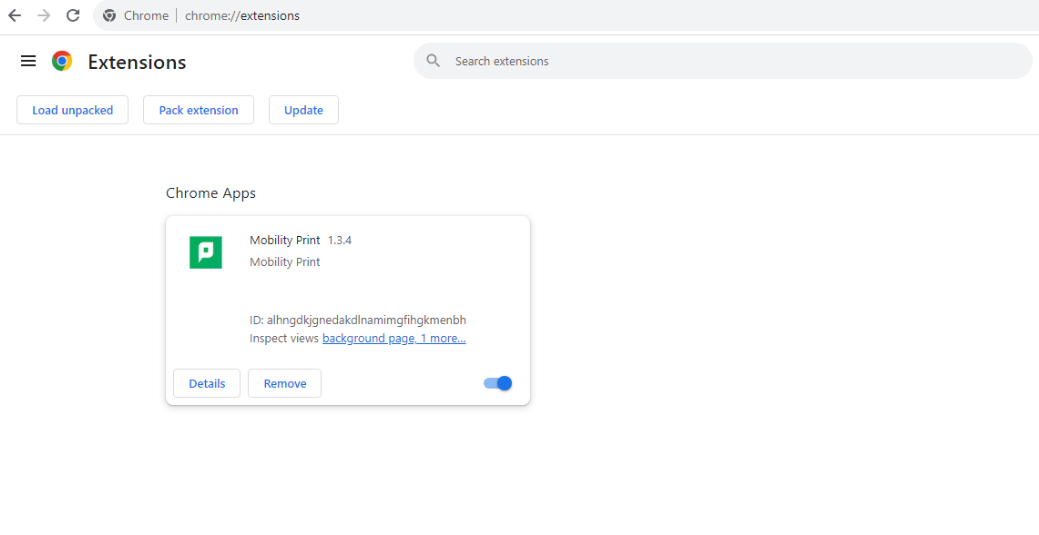
Check the Chrome Extension Version. Some customers have reported intermittent printer discovery issues with older versions of ChromeOS, so we always recommend running the latest available version as an early troubleshooting step.
Confirm whether the client is running the most up-to-date version of the Chrome client with the following steps.
- In Chrome, open
chrome://extensions/. - Switch on Developer mode in the top right. The Mobility Print extension version is displayed. It should be 1.1.0 or greater.
- Compare the client version to the Release History for the Mobility Print Chrome extension in the Chrome Web Store.
Verify Network Connectivity. Check and confirm that all required ports are open on your firewall. These are the server ports used for printer discovery by Chrome clients:
- Port 9163 (HTTP) inbound TCP to the Mobility Print Server
- Port 5353 inbound and outbound UDP to/from the Mobility Print Server (mDNS discovery only)
- Port 53 inbound and outbound UDP to/from the Mobility Print Server (DNS discovery only)
- See our Firewall rules for Mobility Print page for more details.
Try the Known Host discovery option. If the discovery option on the Mobility Print server is set to mDNS or DNS we recommend trying out Known Host instead.
Why? With the mDNS and DNS discovery options there is a lot to troubleshoot that is outside our control. (Just have a look at our articles Troubleshooting printer discovery problems in an mDNS environment and Troubleshooting printer discovery problems in a DNS environment to see for yourself.)
Known Host on the other hand is very simple to set up for managed Chrome devices. You just need to push out the Chrome extension along with a policy file with the server address, and that’s mostly it.
You can even follow the instructions to set up Known Host on Chromebooks and continue using the mDNS or DNS discovery options for your other devices. So, there.
Problems discovering printers using Known Host
A quick test to verify that the Known Host configuration has been implemented correctly:
- Login to one of the affected Chromebooks; then in the browser’s address bar, type
chrome://policy. - Find the section for Mobility Print and confirm that the policy is in place:

- Verify that the policy value (i.e. Mobility server hostname or IP) matches exactly what was configured in Google Admin in the Policy for extensions section for the Mobility Print extension. If it does not, please refer to the steps here for
Managed Chromebook Deployment
to ensure the .JSON input is correct.

- From a Chromebook, test connectivity to the Mobility Print server by typing the IP or Hostname of the Mobility Print server in the address bar.

Printers intermittently disappear
There are a few potential reasons why users might not see printers available to print to.
Change discovery method if using mDNS/DNS discovery. Consider switching your printer discovery method to Known Host . This method was designed with managed Chromebooks in mind and uses a simple method whereby the clients will communicate directly via the Mobility server hostname/IP and can therefore negate any complex firewall restrictions or filters that might be in place on your DNS traffic in order to discover your published printers.
Consider environmental factors. Are you using any kind of packet analyzing/sniffing or content filtering software (e.g. iBoss, Go Guardian, Cylance, Lightspeed, etc.)? These kinds of software can potentially interfere with the ability of Mobility Print to reliably transmit data between the client and the server. In those cases, customers have been able to work around this by creating rules or exceptions for the Mobility Print.
Is anything changing on the Chrome device? Another potential factor is if there are any actions or events occurring that might result in the advertised printers disappearing. These can include moving between different segments of your network or a scheduled clearing/powerwashing of Chrome profiles.
‘Invalid Username or Password’ error
When attempting to log in you might see the age-old message “Invalid username or password”.

Check user credentials. The face-value explanation is that the user might be entering the wrong username or password. Does this still happen when logging into the User page of the PaperCut NG or MF server? If so, then it could be a problem where the user credentials are incorrect, or there is a problem synchronizing users with Google Cloud Directory. Check Google Cloud Directory troubleshooting for the next steps.
Does this happen when clicking “Sign in with Google”? One known issue can cause this error message, when clicking on the “Sign in with Google” button. Details available on our Known Issues page, see:
Chrome client Google Single-Sign in fails with “invalid username or password”
.
‘Network connection issue’ error
The exact wording for the error is “We’ve detected a network connection issue. Please check you’re connected to the network and try again.”

Firstly, try restarting the Chromebook device to re-establish the network connection to the Mobility Print server.
This error can also occur as a result of a current Known Issue that happens when printing through Mobility Cloud Print in conjunction with Guest printing for Chromebook users.
‘OAuth2 request failed’ error
The exact wording for the error is “OAuth2 request failed: Service respsonded with an error: ‘Service has been disabled for this account.’” after clicking the “Sign in with Google” button.

This may be caused by the security policy configuration in Google Workspace and steps should taken to confirm that the Mobility Chrome app has the required access controls to perform Oauth authentication for Google SSO.
- From the Google Workspace Homepage, you need to navigate to: Security → Access and Data Control → API Controls → Manage Third-Party App Access.
- Click Add App and select Oauth App Name or Client ID.
- Paste the Client ID for our Chrome extension
89073488612-m55irqf3sqr6pmpnh5fimconmef04j97.apps.googleusercontent.comin the text field and search. - Select PaperCut Mobility Print from the search results and click the check box next to it, then click Select.
- Choose the necessary OUs you want to configure access for and click Continue.
- Choose Trusted access to Google Data parameters, then select Continue.
- Review changes and click Finish.
Stapling, Tray Selection, and Hole Punch
A common request is for stapling, tray selection, hole punch or other driver-specific finishing options when printing from Chrome.
While these are options for Windows and macOS computers using print drivers, Chrome devices don’t have these drivers and have limited printing options.
One way to work around this is to create a separate print queue for each desired finishing option. e.g. “3rd Floor Library with hole punching”, then specify the option on the driver for that queue. While not a perfect solution, it seems to work well for customers who have implemented it.
Comments