"The specified port cannot be added"
THE PAGE APPLIES TO:
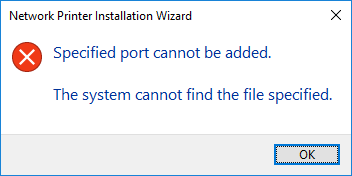
“Help! When I try to set up a printer with the PaperCut TCP/IP Port to enable Hardware Page Count I end up seeing an error message that “The specified port cannot be added. The system cannot find the file specified. What does this mean?”
Why does this happen and how do I fix it?
This error message may be seen while trying to create a printer that uses custom Port Monitor software (like the PaperCut TCP/IP Port) if you are using Print Management console to manage a remote server.
Why? Because, there is a requirement in Windows that the port monitor software needs to be present both on the print server where the port is being added, and on the workstation from which you are managing the print server. It will happen whenever trying to add the PaperCut TCP/IP Port on a Server Core edition of Windows, which needs to be managed remotely by necessity.
Fortunately, the simple solution is to just install PaperCut Server or Secondary server component on the workstation you are using to remotely manage the server and then you should be able to get the port added!
Is there another way to do this without installing the software?
This method is much more challenging, but if you feel comfortable editing the registry and you like doing things the hard way, then you can follow the steps below.
-
Copy these two files from any machine running PaperCut to your workstation, keeping the file path the same.
- C:\Windows\System32\pcprintportmon.dll
- C:\Windows\System32\pcprintportmonui.dll
-
Then open a text editing program, copy and paste the following snippet of text and save as a .reg file. Then just double click on that file to add the necessary keys to the registry.
Windows Registry Editor Version 5.00
[HKEY_LOCAL_MACHINE\SYSTEM\CurrentControlSet\Control\Print\Monitors\PaperCut TCP/IP Port]
“Driver”=“pcprintportmon.dll”
[HKEY_LOCAL_MACHINE\SYSTEM\CurrentControlSet\Control\Print\Monitors\PaperCut TCP/IP Port\Ports]
-
Lastly, just restart Windows Print Spooler Service for the changes to take effect.
Still have questions?
We’re definitely happy to help! Feel free to leave a comment below, or head to our Support Portal to start a Support Request.
Categories: Troubleshooting Articles , Print Queues
Last updated March 15, 2024
Comments